

Most beginner players lose endgames they should win because they don’t understand king opposition fundamentals. This single concept-controlling the squares in front of your opponent’s king-separates players who promote pawns from those who watch their advantage slip away.
At Chess Gaja, we’ve seen this pattern repeat across our coaching in 40+ countries: students who master opposition consistently achieve significant rating gains within months. In this post, we show you exactly how to recognize opposition, use it to win, and avoid the mistakes that cost games in tournaments across the USA, UAE, and Singapore.
What Opposition Actually Means in Your Games
Opposition occurs when two kings face each other with exactly one square between them. Whichever player moves next loses the ability to advance their king toward the promotion square. That single concept decides whether you win or lose in king-and-pawn endgames. When you hold opposition, your opponent’s king must step aside, opening your path to promotion. When you lose opposition, your opponent blocks your progress and forces a draw or defeat.
This is not theory—this is the practical reality that separates tournament winners from players who squander winning positions. In tournaments across the USA, UAE, and Singapore, beginner players push pawns aggressively without understanding opposition. They watch their advantage evaporate when the opponent’s king suddenly controls the critical squares, costing them rating points and tournament results.
Spotting Opposition Before Your Opponent Does
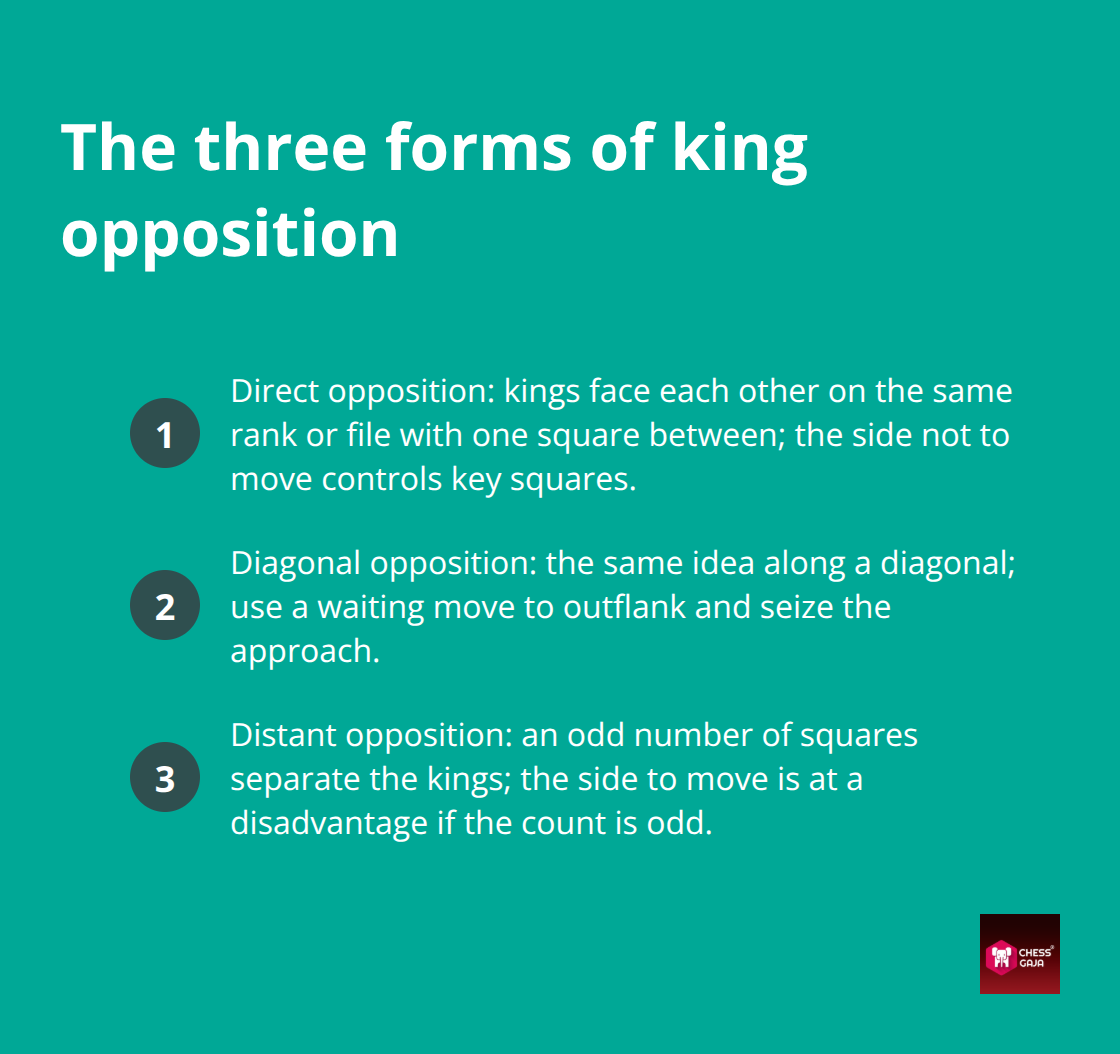
King opposition in endgames appears in three forms: direct, diagonal, and distant. In practical play, you must quickly recognize which form applies and who holds it. Count the empty squares between the kings along the file, rank, or diagonal: if the number of empty squares is odd (1, 3, or 5) and it is your opponent’s turn, you hold opposition. If it is your turn and the count is odd, your opponent controls it. The player without opposition must move their king into a worse square.
For example: consider a position with your king on d5, your pawn on d4, and your opponent’s king on d7. You hold direct opposition. Your opponent must move first, stepping to c7, d8, or e7. Stepping to c7 surrenders control of the e6 key square, allowing your king to outflank via e6. Stepping to e7 surrenders the c6 key square, allowing your king to outflank via c6. That single tempo advantage decides the game.
The Squares That Win or Lose Endgames
Around any pawn, certain squares control whether promotion happens. These critical squares form a zone directly in front of the pawn and to its sides. In a d-pawn endgame with your pawn on d4, the critical squares are c6, d6, and e6. If your king occupies any of these key squares, promotion is guaranteed regardless of who holds opposition. If the pawn advances to d5 (the 5th rank), the zone of critical squares expands to six key squares: both the three squares directly ahead (c6, d6, e6) and the three on the 7th rank (c7, d7, e7). Reaching any of these six squares guarantees promotion. Securing these squares with your king forces your opponent to give way.
When you move to gain opposition, you physically push the opponent’s king out of the critical area into passive squares. A common beginner error is pushing the pawn without first securing opposition. The opponent’s king then locks onto a critical square and holds the draw. Instead, move your king to gain opposition first, then advance the pawn when the opponent must retreat. Tournament winners do not calculate ten moves ahead; they recognize opposition, secure it, and let the position unfold.
How Opposition Shapes Your Next Move
The moment you spot opposition in a position, you control the game’s direction. Your opponent faces a choice between bad squares, and you advance toward promotion. This recognition skill separates endgame winners from those who miss the pattern entirely. In the next section, we walk through step-by-step positions where opposition decides the outcome and show you exactly how to calculate opposition in real tournament scenarios.
Practical Examples of Opposition at Work
When Opposition Wins the Game
A student in Dubai played a tournament game where her king sat on c4, her pawn sat on c3, and her opponent’s king sat on c6. It was her turn to move. She should have kept her king active and outflanked via d5 or b5 to secure key squares. Instead, she prematurely pushed her pawn to c4+. This surrendered control and allowed her opponent’s king to lock onto critical squares for an easy draw. That single missed recognition cost her the game and three rating points.
Opposition decides endgames because it forces a tempo advantage that shifts control of promotion squares. When you hold opposition, your opponent moves into a worse position while your king advances toward the pawn’s promotion square. When you miss it, your opponent gains the opposition and locks your king out of victory. The difference between winning and losing in king-and-pawn endgames often comes down to this single concept executed correctly in the critical moment.
How to Calculate Opposition in Tournament Positions
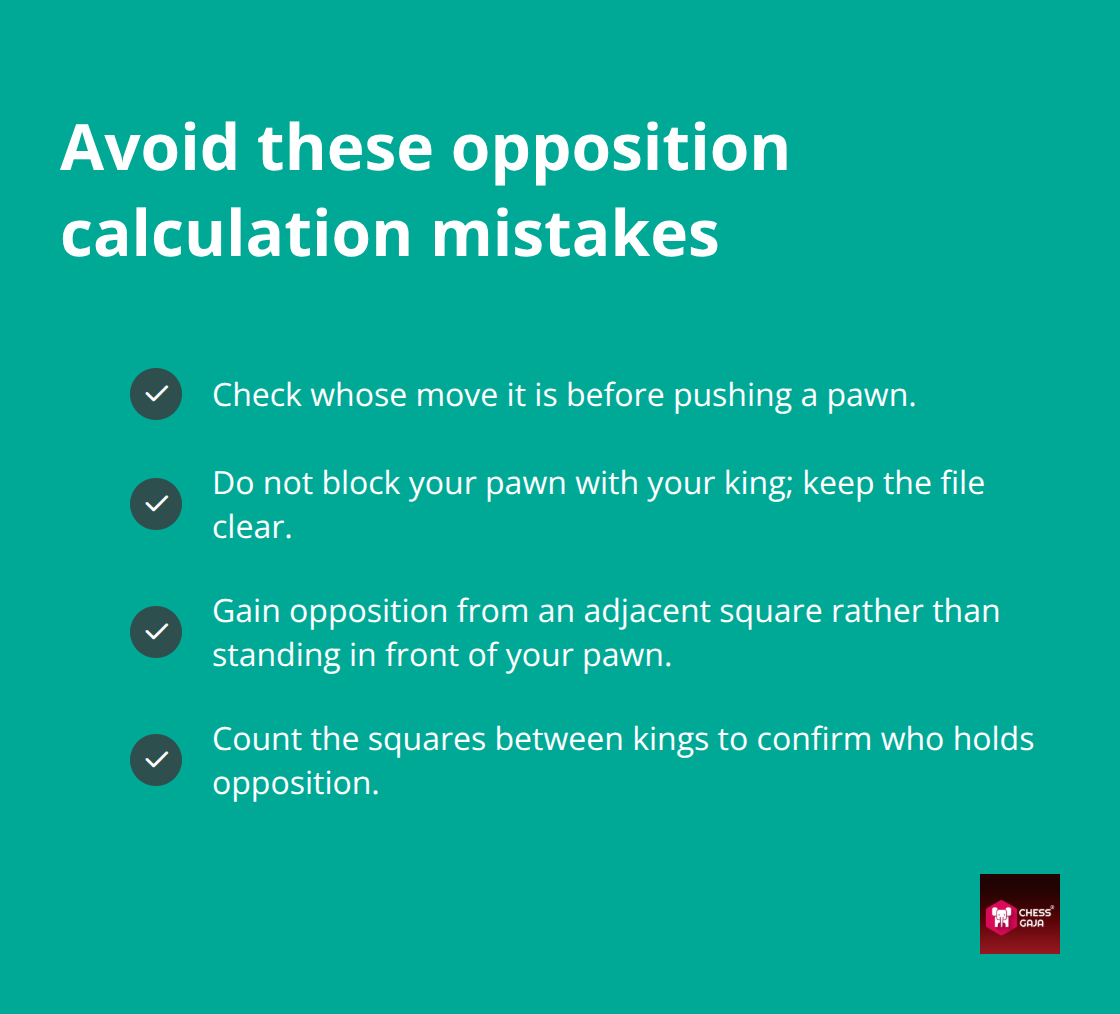
Real tournament positions teach opposition faster than theory. Consider a position with your king on e4, your pawn on e3, and your opponent’s king on e6. Because there is an odd number of squares (one) between the kings, you hold direct opposition if it is your opponent’s turn. Your opponent must step away from the e-file (to d6 or f6). Once they step aside, you do not move straight forward to e5—which would let them regain opposition—but instead outflank them by moving your king to f5 or d5 to secure the path for your e-pawn. In contrast, if it is your turn to move from this same position, your opponent holds the opposition and blocks your progress.
A beginner’s common error is confusing whose turn it is and miscalculating the opposition. In tournaments across Singapore and the UAE, players lose these positions because they push pawns without first checking whether opposition exists. Another frequent mistake is mismanaging the king’s path while advancing. If your pawn is on d3 and your king is on d4, pushing the pawn to d4 while the opponent’s king sits on d6 gives away the opposition. Instead, outflanking to c5 or e5 allows your king to control critical squares on the 6th rank (c6, d6, e6) while keeping your pawn’s line of advance clear.
The Three Questions That Win Endgames
Tournament players who calculate opposition correctly ask three questions before moving: Does opposition currently exist, whose turn is it, and which square puts my king in opposition while supporting my pawn’s path forward? When you develop this habit in your training, opposition becomes automatic in real games. The margin between tournament winners and middle-of-the-pack players in beginner sections comes down to recognizing opposition patterns before the opponent does and executing the correct king move in the critical position.
These patterns repeat across every king-and-pawn endgame you face. Once you master the recognition and calculation steps, you move forward to positions where opposition combines with other endgame concepts-zugzwang, pawn races, and multi-pawn scenarios-that amplify your winning chances even further.
Advanced Opposition Patterns
When Zugzwang and Opposition Lock Your Opponent
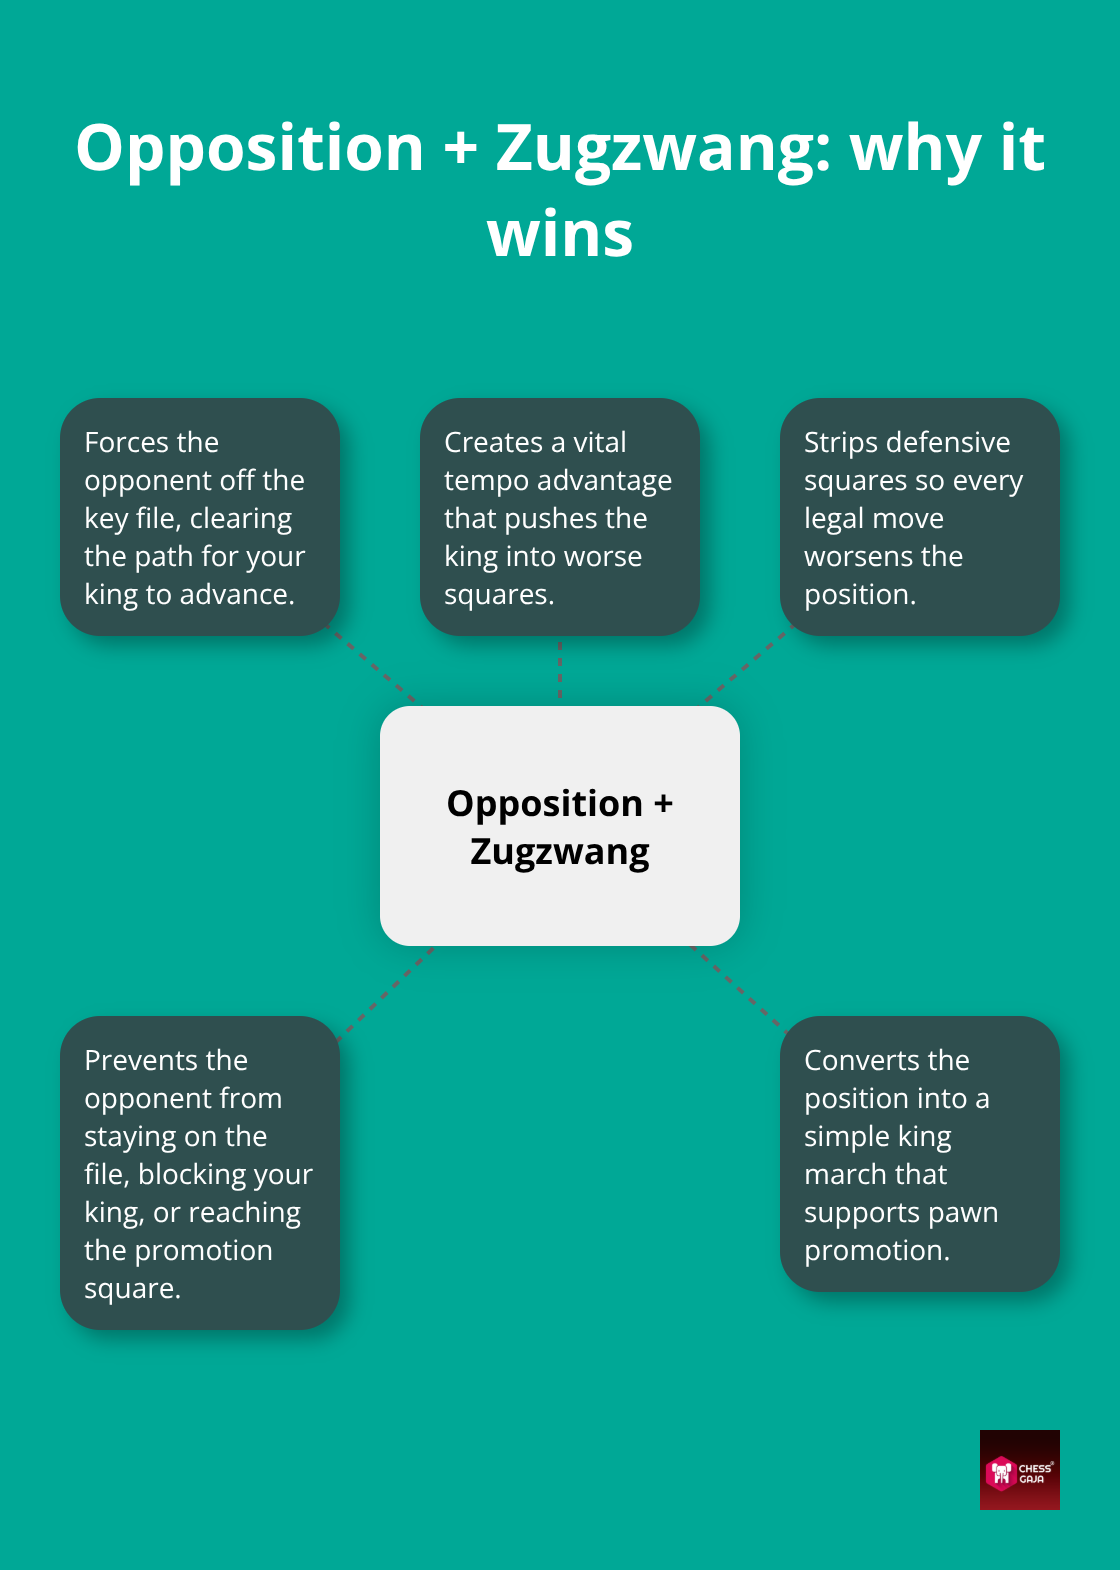
Zugzwang happens when every legal move your opponent makes worsens their position. Opposition creates zugzwang by forcing the opponent’s king into squares where any move surrenders control. In king-and-pawn endgames, these two concepts work together to deliver checkmate or force promotion.
A practical position shows this clearly. Place your king on e5, your pawn on e4, and your opponent’s king on e7. You hold direct opposition, so your opponent must move. If they retreat to e8, d7, or f7, their king yields ground and allows your king to advance to d6 or f6, opening the path for your pawn’s march to promotion. Opposition forces zugzwang, and zugzwang forces the win.
Many beginners think they must calculate ten moves ahead in these positions. They do not. Opposition tells you the opponent has no good moves. You execute opposition, let zugzwang develop, and the position wins itself.
Opposition Decides Multi-Pawn Endgames
Multi-pawn endgames demand opposition on the critical front where promotion matters most. With two pawns against one, opposition on the passed pawn’s side creates a dilemma. Your opponent’s king must choose between defending one pawn or stopping the other. They cannot do both.
Consider a position with your passed pawns on d5 and e5, your king on d4, the opponent’s king on d7, and an enemy pawn on c7. By advancing your king to c5 (or maneuvering around your pawn chain toward f5), you target key infiltration squares. Your opponent cannot defend the c7-pawn while simultaneously stopping your passed e-pawn. This forces their king to yield ground, opening the path for your second pawn to advance unopposed.
Tournament practice reveals that players who win multi-pawn endgames do not calculate pawn races or count tempo across the board. They identify which pawn matters most, gain opposition on that front, and let the opponent’s king collapse under the weight of defending multiple threats.
Connected Pawns and Opposition Strength
In endgames with connected passed pawns, opposition is decisive when utilizing strategic pawn structures. Place two connected pawns on d5 and e5 with your king active behind or alongside them on d4 or e4. Establishing opposition on the key file forces the enemy king to give ground, enabling your king to infiltrate to c6 or f6.
Connected pawns multiply the value of opposition because your opponent’s king cannot stop both pawns simultaneously. One pawn must advance while the opponent’s king blocks the other. Opposition decides which pawn gets through. This pattern repeats in every multi-pawn endgame: gain opposition on the critical pawn, force zugzwang, and watch the position collapse.
Final Thoughts
Opposition mastery accelerates your rating growth because it eliminates calculation guesswork in the positions that decide tournaments. Once you recognize opposition patterns, you stop wasting moves and start converting advantages into wins. Students who focus on king opposition fundamentals report 200+ rating point gains within months because they win endgames that previously slipped into draws.
Your daily training should include opposition drills that take five to ten minutes. Solve positions where you identify opposition, calculate whose turn matters, and find the king move that forces zugzwang. Start with positions where opposition is obvious, then progress to scenarios where distant opposition or diagonal opposition requires careful counting (use puzzle platforms to test your recognition speed under tournament conditions).
At Chess Gaja, we structure endgame training around opposition as a foundation skill because it unlocks everything that follows: zugzwang, pawn races, and multi-pawn scenarios all depend on understanding opposition first. Our GM-led curriculum across 40+ countries teaches opposition through step-by-step positions and tournament examples from students in the USA, UAE, and Singapore. When you book a Paid Starter Class with Chess Gaja, your coach evaluates your current endgame understanding and builds a personalized study plan that accelerates your opposition mastery.