


Bishops are among the most underrated pieces in chess, yet they control entire sections of the board when positioned correctly. Dynamic bishop pressure forces opponents into uncomfortable positions. It creates tactical opportunities that didn’t exist moments before.
At Chess Gaja, we’ve seen countless students transform their middle-game play by mastering how bishops generate real threats. This guide shows you exactly how to apply these patterns in your own games.
How Bishops Control the Board
Positioning Bishops on Open Diagonals
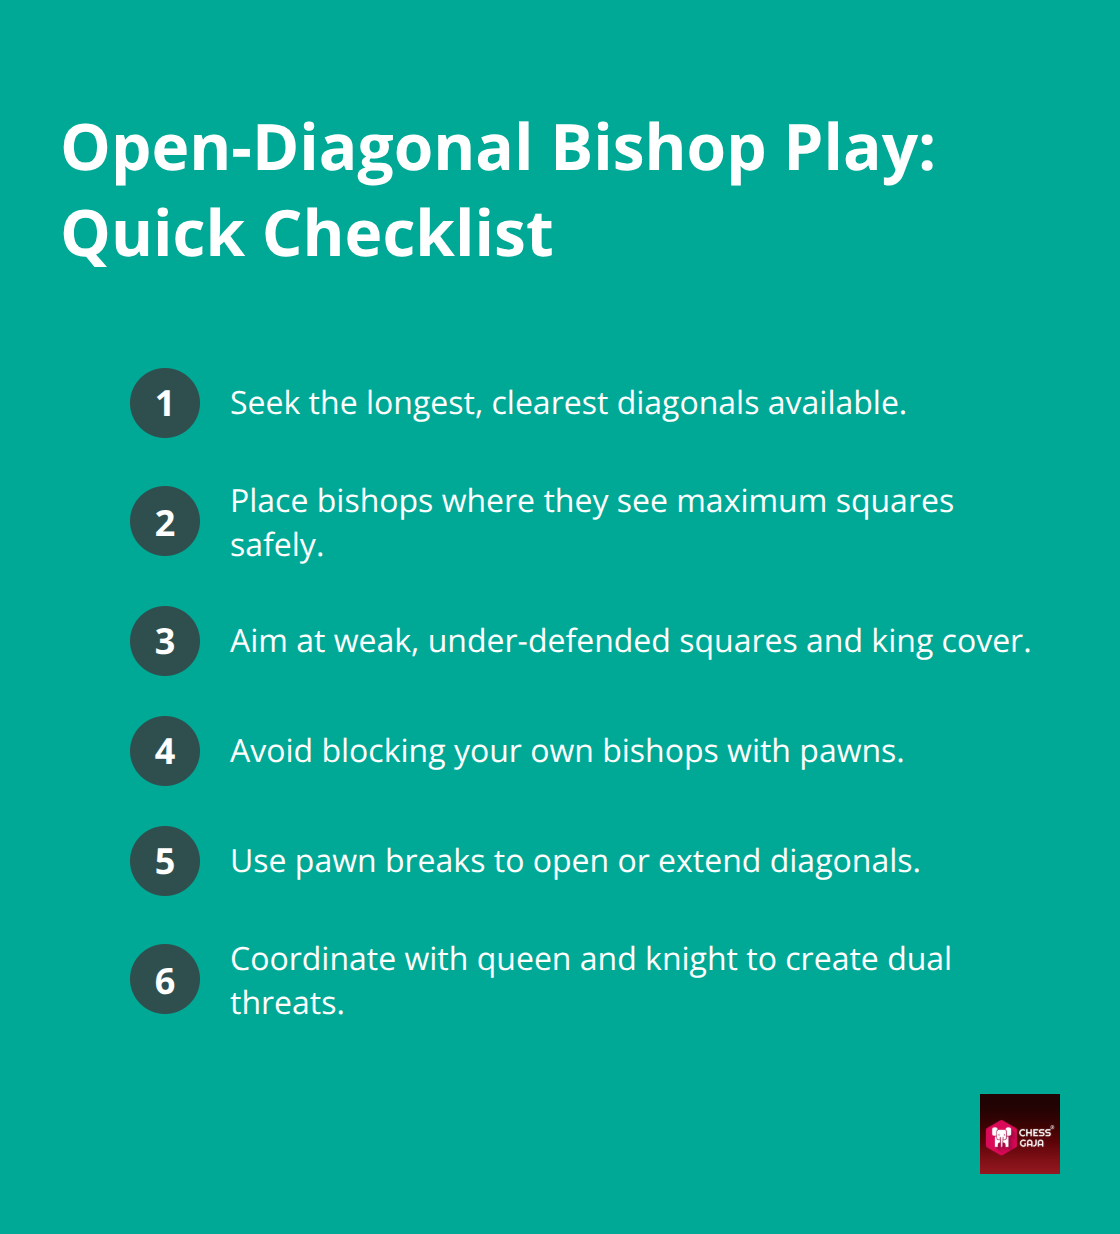
Bishops work best when they have space to operate. A bishop on an open diagonal influences the outcome of a game from squares away, creating threats your opponent cannot ignore.
In practical tournament play, position your bishops where they target maximum squares and undefended pieces. A bishop on d3 targeting h7 controls critical squares along the b1–h7 diagonal (specifically the c2–h7 path toward the enemy king). It can quickly shift the balance during an attack. Longer diagonals make bishops far more powerful. Controlling the a1–h8 or a8–h1 diagonals often decides competitive games.
Short Diagonals and Tactical Threats
Short diagonals matter just as much in specific positions. When an opponent’s king sits in the center or back rank, a bishop controlling four or five key squares creates lethal weaknesses. These threats force immediate concessions. A bishop’s power goes beyond its total square count. True power comes from creating real, immediate tactical threats. A bishop on c4 controlling the f7 square in an Italian Game structure exerts immense pressure on a critical weakness. Position your bishops to attack weak squares around your opponent’s pieces-especially squares near the king, undefended pawns, and escape routes for your opponent’s pieces.
The Two-Bishop Advantage Changes Everything
Having both bishops on the board creates a fundamentally different game. Holding both bishops against a bishop and knight gives you more territory. You also create multiple tactical threats simultaneously.
This advantage grows as the position opens up. Every pawn exchange removing diagonal obstacles makes your bishop pair stronger. Two bishops attack different colored squares at once, meaning your opponent cannot defend against all your threats with a single piece.
The bishop pair excels as the board opens up. While they generate lethal attacking threats in the middlegame, trading queens often simplifies the position into an endgame where your two bishops dominate the board entirely. A common practical winning method involves simplifying through queen exchanges when holding the bishop pair. You then convert your advantage in the resulting endgame.
GM Siddharth Jagadeesh frequently leverages the bishop pair through early queen trades when the position favors him. He then methodically improves piece placement and creates passed pawns. The two bishops support these pawns effectively from a distance.
Diagonal Control Restricts Your Opponent
Controlling key diagonals means your opponent cannot safely place pieces on those squares. When you occupy the long diagonal with a bishop, your opponent’s pieces become restricted-rooks cannot move freely, knights lose good squares, and the king’s escape routes narrow. This restriction creates weaknesses that did not exist before. Competitive players frequently execute pawn breaks or positional material sacrifices to open long diagonals. Dominating these diagonals provides ample tactical compensation.
For example, pushing a pawn to e5 or d4 clears central obstructions, opening the b1–h7 diagonal for a bishop on d3 to immediately target the h7-pawn. The bishop immediately targets h7 near the enemy king. This threat forces your opponent to defend rather than execute their own plan.
These diagonal control principles set the stage for the tactical patterns that transform positional pressure into concrete winning moves.
How Bishops Create Unstoppable Tactical Sequences
Tactical sequences with bishops follow predictable patterns once you understand where they occur. Dangerous bishop tactics occur when enemy pieces cluster together. They also strike when key squares around the king lack defenders. A bishop targeting the enemy king creates immediate tactical urgency. Your opponent must defend rather than execute their own plan. Players who master bishop tactics at the intermediate level recognize these patterns faster than their opponents.
The Pin: Paralyzing Your Opponent’s Pieces
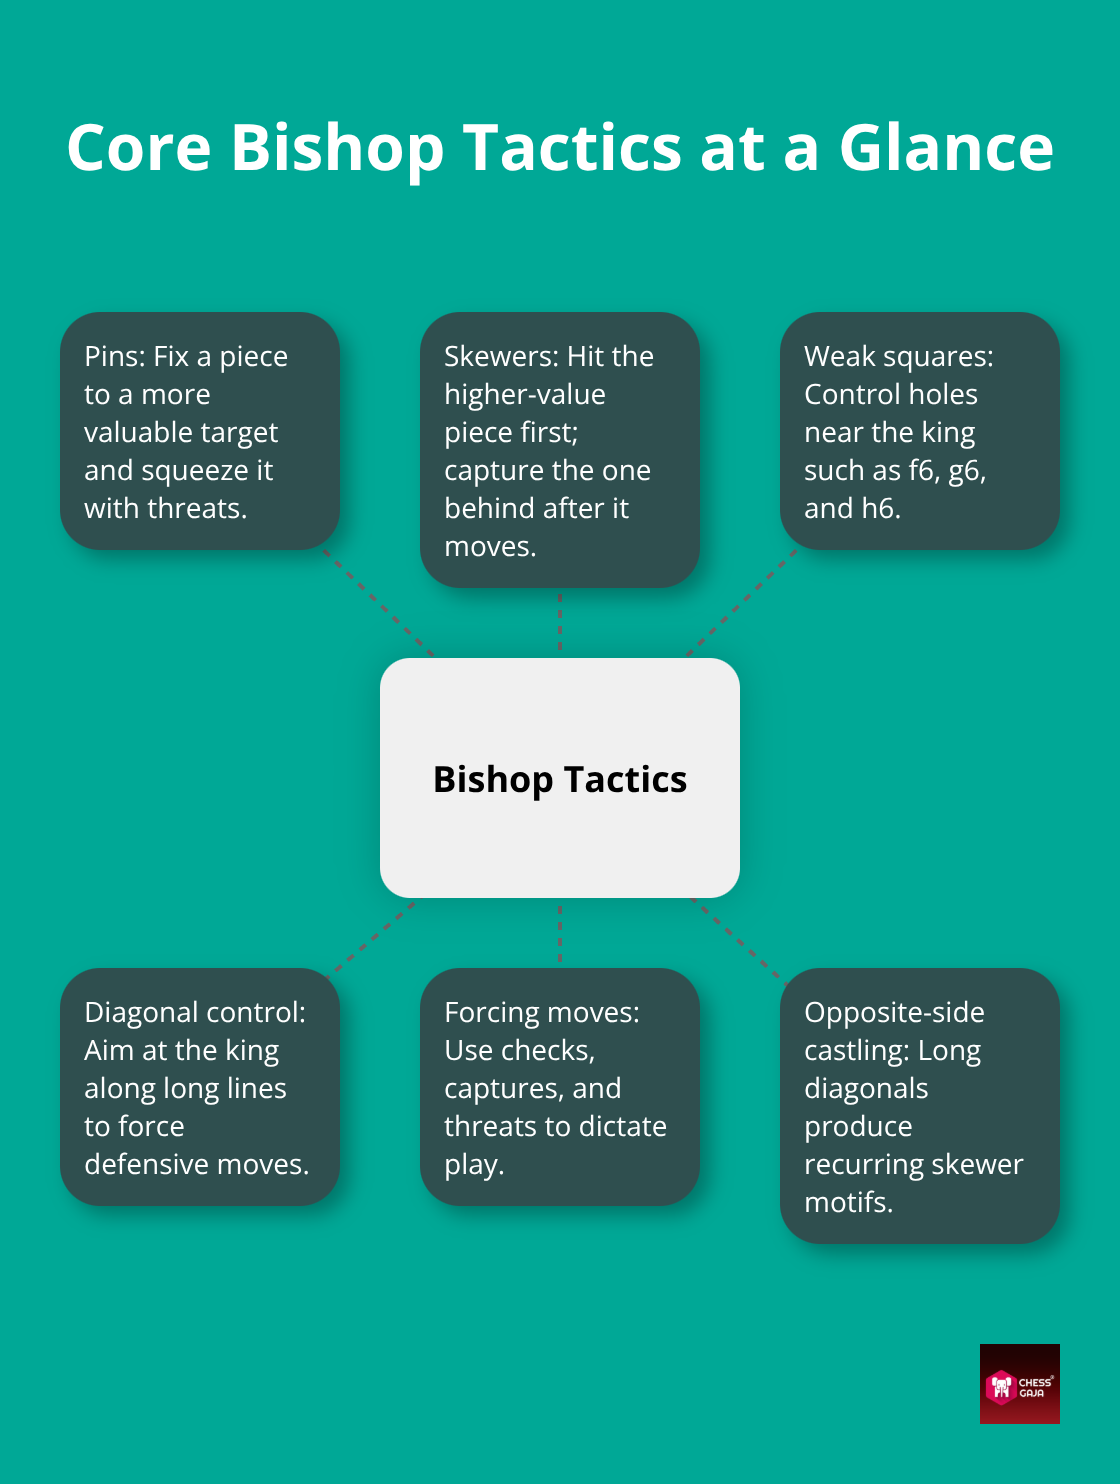
A pin stands out as the most practical tactic with bishops. When your bishop pins a piece to the king or queen, that piece cannot move without exposing something more valuable. A bishop on c4 pinning a piece on f7 leaves your opponent with severe defensive limitations. The pinned piece cannot move without exposing a major target. This immobility severely restricts enemy options. This immobility forces your opponent into a passive position where every move worsens their situation.
The Skewer: Forcing Retreat and Capture
Skewers work similarly but in reverse: your bishop attacks a more valuable piece, and when it moves, a less valuable piece behind it gets captured. These patterns repeat constantly in middlegame positions with opposite-side castling, where bishops on long diagonals create devastating skewers—such as checking a king on a8 to win an undefended rook behind it on h1 along the long diagonal, or delivering a check on g8 to win an undefended piece along the a2–g8 diagonal, or attacking a queen to capture a rook behind it. The tactical insight is that bishops generate the most forcing threats when exploiting alignment along open diagonals.
Weak Squares: The True Battleground
Weak squares around the king represent the true battleground in bishop tactics. After your opponent castles kingside, pawn pushes like g6 leave complex dark-square weaknesses (such as f6 and h6 around a kingside castle), while h6 leaves light-square gaps (such as g6). A bishop controlling these squares prevents your opponent from activating pieces, pushing pawns forward, or creating counterplay. Strong players use bishops to close down their opponent’s options methodically. They then exploit the resulting weaknesses with forcing moves.
Two Bishops Against All Defenses
Your bishop doesn’t need to deliver checkmate-it needs to restrict your opponent’s pieces so thoroughly that every move worsens their position. This multi-diagonal pressure forces your opponent into constant passive defense. Whether attacking f7 in an Italian structure or exploiting weak dark squares like d6 or d5 in a Sicilian, your bishop restricts your opponent’s options so severely that tactical mistakes become inevitable. You don’t need to sacrifice material or calculate 15 moves ahead—the constant pressure on key diagonals naturally forces your opponent into game-losing blunders.
Once you recognize these tactical patterns, converting them into concrete advantages requires understanding how to transition from middlegame pressure into endgame domination-where bishops truly shine.
How Grandmasters Convert Bishop Pressure Into Wins
The Pattern Behind Jagadeesh’s Success
GM Siddharth Jagadeesh became Singapore’s youngest grandmaster at age 17 in 2024. His games reveal exactly how top players convert bishop pressure into decisive advantages. In his path to the title, Jagadeesh placed bishops on open diagonals to restrict opponent movement. He then shifted seamlessly into tactical sequences that forced resignations. His approach reveals a critical truth: the strongest players don’t calculate 20 moves ahead-they position bishops to eliminate their opponent’s options, making every defensive try worse than the last.
In one match from his rise to the grandmaster title, Jagadeesh placed a bishop on a long diagonal early in the middlegame, then spent the next 8–10 moves improving piece coordination and opening additional diagonals. His opponent eventually collapsed under the accumulating positional pressure, proving that forcing tactics naturally flow from superior piece placement. This pattern repeats across games of elite competitors: bishops control space methodically, then tactics emerge naturally when the opponent runs out of adequate defenses.
Recognizing the Moment to Strike
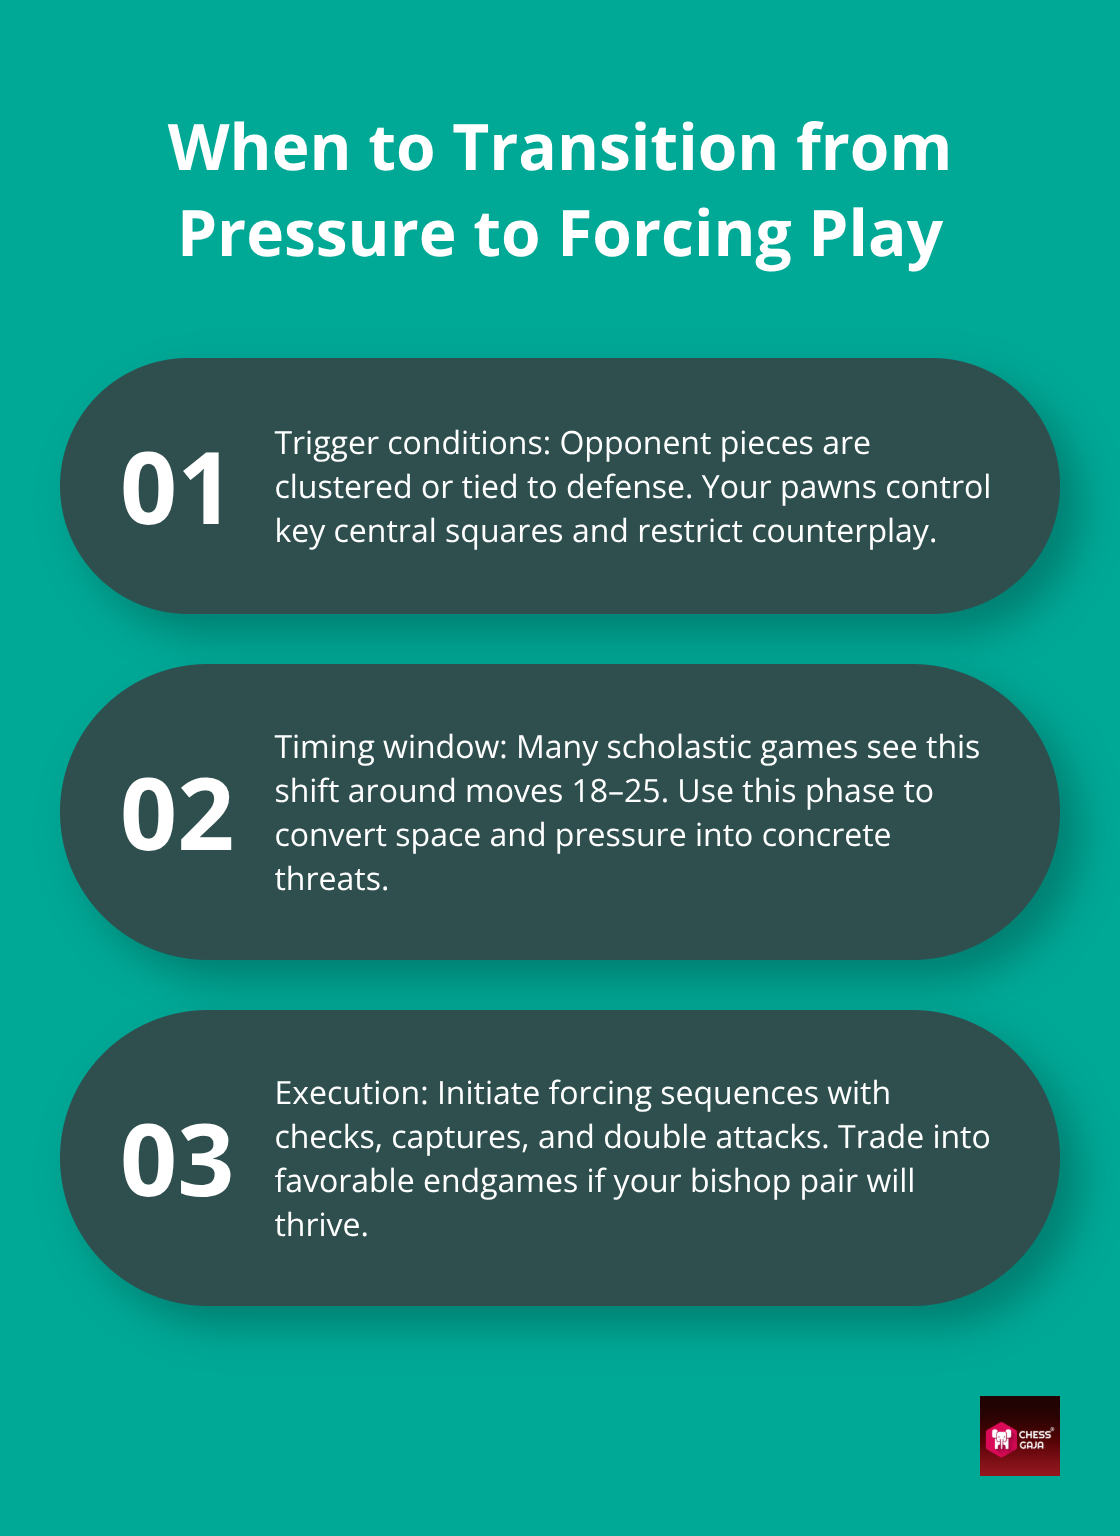
Converting positional bishop advantage into concrete tactical wins requires understanding when to shift from maneuvering to forcing play. Most intermediate players maintain bishop pressure too passively. This gives opponents time to organize counterplay and muddy the position. Instead, the winning approach involves recognizing specific moments when your bishop placement justifies concrete action.
Strike when your opponent’s pieces cluster defensively. Use forcing moves like checks, captures, and direct threats. These moves strip away your opponent’s ability to counterplay. In practical tournament games across the USA, UAE, and Singapore scholastic circuits, this transition occurs the moment your opponent creates a structural weakness or misplaces a key defensive piece—regardless of the move count.
Coordinating Bishops With Other Pieces
A bishop on c4 targeting f7 gains genuine tactical power through piece synergy. It shines when a knight jumps to d5, a queen creates double threats, or pawns remove escape squares. While a bishop can often deliver the final checkmate itself, its primary strength in complex positions is restricting enemy defenses so your other pieces can break through. Players who master this timing consistently outperform similar-rated opponents. They convert small advantages into victories before reaching severe time trouble where accurate calculation becomes difficult.
This coordination separates grandmaster-level play from intermediate play. A bishop works most effectively when it forces your opponent into a position where every piece move worsens their situation. Your rooks gain access to open files, your queen creates multiple threats simultaneously, and your pawns advance without fear of counterplay—all while the bishop maintains continuous direct pressure on key targets.
Final Thoughts
Dynamic bishop pressure works because it eliminates your opponent’s options methodically. The patterns you’ve learned-pins, skewers, weak square control, and two-bishop coordination-repeat across every tournament game you’ll play. The real skill lies in recognizing when to apply each pattern and when to shift from positional maneuvering into forcing tactical sequences that decide the outcome.
After each game, review your middlegame positions and ask yourself: Did my bishop have an unobstructed diagonal, or was it blocked by my own pawn structure? The students we work with at Chess Gaja across the USA, UAE, and Singapore consistently report that mastering dynamic bishop pressure transforms their middlegame results within 4-6 weeks of focused practice. They win games they previously drew or lost because they now recognize the exact moments when bishop placement justifies concrete action.
Your next step is straightforward: book a Paid Starter Class with one of our FIDE-rated coaches. During this session, a professional instructor evaluates your bishop play. They identify specific weaknesses on open diagonals and create a personalized study plan tailored to your goals. You’ll receive an AI-powered summary after the class detailing exactly what to practice before your next tournament.