


Black players often struggle to move beyond passive defense in the Kings Indian. We at Chess Gaja believe the real power lies in understanding concrete fighting plans that transform your position from reactive to aggressive.
This guide breaks down the exact ideas that top players use to seize the initiative. You’ll learn when to push forward, where to place your pieces, and how to recognize winning opportunities.
Early Middlegame Plans for Black
When to Strike in the Center
The middlegame in the King’s Indian rarely rewards patience. Pawn breaks with e5 and d6 form the core of Black’s counterattack. However, timing separates winning positions from drawn ones.
Push e5 too early, and White gains free queenside space. Wait too long, and White consolidates control. The key is recognizing when White loses piece coordination. Strike when your pieces are optimally placed to support the break.
In the Sämisch Variation, Black’s e5 advance is typically prepared by developing the knight to d7 or c6 to challenge White’s central control. Establishing this pawn tension early stops White from comfortably expanding with Be3, Qd2, and g4. Meanwhile, the foundational d6 move safeguards the e5 square, stops White from pushing e5 prematurely, and sets up Black’s eventual central strike.
Study classic games by Garry Kasparov or Bobby Fischer to see how precisely grandmasters time these central breaks against White’s sharpest setups.
Kingside Fire Through f5
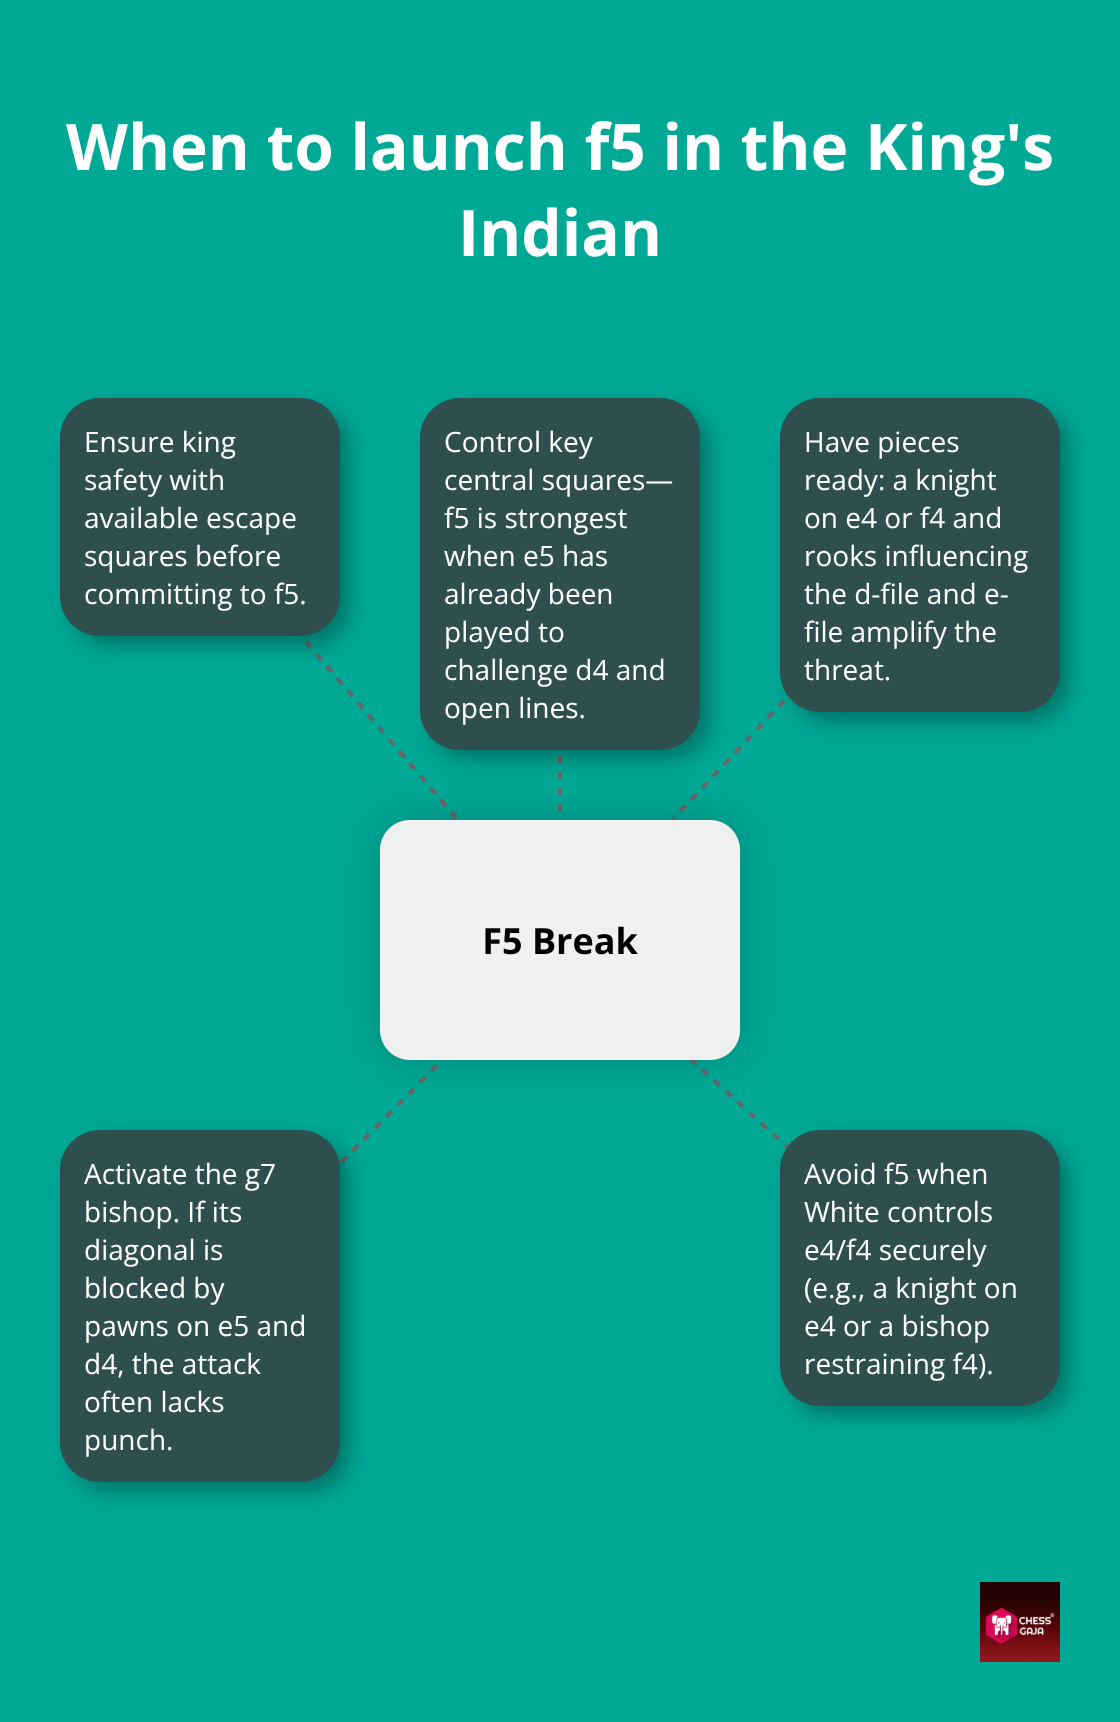
The f5 advance is Black’s most direct attacking tool. Still, many players throw it in blindly and watch their position collapse. Advance your f-pawn only when your king has escape room. Your pieces must also control key central squares first. If you have already played e5, the f5 push creates immediate tactical threats. It opens lines toward White’s king while challenging d4.
This advance works best with a knight on e4 or f4. It also excels when your rooks double on the f-file or lift toward the kingside. Avoid f5 if White maintains a knight on e4 or controls f4 with a bishop. Additionally, your g7 bishop needs an active diagonal. If White blocks it with pawns on e5 and d4, your attack lacks firepower.
Practice this pattern by analyzing games where Black achieved the f5 break successfully, then study positions where the move failed and identify what pieces were missing from the attack.
Queenside Pressure When Opportunity Calls
While your kingside setup develops, c6 and b5 create genuine flank threats. This forces White to divide their attention. The c6 move prepares queenside expansion and supports d5 breaks in certain structures. This prevents White from ignoring your counterplay. The b5 advance follows naturally once you gain queenside space.
Attack b4 with your b-pawn to force a reaction. White must either defend or retreat, losing time in both cases. This counterplay is crucial when White launches a kingside attack. Opposite-side attacks often decide King’s Indian games—the faster player wins.
Opposite-side castling variations (such as the Sämisch or Yugoslav-style setups) lead to razor-sharp races where Black must generate quick queenside threats before White’s kingside pawn storm lands. Your queenside play buys time for your kingside attack to mature and forces White into defensive choices that limit their own attacking potential. These pawn advances on both flanks create the foundation for the piece placement strategies that follow.
Strategic Piece Placement for Black
The difference between a theoretical understanding of the King’s Indian and actual winning play comes down to piece placement. You can memorize pawn breaks all day, but if your knight sits on the rim and your rooks lack coordination, those breaks accomplish nothing.
In practice, top players position their pieces first. They execute pawn advances only with overwhelming support. A knight on e4 or f4 becomes a kingside battering ram. Active rooks stacked on the f-file create a stranglehold on White. The bishop pair becomes lethal once lines open up.
The Knight as Your Kingside Weapon
Your knight belongs on e4 or f4 in most King’s Indian structures, not wandering on a6 or h5. A knight outpost on e4 exerts tremendous pressure on White’s position by controlling key squares like c3, d2, f2, and g3, while anchoring Black’s attack on the light squares. With proper preparation, a knight on e4 forces immediate tactical threats. White must then make concessions in piece placement or pawn structure. The Ne4 move works best after playing e5. This pawn controls d4 and prevents White from dislodging your knight easily. If White plays Nxe4, you recapture with the f-pawn and open the f-file toward White’s king.
A knight on f4 serves a similar purpose. It targets e2, g2, h3, and d3 instead. This placement works well when White weakens their kingside light squares.
The difference is clear. Ne4 creates immediate tactical pressure. Nf4 is more flexible, allowing maneuvers toward e2 or h3. Try for Ne4 whenever possible to limit White’s options. Place your knight here only if supported by a pawn on e5 or d6. If White can trade on e4 and leave you with a bad recapture, hold off on the move.
Rooks That Strangle White’s Center
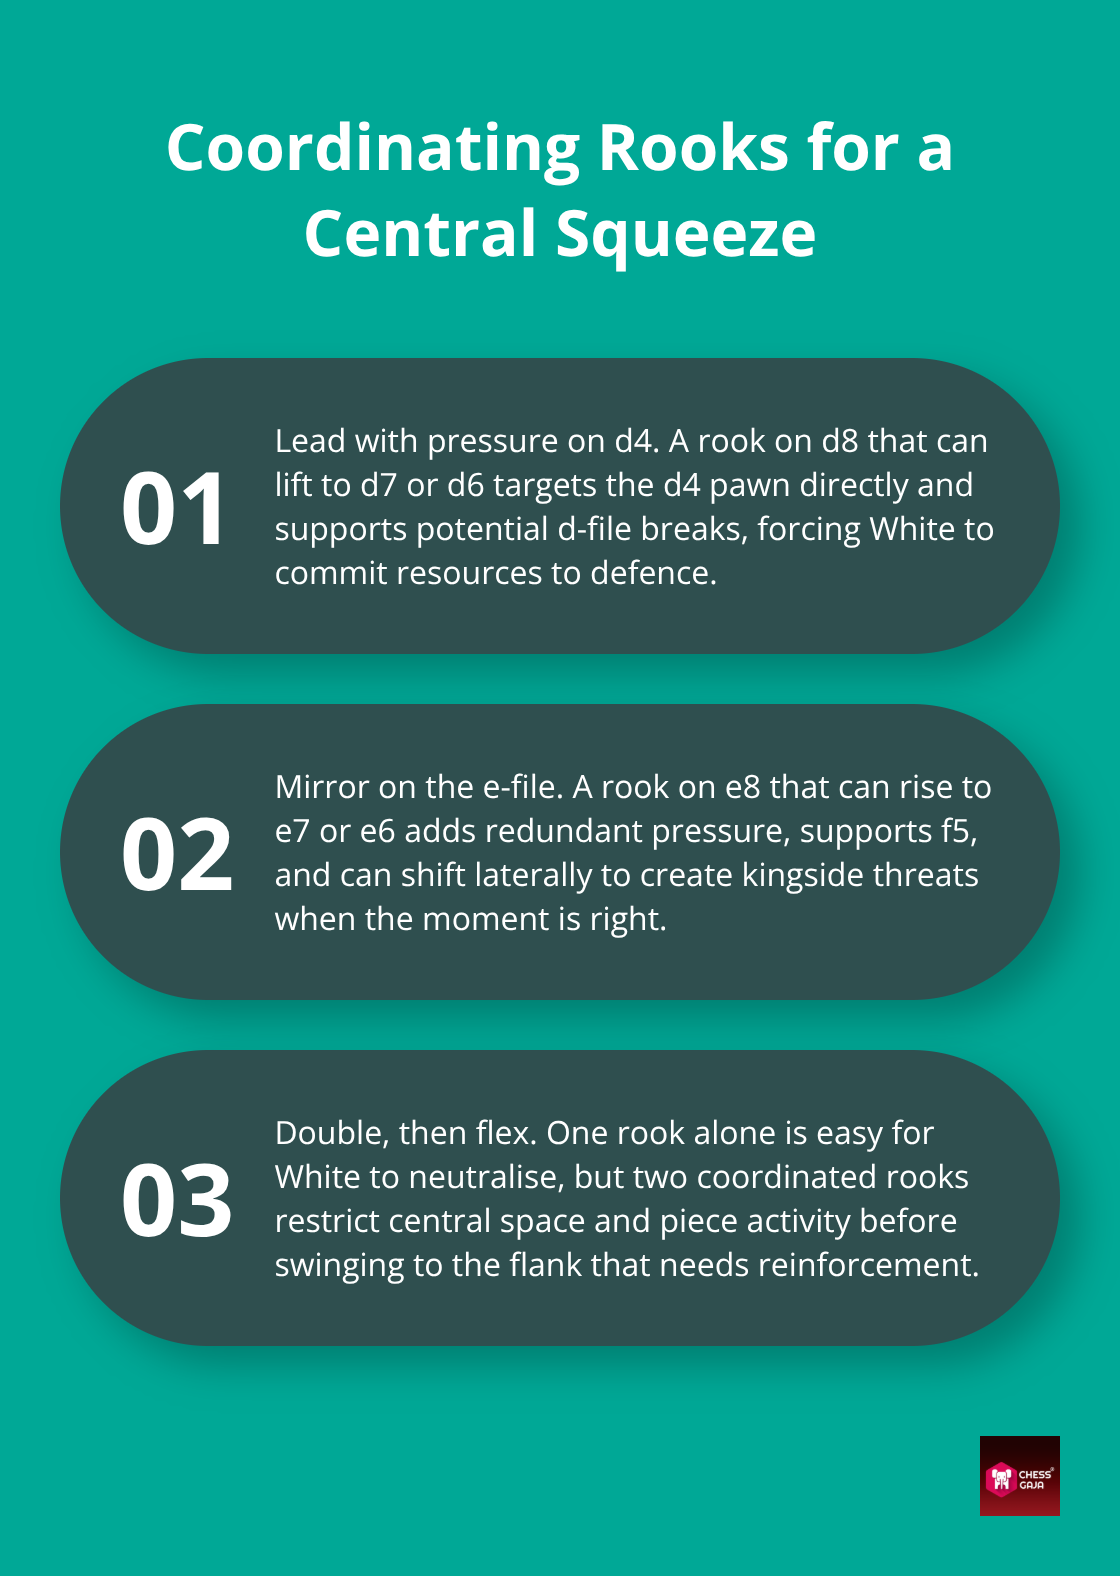
Rooks derive their power from open or semi-open files. The f8-rook naturally supports the crucial f5 pawn break. Once the f-file opens, doubling rooks on the f-file (via Rf7 and Raf8) or lifting a rook via Rf6 to h6 concentrates maximum firepower directly against White’s king.
In closed structures where White locks the center with d5, control over central files yields to flank activity. Your rooks shouldn’t get stuck passively defending central pawns; instead, maneuver them laterally along the 6th or 7th ranks to reinforce your kingside assault or support queenside breaks.
Leaving one rook inactive on the back rank wastes vital tempo. Ensure both rooks are active—whether controlling an open file or preparing a rook lift—to maintain a decisive initiative.
The Bishop Pair in Positions That Matter
Your light-squared bishop on c8 often stays dormant for the first 15-20 moves of a King’s Indian game, but when the position opens, this piece becomes dangerous. The bishop pair advantage applies only in open positions where both bishops have diagonals to operate on. In blocked structures with pawns on d6, e5, and f5, your light-squared bishop gets trapped. It provides no compensation for White’s space advantage. Avoid creating closed structures unless you have a concrete tactical reason.
Once White’s center loosens-after the e5 or f5 break-your light-squared bishop gains access to the long diagonal and can attack White’s queenside. The g7-bishop works in tandem with the light-squared bishop. When lines open toward White’s king, both bishops create lethal threats.
In closed structures with pawns on d5 and e4, Black’s light-squared bishop gets restricted. You must create immediate tactics (Ne4, a rook lift via f6 to h6, or f5). Force White to defend concrete threats rather than relying on positional play. The bishop pair is a strategic asset, not a tactical one. Use it to improve your position gradually, not to generate immediate winning chances.
With your pieces positioned correctly on the board, you now face the challenge of converting these advantages into concrete tactical wins. The next chapter reveals the specific tactical motifs and winning patterns that emerge when your pieces coordinate perfectly.
Practical Tactical Motifs and Common Winning Patterns
Weak Squares Around White’s King
When your pieces occupy the positions described in the previous chapter, White’s king suddenly faces real danger. Weak squares around White’s king are not abstract concepts-they are specific squares that White’s pieces no longer defend and that your pieces can occupy or attack.
In the Sämisch Variation, pushing f3 solidifies White’s center but creates permanent light-square weaknesses around their king. Your knight maneuvering toward f3 or your bishop on g7 targeting the h8-a1 diagonal can exploit these gaps. If Black places a knight on f3 with check, White’s king is forced into awkward defense while your knight controls critical escape routes.
Exploiting weak squares around White’s king leads to checkmate or material gain. Weak squares alone do not win games. However, they create conditions where your tactical threats become unstoppable. Identify which squares are weak and direct your pieces toward them with purpose. A knight on f3 paired with a rook lifted to f6 or h6 and your g7-bishop controlling the long diagonal creates a devastating mating net that White cannot survive. Attack weak squares only when your pieces can reach them with support and only when White cannot create immediate counterplay on the opposite side of the board.
Simplifying Into Winning Endgames
Trading pieces requires strict discipline and calculation. Many players assume simplification always favors the better side. This assumption costs games.
In the King’s Indian, you often hold a structural advantage rather than material superiority. Trading pieces removes tactical complications. It pushes the game into an endgame where White defends much more easily. Trade pieces only when the resulting endgame is clearly winning.
In closed positions with blocked pawns, trade off White’s dark-squared bishop. This removes a key defender of the weak dark squares around White’s king. Keep your knight and rooks active during the trade. Your remaining pieces will maintain overwhelming pressure on weak squares. Conversely, avoid trading your knight for White’s bishop when your knight on e4 or f4 creates immediate tactical threats. Calculate concretely: if you trade your knight, does White’s rook gain access to the seventh rank? Does White’s queen become more active? If yes, keep your knight and search for a different move.
In endgames with rook and pawns, your kingside pawn majority (after you have advanced f5 and e5) often converts to a winning advantage if you can eliminate White’s rooks without allowing counterplay on the queenside. Simplifying into winning endgames requires precise calculation and patience. In club play, most King’s Indian games are decided not by brilliant sacrifices but by players who understand when to trade and when to keep tension on the board.
Sacrifices on e4 and f3
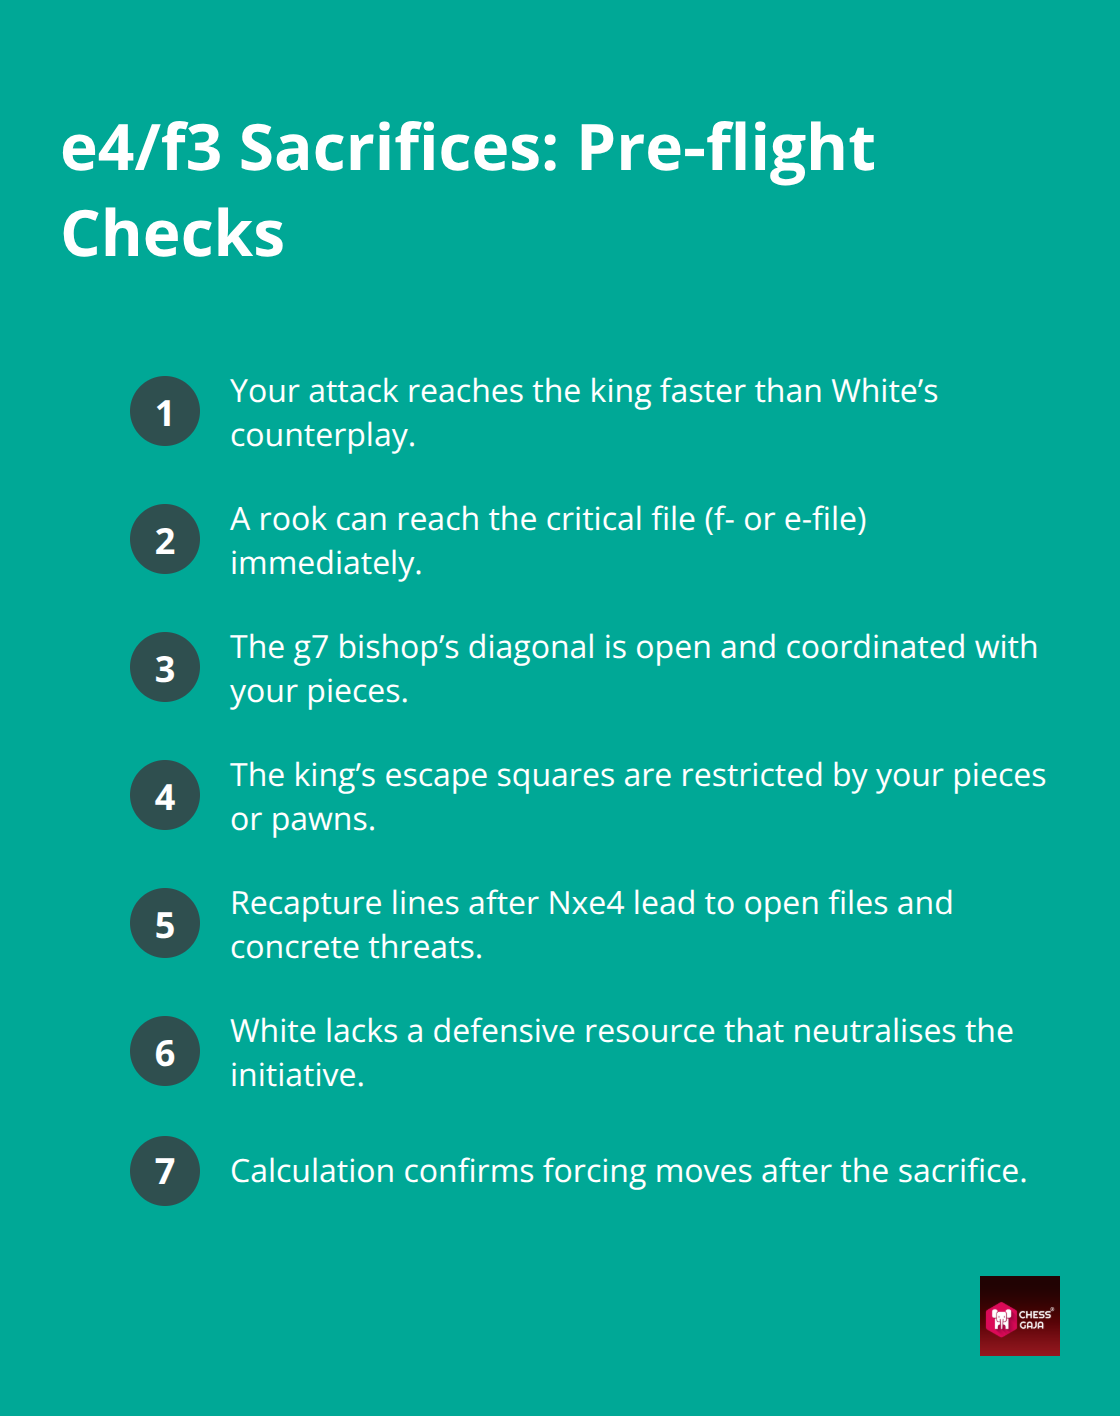
Sacrificial opportunities on e4 and f3 appear frequently in King’s Indian positions, but only when your pieces are positioned to support the sacrifice and create immediate tactical threats. A piece sacrifice on e4 or f3 (such as a knight sacrifice via Nxe4, aiming to open the f-file after White recaptures with fxe4) works only when your tactical follow-ups generate immediate checkmating threats. This sacrifice succeeds only when your rook can reach the f-file immediately and when White’s king lacks escape squares.
In positions where White has castled kingside and has left the f3 and g2 squares vulnerable, a piece sacrifice with Nxe4 (inducing White’s fxe4 recapture) allows Black to swing a rook to f4 or f3, creating deadly mating threats that White cannot defend against with standard moves. The critical point: do not sacrifice material unless the resulting position forces White to respond to immediate threats rather than pursue their own plans. A sacrifice that allows White to create faster counterplay on the queenside loses games.
In sharp variations with opposite-side castling, sacrifices become much sharper because both players face mating threats simultaneously. Your sacrifice on e4 or f3 only works if your attack reaches White’s king faster than White’s attack reaches yours. Calculate this race precisely before committing material.
Club players often play sacrifices they have seen in master games without understanding the specific conditions that make those sacrifices work. In your position, the sacrifice might fail because your rook cannot reach the critical file, or because White has a defensive resource (a move like Nf1 or Kg1) that stops the attack. Study games where these sacrifices succeeded and identify the exact piece placements that made them possible. Then check whether your position contains those same elements before sacrificing material.
Final Thoughts
The King’s Indian Defense ideas you have learned in this guide represent the fighting spirit that separates passive players from those who seize control of the middlegame. You now understand when to push e5 and f5, where your knight belongs on e4 or f4, and how to coordinate your rooks to strangle White’s center. These tools transform theoretical knowledge into tournament results.
Applying these strategies depends on your opponent’s strength and style. Against weaker players who lack coordination, aggressive piece placement and early pawn breaks often win by force because they create immediate tactical threats. A club player rated 1500 should focus on mastering one or two core plans-perhaps the e5 break combined with Ne4 and rook coordination-rather than trying to execute every idea simultaneously, while a player rated 2000 can blend multiple plans and shift between kingside attacks and queenside counterplay based on White’s setup.
Model games from Korchnoi, Fischer, and modern players show these King’s Indian defense ideas in action against the strongest opposition, and opening databases reveal which plans succeed most frequently in specific variations. Chess Gaja’s personalized study plans match your current rating and goals, with FIDE-rated coaches who understand exactly how to accelerate your understanding of these fighting plans. Book a Paid Starter Class with one of our coaches for a professional skill evaluation and create your personalized roadmap to tournament success.