

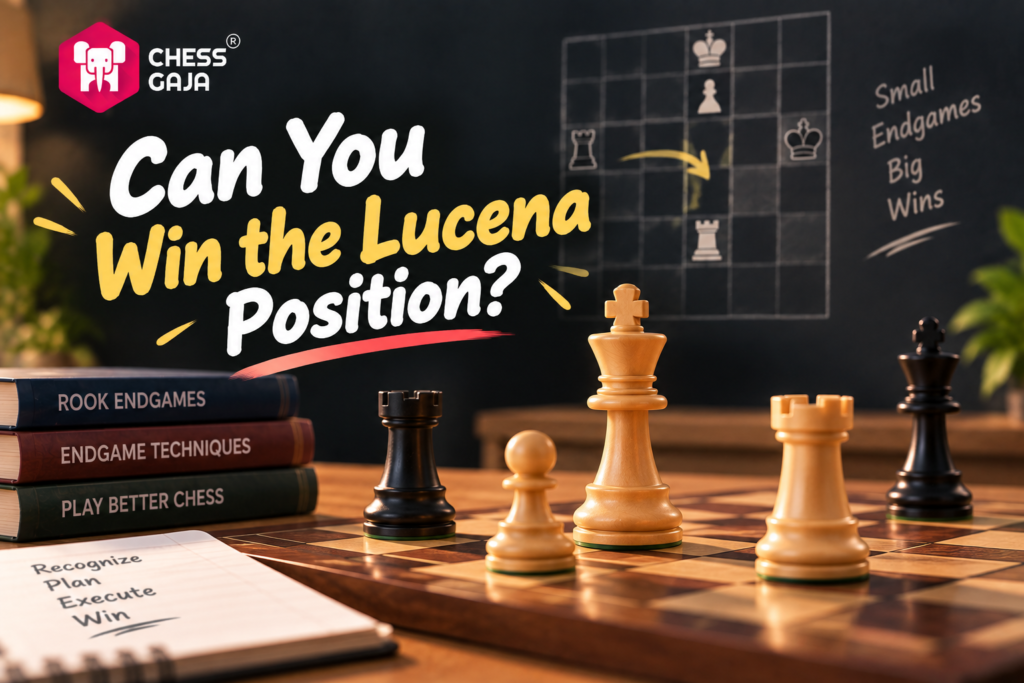
You’ve probably seen a rook endgame where one side has a winning position but can’t seem to convert it. The Lucena position is the answer to that frustration.
At Chess Gaja, we teach this classic technique to students across 40+ countries because it transforms how you handle rook endgames. Once you understand the bridge method, you’ll recognize winning positions you previously missed in tournament play.
What Makes the Lucena Position a Tournament Game-Changer
A Pattern Every Serious Player Must Know
The Lucena position is a foundational winning pattern in rook endgames. Strong players study it as a core technique rather than a rare trick. In a youth tournament, reaching a rook endgame with a pawn on the seventh rank is a decisive moment.
The Real History Behind the Name
Luis Ramírez de Lucena’s 1497 book gave this setup its famous name. However, the position does not actually appear in his text. Historians trace its first appearance to Alessandro Salvio’s 1634 treatise, where he credited Scipione Amato. The technique became known as “building a bridge” because the rook shields the king like a bridge over traffic.
GM Karsten Müller calls this pattern one of the most important concepts in endgame theory. When you master the bridge, you stop drawing winning positions. That difference determines whether you advance or go home in a tournament.
How the Position Looks and Why Recognition Matters
The position has a specific structure: your pawn sits on the seventh rank (one square from promotion), your king is on the queening square in front of the pawn, your rook cuts the defending king off from the pawn’s file — ideally by two files or more — and the defending rook sits ready to check along the ranks from behind the pawn.
The catch is that your own king, sitting on the queening square, is blocking its own pawn from promoting. That’s exactly why the bridge is needed: it lets the king step aside safely while shutting down the defender’s checks, so the pawn can finally queen.
The Bridge Method Stops Perpetual Check
Once you recognize this setup, you know exactly what to do: build the bridge by placing your rook on the fourth rank (or fifth, depending on the position) to shield your king from checks while your pawn advances to promotion. Players who don’t know this pattern waste moves, allow perpetual check, or lose positions they were winning.
How to Execute the Bridge Without Hesitation
Verify the Four Conditions Before You Move
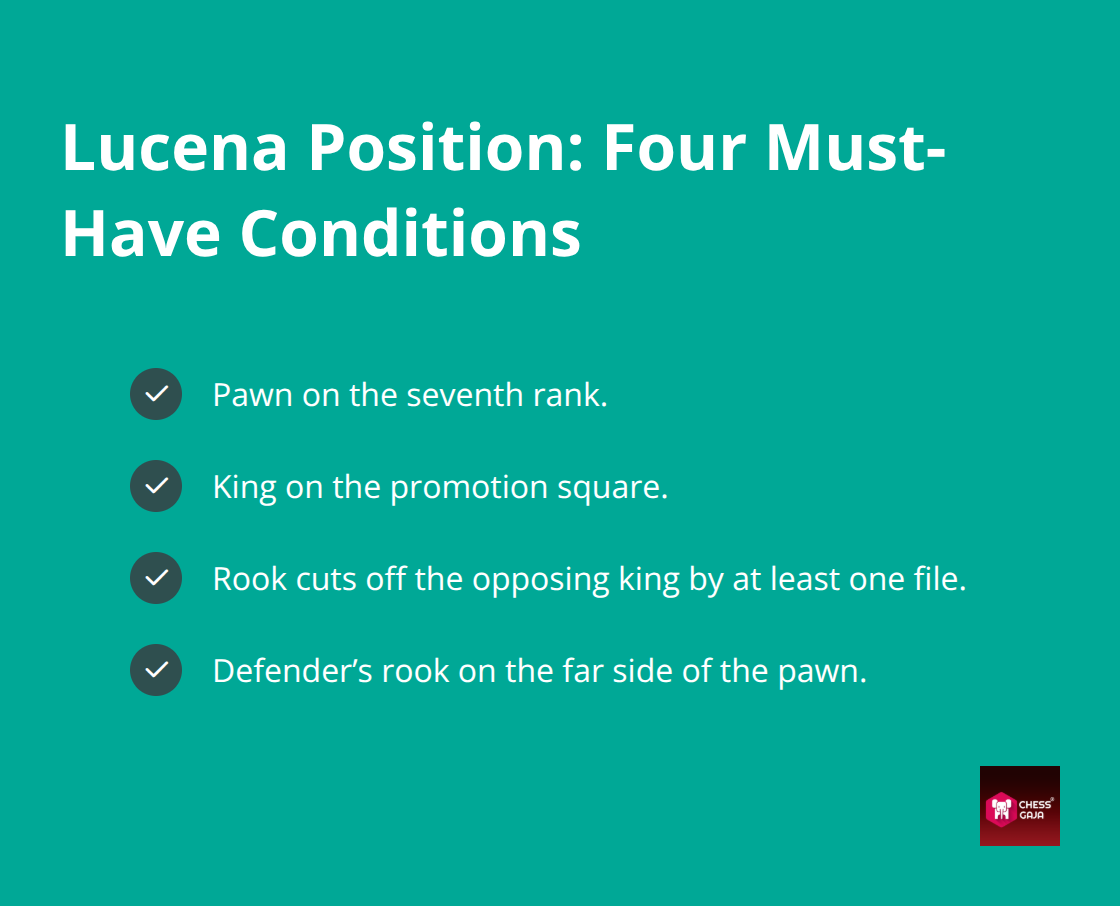
The bridge requires four specific conditions. Most players fail because they try to force the setup in wrong positions.
First, your pawn must sit on the seventh rank. Second, your king must occupy the promotion square. Third, your rook must cut off the defender’s king by at least one file. Fourth, their rook must sit on the far side of the pawn. If any condition is missing, the bridge collapses.
A student from a Dallas scholastic tournament faced this exact scenario: White pawn on e7, White king on e8, White rook on e1, and the opponent’s rook on a5 checking down the file. The student verified each condition in under 10 seconds, then executed Rd1+ (forcing Black’s king to the c-file), followed by Rd4 to establish the protective barrier on the fourth rank. The opponent checked from a8, but the White king stepped out and stayed shielded behind the Rd4 rook, leading to promotion three moves later.
Execute the Standard Sequence: Rd1+ Then Rd4
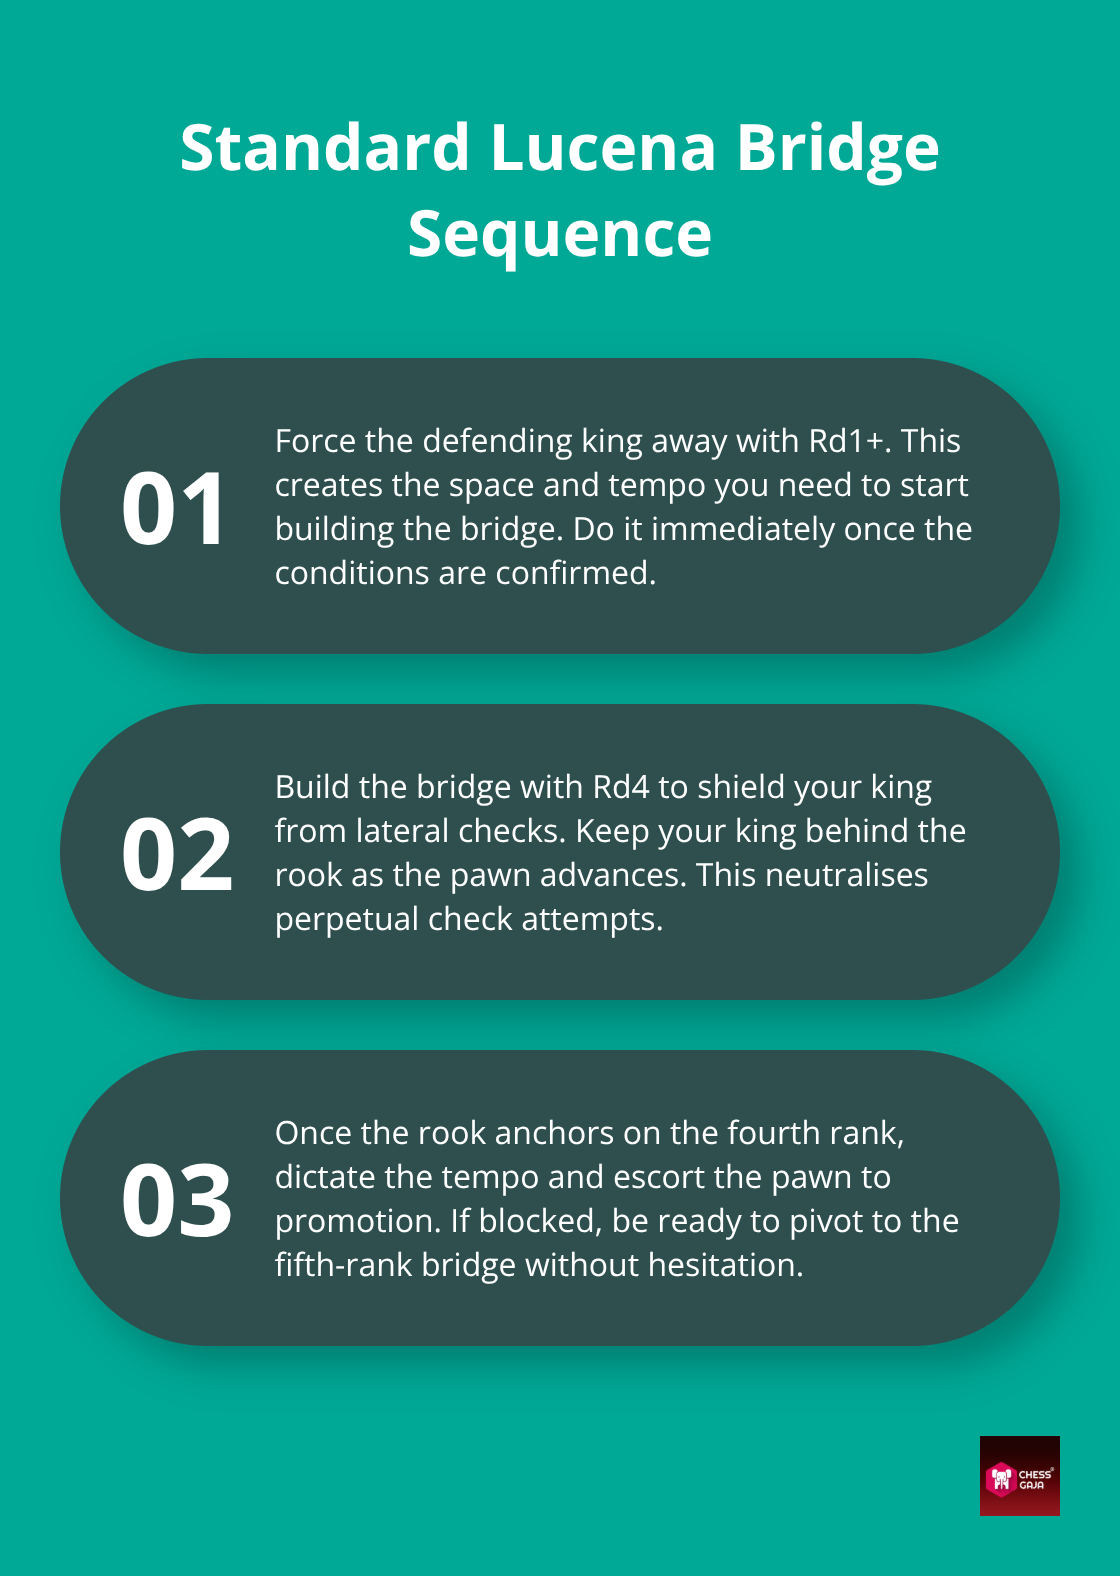
The standard winning sequence starts with Rd1+ to force the opponent’s king away, then Rd4 to build the bridge on the fourth rank. This is not luck-this is pattern recognition combined with mechanical execution. Once your rook sits on the fourth rank with your king behind it, you control the game’s tempo completely.
Practice the standard Rd1+ followed by Rd4 sequence until it becomes automatic. Most players who master this pattern stop drawing positions they should win. The difference between a winning position and a drawn one often comes down to whether you execute the bridge in four moves or waste six moves second-guessing yourself.
Pivot to the fifth-rank bridge when blocked
When the defender blocks the fourth rank, pivot to the fifth-rank bridge. GM Jesús de la Villa popularized this alternative in 100 Endgames You Must Know.
A Singapore tournament player recently faced this blocked fourth rank. Instead of forcing the standard idea, the student adapted. They checked the defender’s king with Rd1+, then placed the rook on Rd5. This allowed the White king to step out to e7 safely, shielding against checks from behind.
This required five additional moves compared to the standard pattern, but the structure remained identical: shield the king, advance the pawn, force promotion. The key insight most players miss is that the bridge is not a single move-it’s a coordinated positioning of rook and king that neutralizes all checks while your pawn advances.
Avoid the Panic That Leads to Passive Defense
The mistake most players make is panicking when the obvious fourth-rank bridge is blocked, then retreating into passive defense. Instead, you must recognize that alternative bridge positions exist and execute them with the same confidence. Rook-and-pawn endgames simplify to Lucena patterns in chess, meaning this technique will appear multiple times in your tournament career.
Study the fifth-rank alternative until you can transition between the two bridge setups without hesitation. Once you master both approaches, you’re ready to see how these principles apply to even more complex rook endgame scenarios-and that’s where your conversion rate truly climbs.
Where Players Lose Winning Positions
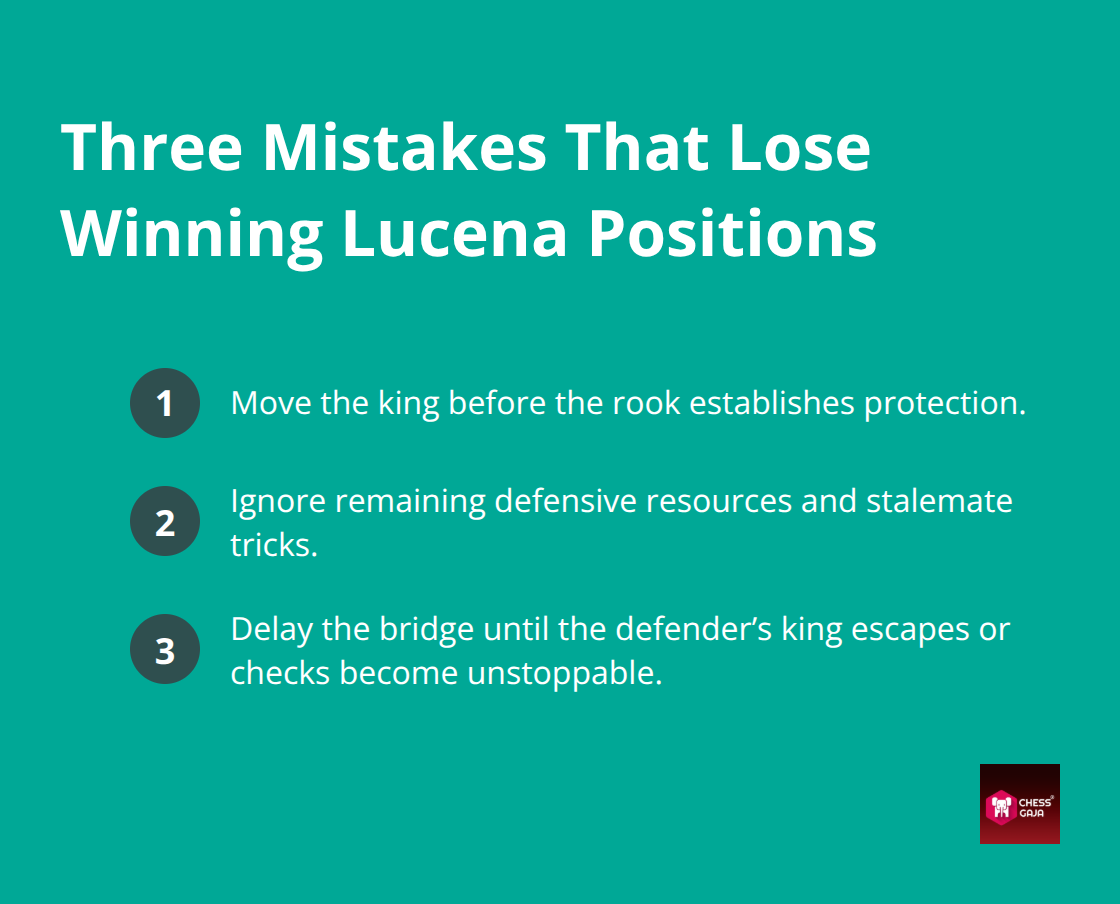
Moving the King Before the Rook Establishes Protection
Intermediate players often throw away wins by moving the king too early. They understand the bridge concept but execute the steps backwards.
They move the king out before establishing the rook barrier on the fourth or fifth rank. The defender’s rook immediately starts checking from the side. Suddenly, the king has no shelter left.
A student in a UAE tournament faced this exact trap: pawn on e7, king on e8, and White rook on a1. Instead of playing Rd1+ to force the opponent’s king away from the adjacent d-file, the student played Ke7?, trying to shepherd the pawn forward. The opponent’s rook immediately launched relentless checks with Re2+ followed by Rd2+, driving the White king away from the pawn and completely forfeiting the win. The position was completely winning-the student just reversed the move order and lost the game.
Your rook must establish the bridge structure first, shielding your king from lateral checks. Only after the rook sits safely on the fourth rank does your king have freedom to move. Rushing the king forward is not aggression; it’s suicide masked as impatience.
Misreading Defensive Resources That Still Exist
The second major mistake is overlooking defensive resources. Players build the bridge, advance the pawn, and assume the win is automatic. However, the defending rook may control key squares, or your king may run out of room to maneuver. A Singapore scholastic player recently faced a rook-pawn endgame where the defending rook stayed on the fourth rank, directly opposing the attacking rook. The student built the bridge on the fourth rank as planned, but the rook positions were so constrained that the pawn couldn’t advance without allowing the opponent to sacrifice the rook and force a stalemate trap.
The position required the fifth-rank bridge instead, rerouting to Rd5 to establish the shield from a different rank entirely. The student played Rd4 mechanically, assuming the standard pattern applied everywhere, and lost a win in 15 moves. This reveals the core truth: recognizing the Lucena position is only half the battle. You must verify that your specific board configuration allows the bridge you’re building.
If the opponent’s rook controls the fourth rank completely, you pivot to the fifth-rank alternative immediately. If the pawn sits on a rook file (the a-file or h-file), standard bridge patterns collapse and you need different winning sequences entirely. A Dallas youth tournament champion told us that the difference between his wins and his draws came down to spending five extra seconds verifying which bridge variation actually worked before committing to moves. Most players skip this verification step and play the template instead of the position.
Delaying the Bridge Until Escape Routes Open
The third mistake kills more endgames than any other: waiting too long to execute the bridge until the opponent’s king escapes the cut-off or until checks become so relentless that your king gets mated instead of promoting. Timing matters absolutely. The moment you confirm all four conditions of the Lucena position exist, you execute the bridge immediately-not next move, not after you improve your king position, but now.
National scholastic tournament data highlights another common trap: delaying the bridge. Waiting moves allow the defender to reposition their rook for relentless lateral checks.
The defender shifts to an active file, leaving your king with no sanctuary. A single wasted move can destroy an entire winning advantage.
Endgame conversion rates improve dramatically when you treat the bridge as urgent, not optional. The pawn on the seventh rank creates a narrow window where the technique works perfectly. Every move you delay tightens that window until it closes completely.
Final Thoughts
The Lucena position explained becomes automatic only when you practice it consistently across different board configurations, not just textbook examples. Students at Chess Gaja who dedicate 15 minutes weekly to bridge-building drills see measurable improvement in their endgame conversion rates within two months. This technique transforms how you handle rook endgames in tournament play.
Mastering the bridge unlocks other key endgame patterns, including the Philidor position. Rook endgames reduce to these core structures repeatedly. Investing time in Lucena pays dividends across your entire tournament career. Our curriculum, used in 40+ countries, teaches both positions as foundational skills that separate tournament winners from players who draw winning positions.
A Paid Starter Class with one of our FIDE-rated coaches at Chess Gaja gives you personalized feedback on your specific weaknesses in rook endgames. Our coaches analyze your recent tournament games and identify exactly where you’re losing winning positions, then provide a customized study plan with recommended puzzles tailored to your rating and goals. Book your professional skill evaluation today and start converting the positions you’ve been drawing.