

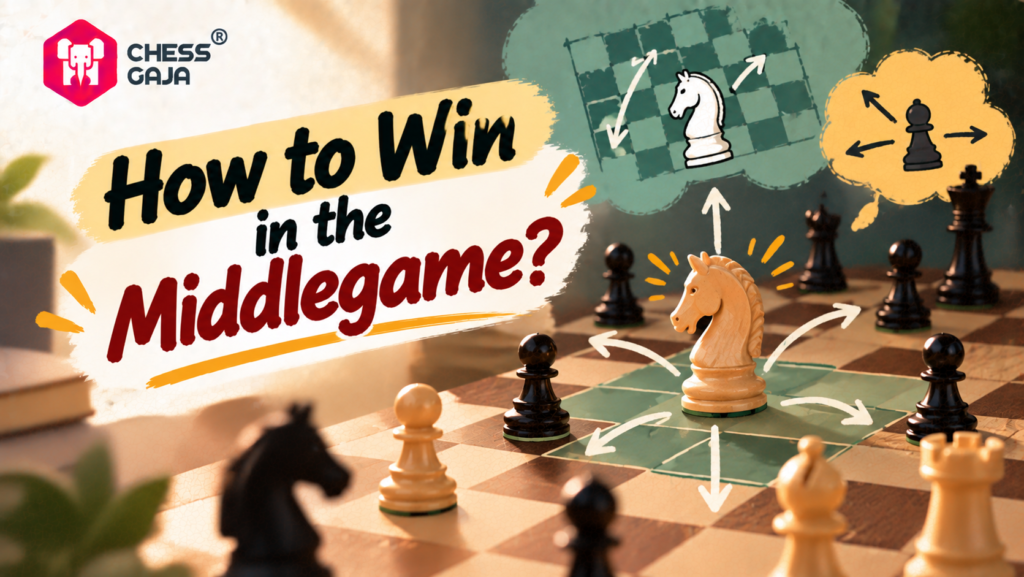
Your middlegame often decides whether you win or lose. Most beginner players focus on opening theory, but the middlegame is where you actually outplay your opponent.
We at Chess Gaja have coached thousands of students through this exact challenge. The middlegame strategy principles in this guide come from our curriculum used in 40+ countries and are taught by Grandmaster-led coaches.
Control the Center to Win Middlegames
The d4, e4, d5, and e5 squares represent the central battlefield. Control them with your pieces, and your opponent’s army loses space to maneuver. In our experience at Chess Gaja, students with central Knights and Bishops consistently defeat players whose pieces hover on the edges. For instance, a Knight on e5 controls eight key central squares. Put that same Knight on the rim at a4 or h3, and its control drops to just four marginal squares. Master players contest these central squares from move one. They never relinquish them without gaining concrete compensation.
Why Weak Squares Matter More Than Material
Identifying weak squares in your opponent’s position matters more than spotting a loose piece. A weak square is one your opponent cannot defend with a pawn and struggles to protect with pieces. Weak squares are created when an opponent moves pawns forward, leaving behind “holes” that can no longer be guarded by pawns. For instance, if Black advances their d-pawn to d5, the e5 square may become a permanent outpost if their c- and e-pawns can no longer cover it. Place your Knight on that weak square, and your opponent will struggle to drive it away. Weak squares appear most often around damaged pawn structures. When your opponent has doubled pawns, isolated pawns, or pawn holes, you gain access to squares they cannot reclaim. Scan your opponent’s position after every move: look for squares where their pawns have moved forward and cannot retreat. These are your targets for the middlegame.
Practical Methods to Seize Central Territory
Occupying central squares requires two steps. First, develop minor pieces toward the center immediately. Place Knights on c3 and f3 early, while aiming Bishops at key central squares like d4 or e5. Second, advance central pawns carefully with piece support. Standard openings begin with e4 or d4. However, beginners frequently overextend central pawns without minor piece backing. Establish piece control first so central pawns stay solid rather than becoming weak targets. Once you secure the center, protect those squares with multiple units. A Knight on e5 backed by a Queen and pawn forms a fortress. Your opponent cannot trade it off without losing material.
How Piece Placement Leads to Middlegame Advantage
Strong central control only works when your pieces work together to maintain it. A single piece on a central square falls quickly to your opponent’s counterattack. Multiple pieces defending the same square create a fortress your opponent cannot breach. This coordination principle carries forward into the next phase of middlegame strategy: moving all your pieces to active squares where they create real threats. The difference between a scattered position and a coordinated one often decides whether your central advantage translates into a winning attack or fades away.
Piece Activity and Coordination
Your pieces only win games when they attack something, defend something, or control space your opponent needs. A Bishop buried on b1 does nothing; that same Bishop on e4 pressures your opponent’s position and forces defensive moves. This is the core principle of piece activity, and it separates strong middlegame players from weaker ones.
Moving Your Pieces to Active Squares
Every move should improve at least one piece’s placement or force your opponent into a worse position. When you finish your turn, ask yourself: did my piece move to a square where it accomplishes more than before? If the answer is no, you wasted a move.
Most beginners move pieces randomly, hoping tactics appear. Strong players systematically improve their worst-placed piece every turn until it becomes a weapon. Look to trade off your passive or misplaced pieces for your opponent’s active, well-placed units—for example, exchanging a passive Knight sitting on the rim for an enemy Knight occupying a strong central outpost. This deliberate approach builds pressure without memorizing tactics.
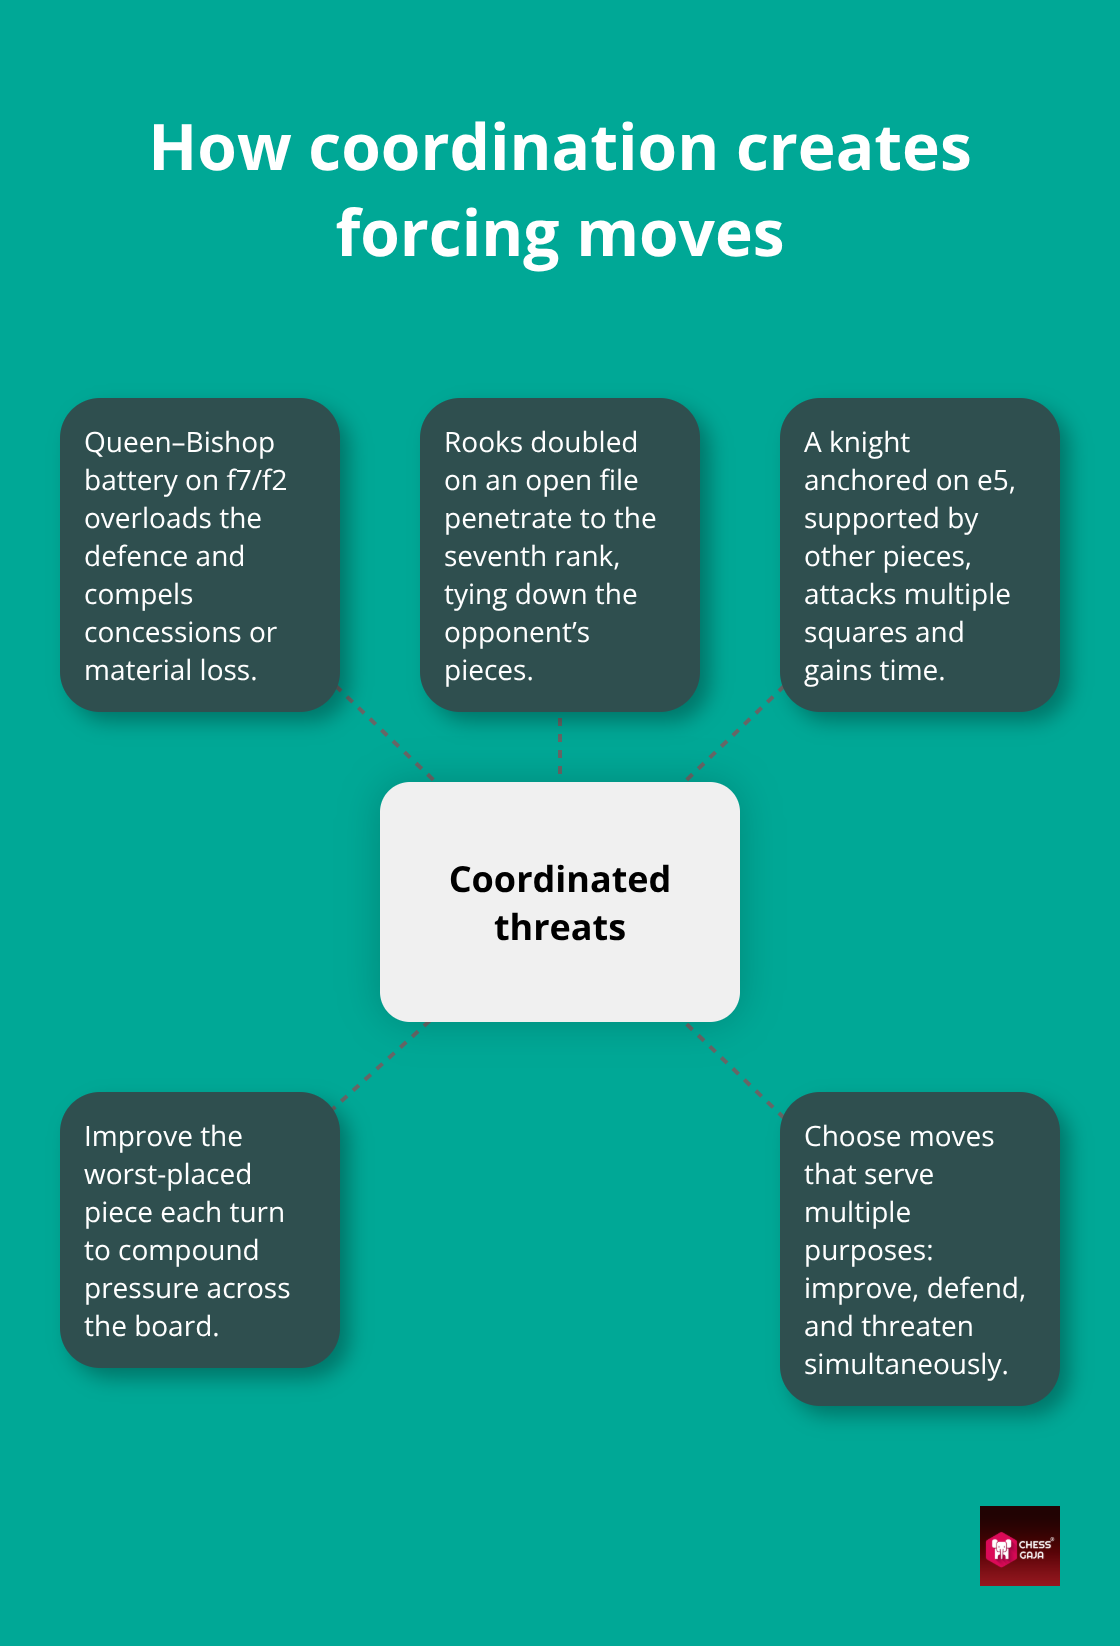
Your opponent must respond to threats you create, not the other way around. When your Knight jumps to e5 and attacks multiple squares, your opponent loses time defending. When your Rook slides to an open file and threatens their back rank, they must address it immediately. This is how you seize control of the middlegame: your opponent reacts while you execute your plan.
Creating Threats That Force Reactions
Coordinating multiple pieces multiplies your power exponentially. When two or more pieces target the same square, you force your opponent into a losing exchange or a compromised setup. For example, lining up a Queen and Bishop battery along a diagonal directed at your opponent’s king position compels immediate tactical concessions.
This coordination principle applies across every piece type on the board:
Rooks: Double them on open files or ranks to dominate open lines.Knights & Queen: Pair them together to create multi-pronged, overlapping tactical threats.Bishops: Slice across complementary diagonals to divide and restrict enemy pieces.
Before making any move, verify that it enhances the collective harmony of your entire army.
Executing a knight move that simultaneously centralizes, attacks a target, and defends a friendly weakness is far superior to simply shifting to an open square. This multidimensional approach—where every move serves multiple tactical and strategic goals—transforms your middlegame from chaotic to coherent.
The Efficiency of Grandmaster Moves
Players who study Grandmaster games notice this immediately: every move by strong players strengthens their position in more than one way. Your move might simultaneously improve piece placement, defend a weakness, and create a new threat. This is what makes Grandmaster moves look effortless; they are simply more efficient.
Start practicing this in your next game: after making a move, evaluate how many roles it fulfills. Ask yourself if it optimizes a piece's square, generates an immediate threat, backs up a friendly unit, or guards a key vulnerability. Moves that accomplish three or four purposes simultaneously are what methodically compress your opponent's position and secure winning middlegames.
This foundation of piece activity and coordination sets the stage for your next strategic consideration: how the pawns on the board shape your long-term plans and determine which pieces matter most in the positions you face.
Pawn Structure Shapes Your Entire Middlegame
Your pawns are permanent. They never move backward, and once they advance, the squares they leave behind become weaknesses your opponent can exploit forever. This is why pawn structure matters more than material in the middlegame. A player with fewer pieces but a sound pawn structure beats a player with more pieces and a shattered pawn structure almost every time. When you understand how pawns create lasting advantages, you stop playing reactive chess and start building plans that compound over many moves.
Identifying Permanent Weaknesses
The moment your opponent pushes a pawn, they create lasting structural changes: the squares alongside that pawn can no longer be protected by it. For instance, if Black advances their c-pawn to c5, the d5 square can no longer be guarded by that pawn. If they push f7-f5, the e6 and g6 squares become permanent holes. Scan your opponent’s pawn structure after every move and ask yourself: where did they leave behind permanent weaknesses?
A weak square in the center is worth more than winning a pawn on the edge of the board. GM Priyadharshan Kannappan teaches students to identify these weaknesses within the first five moves of the middlegame and build entire plans around occupying them. Your plan becomes simple: place your best piece on that weak square, defend it with other pieces, and let your opponent waste moves trying to remove it. Meanwhile, you create secondary threats that multiply your advantage.
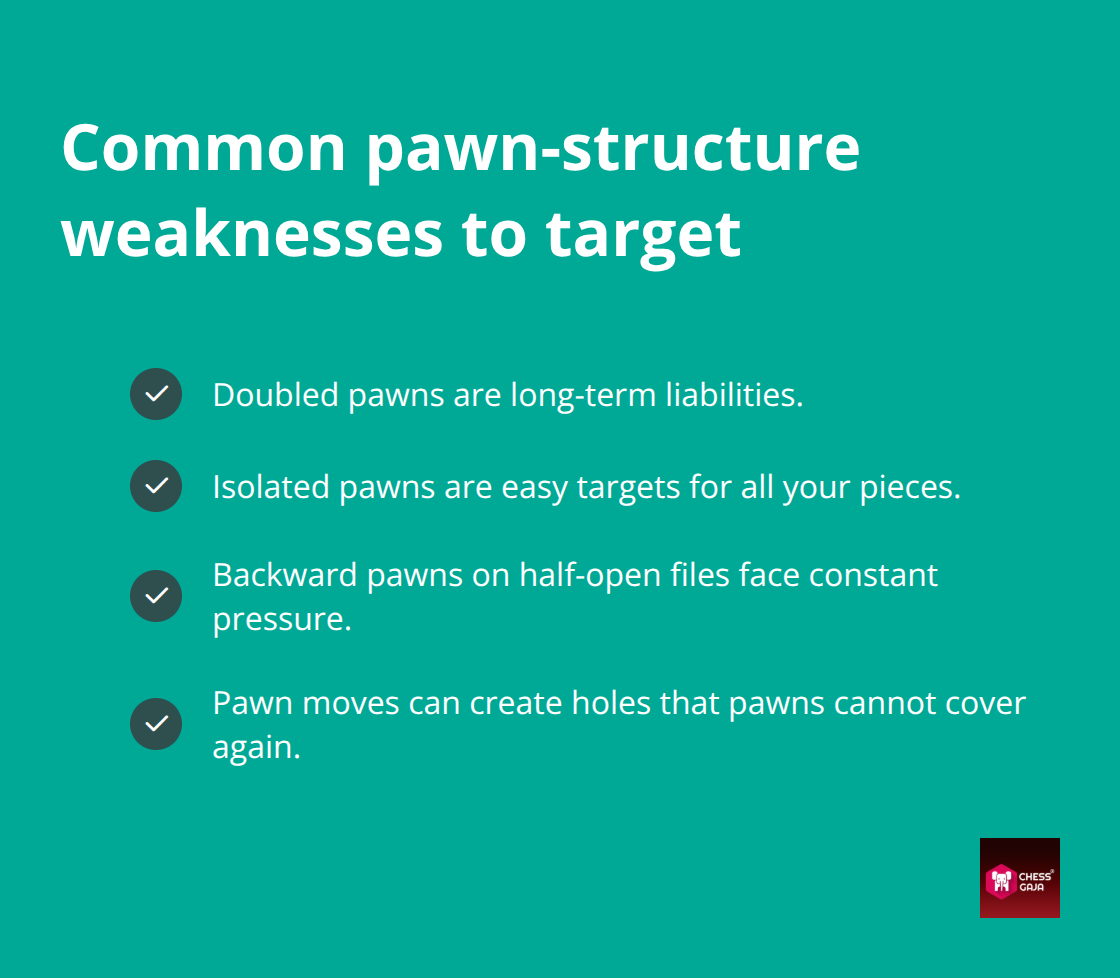
The pawn structure tells you where the game will be decided. A doubled pawn in your opponent’s position is a permanent liability. An isolated pawn is a target every piece on your side can attack. A backward pawn on a half-open file creates lasting pressure. These structural weaknesses do not disappear; they define the entire middlegame and often carry into the endgame where they become decisive.
Supporting Your Own Pawn Structure
Your own pawn structure must support your plan, not fight against it. If you want to attack on the kingside, your pawn structure must keep your king safe while your pawns support your attacking pieces. If you decide to play on the queenside, your central pawns must remain solid so your opponent cannot counterattack in the middle.
Top-level players rarely push pawns without calculation. Does the advance support piece placement, or does it invite counterplay? Effective strategy relies on pawn break. These deliberate advances challenge enemy pawn chains to open vital lines. For example, face an opponent’s central pawn on e5 by executing d2-d4 or f2-f4. This forces an immediate confrontation, opening files for your Rooks and diagonals for your Bishops.
Every pawn break must yield concrete positional gains: opening a file for rook pressure, clearing diagonals for bishop attacks, or carving out an outpost for a knight. While beginners push pawns on hope, master players calculate whether the resulting lines favor their active pieces. Advancing a pawn without a clear tactical objective simply compromises your position.
Building Your Plan Around Pawn Structure
Build your middlegame plan around your pawn structure first, then move your pieces to support it. When your pawn structure grants space on the kingside, orient your pieces toward an active attack. Conversely, facing an opponent with superior central space often leads to a cramped setup. Trading off a few pairs of minor pieces serves as the ideal remedy to ease congestion and restore maneuverability for your remaining forces.
Pawn structures serve as your positional blueprint. Every tactical plan stems from them. Evaluating any setup begins with inspecting pawns. They dictate which pieces carry value and where key battles occur. Mastering this foundation replaces aimless moves with structured plans that methodically squeeze your opponent.
Final Thoughts
The three middlegame strategy principles you’ve learned work together to build positions that are difficult for your opponent to defend. Control the center and weak squares, activate your pieces to create threats, and build your plan around pawn structure. These principles reinforce each other-a centralized Knight on e5 only becomes powerful when your pawn structure supports it and your other pieces coordinate to defend it.
Consistent application of these middlegame strategy principles produces measurable results. Students who focus on piece activity and pawn structure stop blundering and start outplaying opponents at their rating level. Within weeks of deliberate practice, your games feel less chaotic, your opponent spends more time defending than attacking, and your plans survive contact with their counterplay because they rest on solid positional foundations.
This is exactly what we teach at Chess Gaja, where our curriculum spans 40+ countries and our FIDE-rated coaches have trained 7 national champions. Your next step is to book a Paid Starter Class with one of our coaches, who will evaluate your current middlegame habits, identify which principle needs the most work, and create a personalized study plan tailored to your rating and goals.