


Most beginners rush into attacking moves without a plan. They push pawns forward, move pieces randomly, and hope something works out.
At Chess Gaja, we’ve seen this pattern thousands of times in our coaching sessions. The players who win consistently aren’t the ones making flashy attacks-they’re the ones who follow positional opening principles from move one.
Why the Center Matters Right From the Start
The center of the board—the d4, e4, d5, and e5 squares—controls the game from move one. Beginners often ignore this and push random pawns or move pieces to the edges. This hands control to your opponent and makes every subsequent move harder.
When you control the center early, your pieces gain mobility. Your opponent’s pieces get squeezed, and your attacking chances multiply naturally. That’s the difference between consistent winning and frustrating draws or losses.
Placing Your Pieces on Strong Central Squares
You control the center by positioning your knights and bishops where they influence d4, e4, d5, and e5. Developing your knights to f3 and c3 (or f6 and c6 for Black) immediately exerts control over key central territory. When centralized on squares like d5 or e4, a knight reaches its maximum potential by controlling up to 8 distinct squares.
Place your bishops on active diagonals that influence the center, such as c4/e2 for White or c5/e7 for Black. Alternatively, fianchetto them on b2 or g2 to attack along long diagonals. Your rooks belong on open files that lead to central squares once you’ve developed. Move each piece to a square where it accomplishes something.
A knight on the rim like a3 or h3 wastes time and lacks scope. A bishop on h6 doesn’t control central territory. These moves may look active, but they are actually slow. Instead, develop your knights and bishops toward the center with clear purpose.
Avoiding the Trap of Neglecting the Center
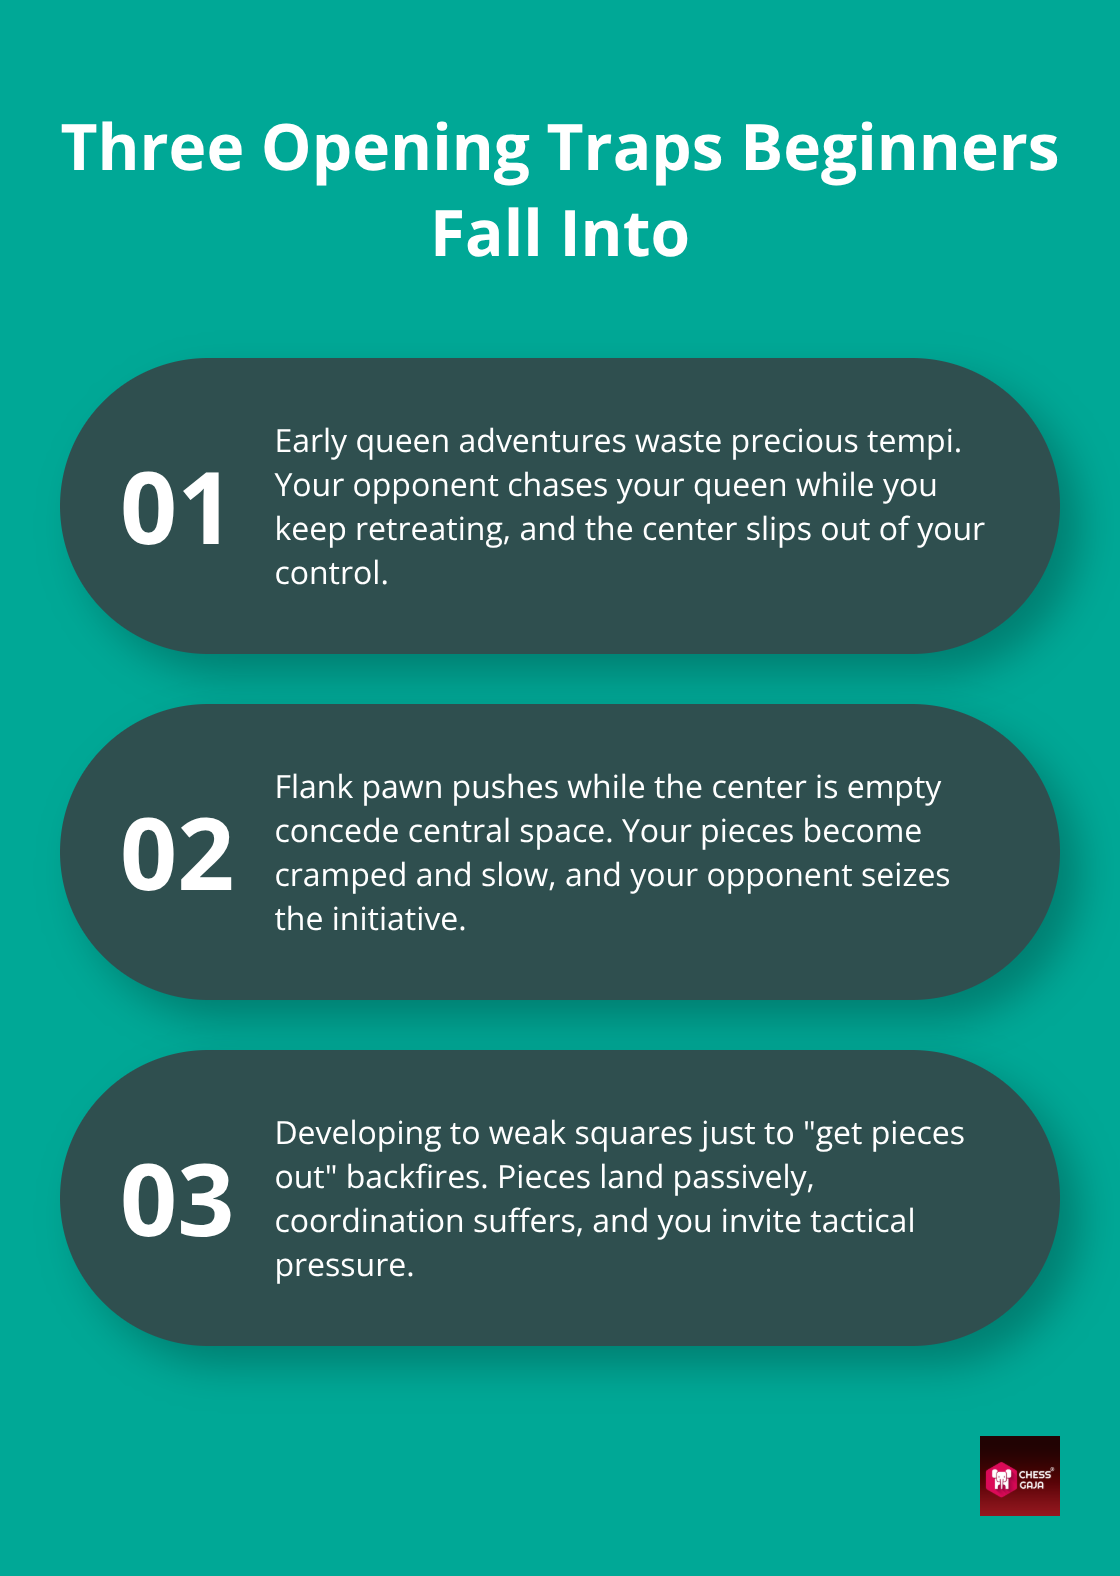
Beginners make the same mistakes repeatedly: they move the queen out early to attack, push pawns on the flanks while the center sits empty, or develop pieces to weak squares just to get them off the back rank.
Moving your queen early is especially dangerous because she becomes a target. Your opponent wastes time attacking her while you waste time moving her to safety. Meanwhile, the center remains uncontested and your opponent grabs it.
Push your central pawns (d4/e4 for White, d5/e5 for Black) in your first few moves. Only delay this if your opening system specifically calls for a different setup. Control the d4 and e4 squares with your pieces, even if you haven’t pushed pawns there.
This pressure forces your opponent to respect the center and limits their piece placement. Once you establish central control and develop your pieces toward those squares, your position tightens and attacking chances emerge naturally.
What Happens Next
Skipping central control leaves you playing catch-up for the rest of the game. Your pieces lack coordination, your opponent’s pieces occupy the best squares, and you spend moves reacting instead of attacking.
The next step is to develop your knights and bishops with this central control in mind-not randomly, but with a clear purpose tied to the squares you want to occupy and the pressure you want to apply.
Develop Your Pieces Into a Coordinated Army
Why Piece Order Matters More Than You Think
Knights and bishops are your primary focus in the opening, and the order of development matters far more than beginners realize. Developing your knights first (f3/c3 for White or f6/c6 for Black) immediately controls key central squares (d4, e4, d5, e5). A bishop fianchettoed on b2 or g2 controls central squares along the long diagonals (a1–h8 and h1–a8).
Most beginners treat piece development as a checkbox-moving a knight to a passive square like a3 or h3 just to get it off the back rank, without asking whether it actually controls central territory.
A player might move a knight to a passive square on the rim like a3 or h3 (or a6/h6 for Black) and waste precious tempo re-routing it, whereas developing directly to f3 or c3 (f6 or c6 for Black) immediately exerts maximum influence over the central squares.
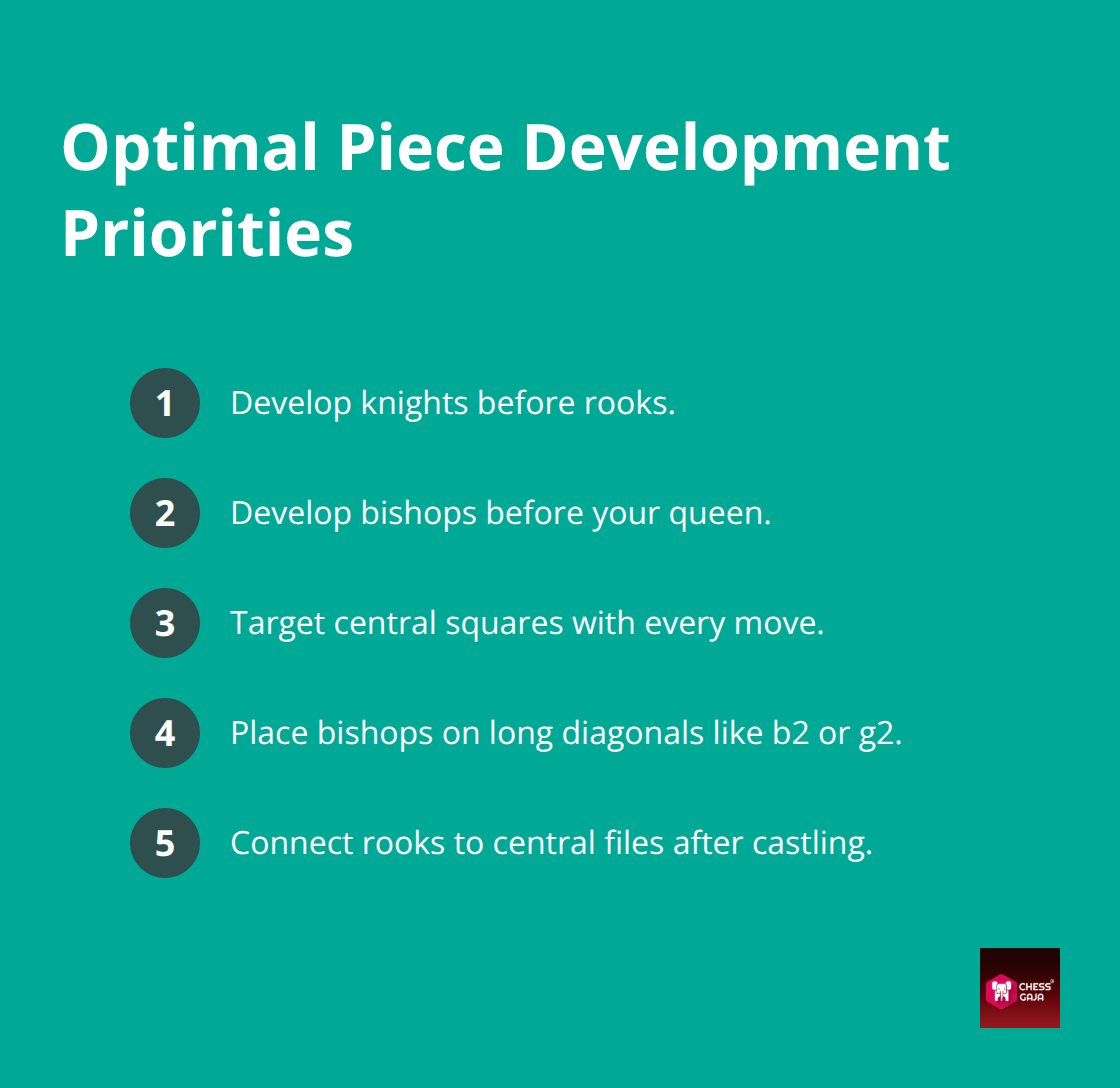
Each move in the opening compounds. Develop your knights before your rooks. Develop your bishops before your queen. Target central squares and long diagonals with every piece.
Placing Pieces on Their Strongest Squares
A knight on the rim or a bishop on h6 feels active but actually signals that you’re playing slowly and your opponent controls the board. Your goal in the first 10 moves is to place every piece where it accomplishes something concrete-not just off the back rank.
A knight on e4 or d5 controls key central squares and restricts your opponent’s options. A bishop on the long diagonal (a1–h8 from b2, or h1–a8 from g2) controls territory across the board. A rook placed on an open or semi-open central file (e-file or d-file) applies direct vertical pressure.
When you place pieces this way, they work together instead of fighting for space. Your pieces support each other, your opponent’s pieces get squeezed, and your position tightens naturally.
Castling Unlocks Your Rook and Secures Your King
Castling kingside or queenside is the move that unlocks your rook’s potential and secures your king in one action. Most beginners delay castling because they’re fixated on attacking, but this is backwards. Castling early increases your king’s safety and brings the rook into an active central position.
A rook on e1 after kingside castling controls the e-file (or e8 for Black), which frequently becomes the highway for your central attack. A rook on d1 after queenside castling (or d8 for Black) supports d-file pressure. Without castling, your rook sits trapped on h1 or a1, completely disconnected from the game.
Beginners who castle late often find themselves scrambling to coordinate pieces in the middlegame while their opponent has already seized control.
The Cost of Delaying Castling
Castle early and your pieces suddenly have a clear path to apply pressure. The moment you castle, ask yourself where your rooks belong-which open file gives them the most power?
That question answers itself when you’ve already developed your knights and bishops toward the center. Wasting time with random pawn pushes on the flanks or unnecessary piece shuffles delays castling and leaves your king exposed longer than it needs to be. Count your moves. If you’ve made 6 or 7 moves and haven’t castled, your position is already behind because your pieces lack coordination and your king sits on the first rank vulnerable to tactics.
Once your pieces occupy strong squares and your king reaches safety, you’re ready to shift from opening principles to executing a concrete plan-which means identifying your opponent’s weaknesses and deciding which pieces will attack them.
Create a Safe King Position
Your king’s safety determines whether you finish the opening with an advantage or in crisis. Beginners often treat castling as optional or delay it while chasing attacks, but this decision costs games. The moment you castle, your king moves to the corner where it has fewer escape squares but gains shelter behind pawns.
A king trapped on e1 after move 10 invites tactics that end the game immediately. Students who castle by move 6 or 7 consistently outperform those who delay. The difference isn’t subtle. Early castling gives you a concrete safety margin while your opponent must still decide how to coordinate their pieces around an exposed king.
Build a Solid Pawn Structure Around Your King
Pawn structure around the king matters just as much as castling timing. Pushing your f-pawn (f3/f4 for White, or f6/f5 for Black) before castling creates serious structural weaknesses. Pushing the f-pawn weakens the e1–h4 diagonal for White (or the e8–h5 diagonal for Black) and exposes your king to dangerous checks and tactical attacks.
Meanwhile, an opponent’s light-squared bishop on d3 or c2 can stare down the b1–h7 diagonal directly at your h7-pawn. This sets up lethal sacrifice patterns (such as the Greek Gift sacrifice on h7) and threatens a direct attack on your king.
Pushing your b-pawn (b3 for White, or b6 for Black) before castling queenside weakens the dark/light square complex around your king and opens dangerous diagonals for your opponent’s queen or bishops. These aren’t minor details—they’re the difference between a secure king and one facing constant tactical danger.
The safest standard structure places your king behind an intact shield of three pawns (f2, g2, h2 for White kingside, or a2, b2, c2 for White queenside). Your opponent must work significantly harder to penetrate this shelter.
Plan your pawn moves carefully before you push, as each move permanently alters your king’s defense. On the kingside, keeping pawns on f2, g2, and h2 (or g3 only if fianchettoing your bishop) provides maximum security. Avoid mixing pawn moves on both flanks in the opening, as this weakens both sides and leaves your king exposed everywhere.
Choose the Right Castling Direction for Your Position
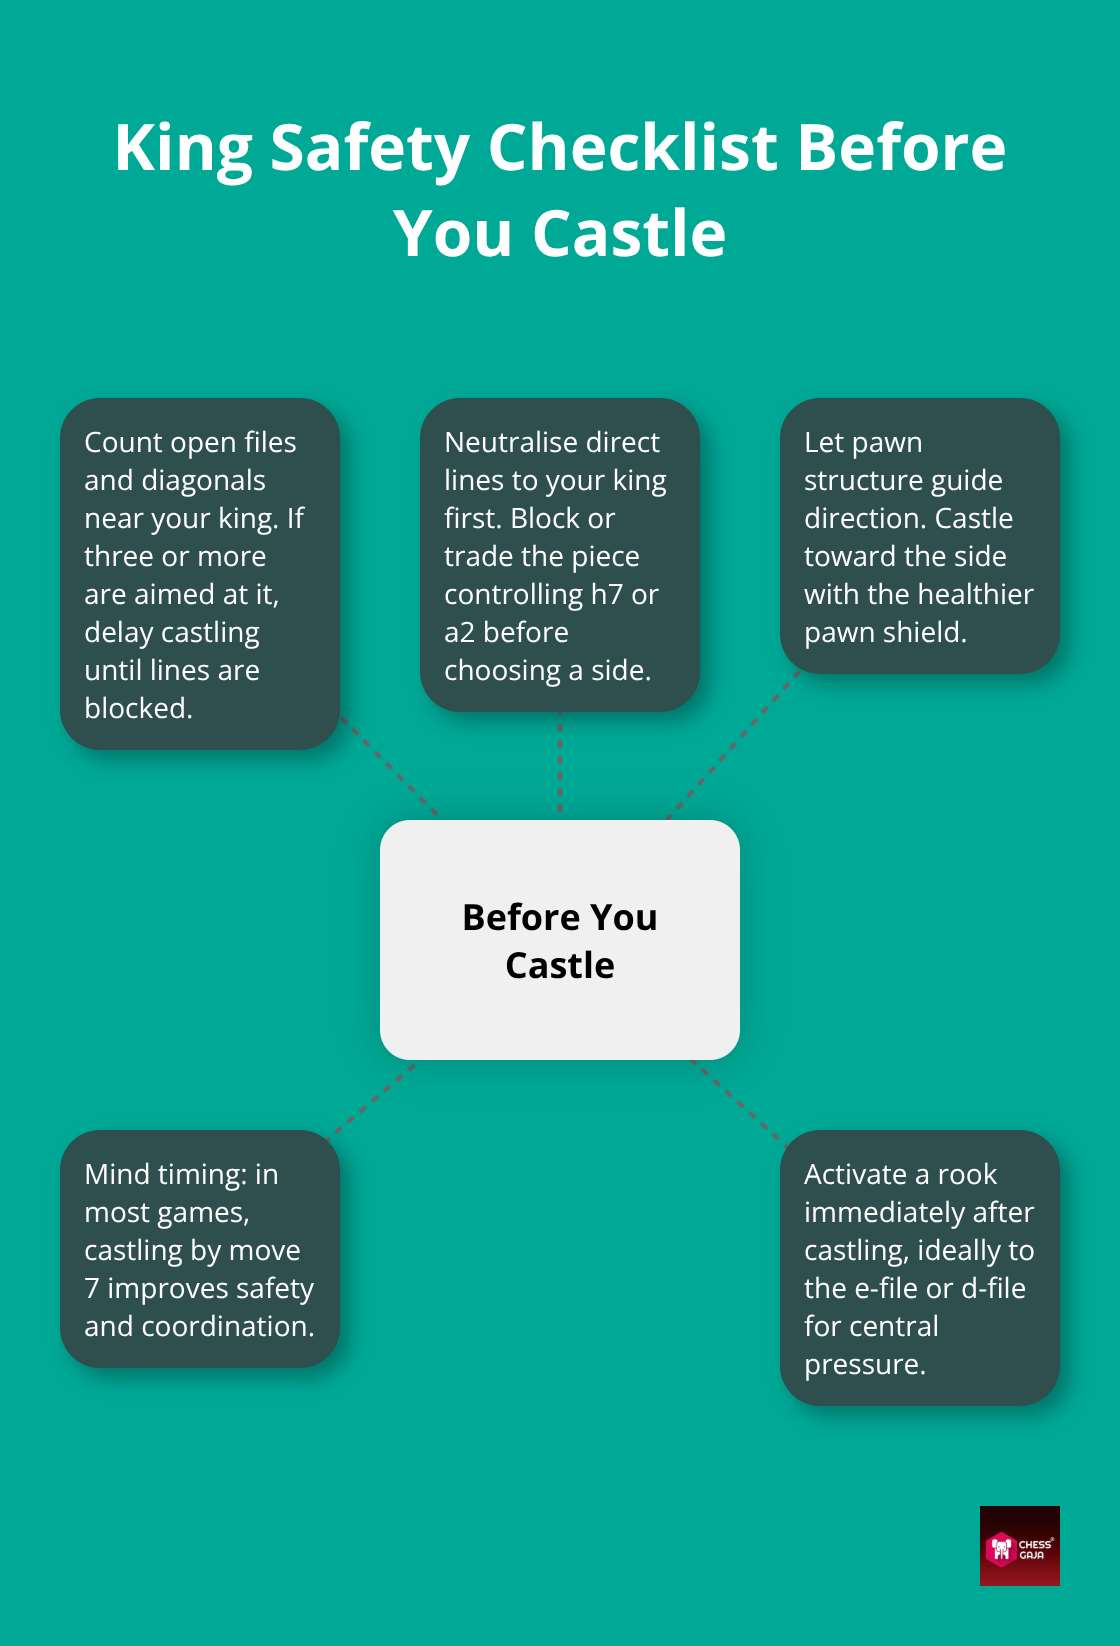
Castle before your opponent controls the diagonals pointing at your king. If your opponent has a bishop or queen aimed at h7 (kingside) or a2 (queenside), castling moves your king directly into their line of attack. Wait until you’ve blocked that diagonal with a piece or removed the attacker. Timing matters. Most games see kingside castling by move 7 at the latest. Players who castle after move 10 have already allowed their opponent to seize central control and launch threats.
A practical rule: aim to complete your minor piece development (knights and bishops) and castle by move 8 to 10. If you haven’t castled by then, your position lacks coordination and your king sits exposed. The exception is positions where castling queenside gives you a superior rook placement or pawn structure.
Some openings favor queenside castling because it places the rook on d1, controlling the central d-file more actively than kingside castling would. Study your opening system to know which castling direction suits your position. Don’t assume kingside is always correct.
A weak pawn structure on one side makes castling there dangerous. If you push your f-pawn and g-pawn early on, kingside castling leaves your king behind a severely shattered pawn shield, making queenside castling your only safe alternative. Conversely, if your queenside pawn structure shows damage, kingside castling protects your king better. Your pawn structure reveals which side can safely house your king.
Spot Danger Before Your King Faces It
Your king faces real danger when your opponent controls open files or diagonals pointing toward it. An open e-file while your king sits on e1 allows an immediate check, where your opponent’s rook can pin central pieces and force you into dangerous defense. An open g-file after kingside castling creates a similar vulnerability.
Before you castle, check for open files or major diagonals pointing directly toward your king’s future square. If your opponent already controls an open line against your intended position, prioritize neutralizing or blocking that threat before committing your king.
When playing as Black, watch for an opponent’s light-squared bishop on d3 or c2. If it stares down the b1–h7 diagonal directly at your h7-pawn, danger is immediate. Block that diagonal with a central pawn (e.g., playing …e6 or …d5) or neutralize the attacker before castling.
An opponent’s queen operating on the long diagonal (a1–h8 or h1–a8) combined with an open b-file means castling queenside walks right into an attack against your b-pawn and key entry squares. These aren’t abstract risks. They’re concrete tactical threats that end games in 5-10 moves.
Watch your opponent’s piece placement carefully. Castling becomes risky if both enemy bishops aim at your king’s square, or if their queen sits on an active attacking file.
Sometimes, castling into a slightly uncomfortable position is still correct—because keeping your king centralized is far worse. Other times, waiting one or two moves to improve your pawn structure or block attacking lines saves your king from constant pressure.
Final Thoughts
These three principles work together in every opening you play. Control the center, develop your pieces toward it, and secure your king-that’s the foundation. A student in Singapore recently played a tournament game where she controlled d4 with her knight by move 5, developed both bishops by move 7, and castled kingside by move 8. Her opponent pushed random pawns and moved pieces to the edges, and she won in 18 moves because positional opening principles worked exactly as they should.
You’ll see the same patterns across different openings: the Italian Game, the Ruy Lopez, the French Defense, and the Sicilian all reward the same core ideas. A student in the UAE who studied these principles across multiple opening systems improved his rating by 200 points in four months. He stopped memorizing random variations and started understanding why each move mattered.
At Chess Gaja, we work with students across the USA, UAE, and Singapore to build this foundation through personalized coaching. Our FIDE-rated coaches provide detailed game analysis and help you understand not just what moves to play, but why they work. Book a Paid Starter Class for a professional skill evaluation and see exactly where your opening play stands.