
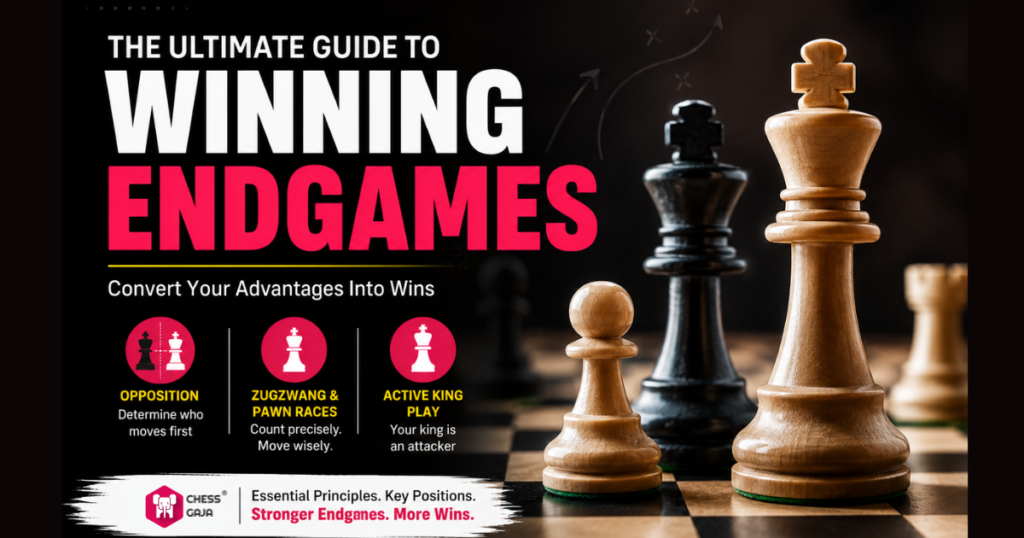
You’ve seen it happen: a young player from Singapore or the UAE reaches a tournament’s final round with a winning position, only to stumble in the endgame and walk away with a draw or loss.
At Chess Gaja, we’ve coached thousands of students through this exact frustration. The difference between clutch finishes and missed opportunities comes down to one thing: solid endgame technique.
This guide breaks down the essential positions and principles you need to convert your advantages into wins.
King and Pawn Endgames Demand Precision
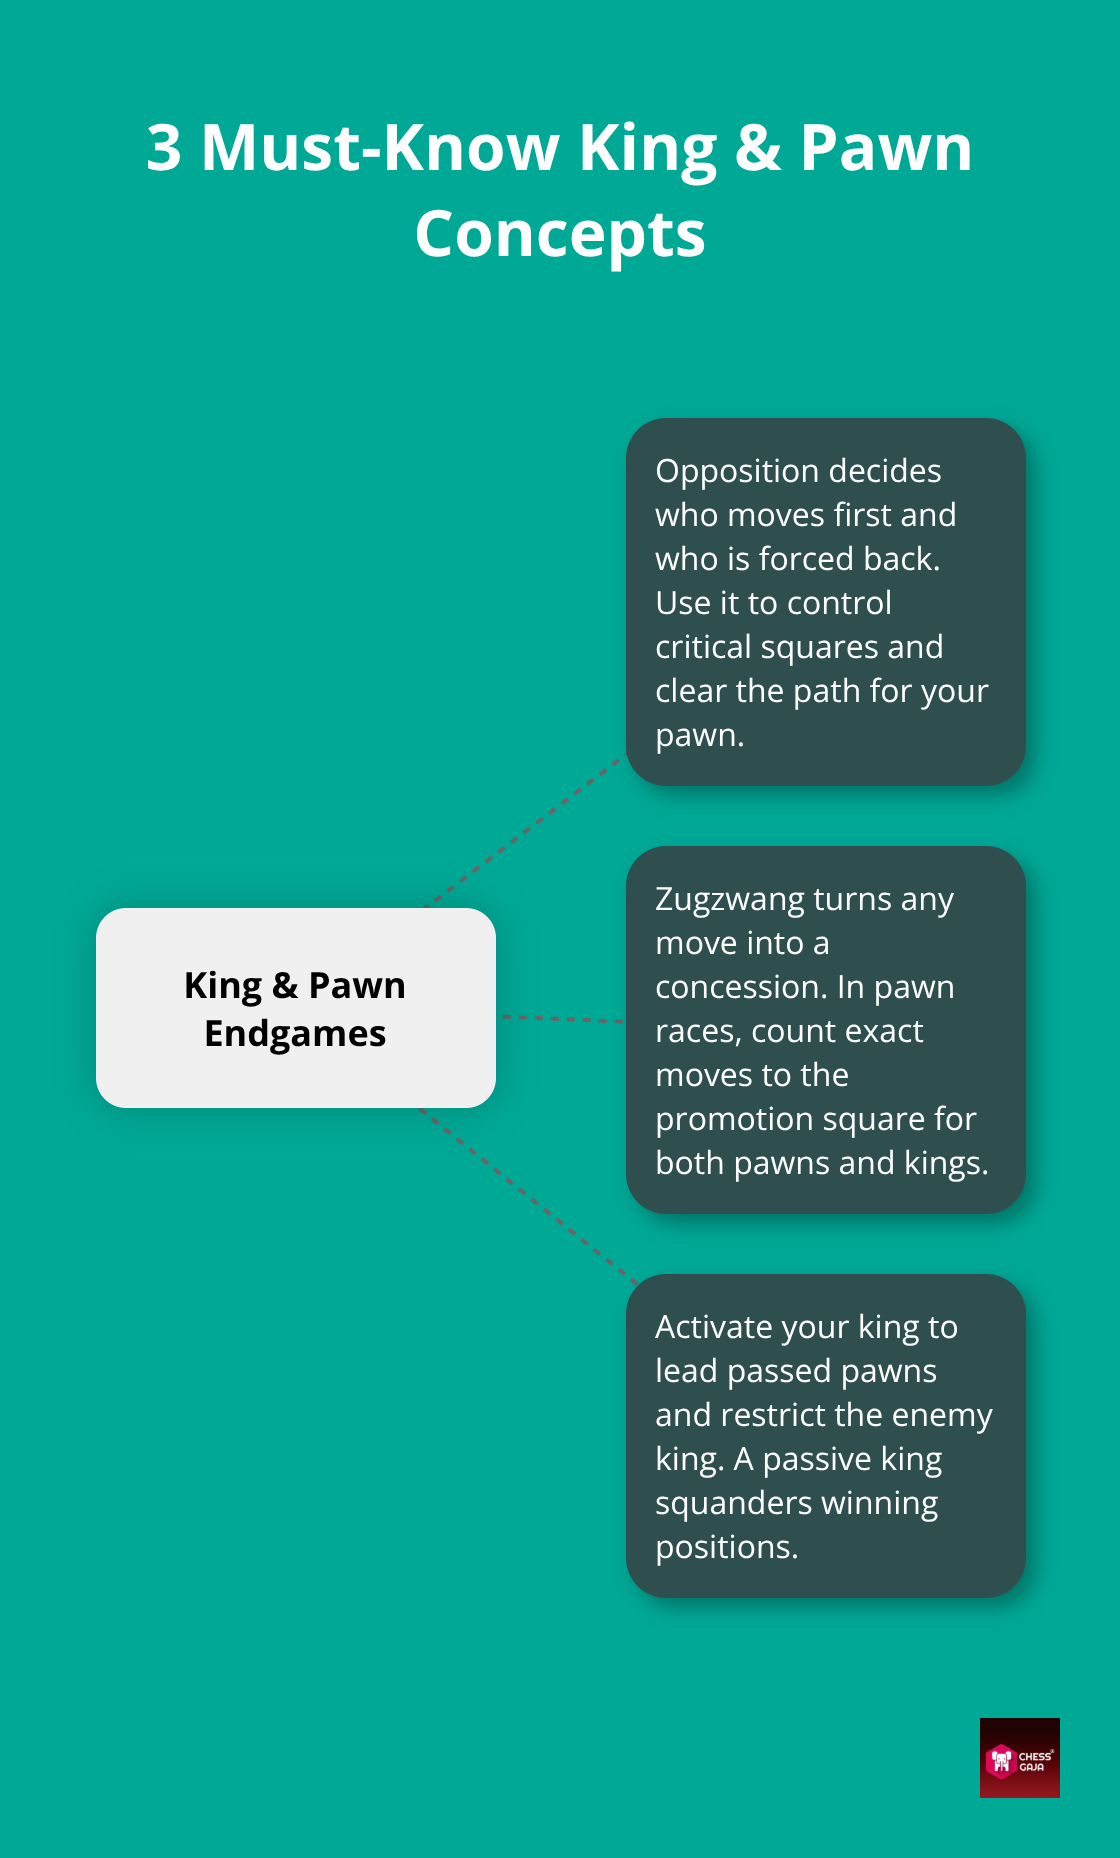
The moment your rook falls off the board and only kings and pawns remain, most players freeze. You’re no longer calculating tactics or tracking piece activity. The board looks empty, and suddenly winning feels impossible. This is exactly where players rated 1250 to 1400 collapse. The good news: king and pawn endings follow strict rules, and learning three core concepts will transform how you finish games.
Opposition Determines Who Moves First
Opposition is not abstract theory-it is a concrete advantage that decides whether you win or lose. When kings face each other with one square between them, whoever moves first is in trouble. This matters enormously in practical play. Mastering this concept is mandatory knowledge if you want to win king and pawn endgames.
It works because it forces your opponent’s king away from the pawn’s advance path. In a position where you have a pawn on the fourth rank and your opponent’s king blocks it, holding opposition means your king controls the critical squares on the fifth rank. Your opponent must move, and their king retreats. You advance your pawn. Opposition is not luck-it is geometry.
When you practice opposition, drill positions where kings are separated by one square on the same file or rank. Set up a clean baseline position: Place your pawn on e3, your king on e4, and the enemy king on e6. Whoever’s turn it is to move loses the opposition. If it is your opponent’s turn, their king must step aside to d6 or f6. Once they step aside (for example, to f6), outflank their king by advancing yours to the opposite side (2. Kd5!). If they step to d6, advance your king to f5 (2. Kf5!). This outflanks their king and controls the key promotion squares ahead of your pawn.
Zugzwang and Pawn Races Decide Practical Games
Zugzwang is the moment when any move your opponent makes worsens their position. In king and pawn endgames, zugzwang often appears when both sides have pawns racing toward promotion. A player with a passed pawn on the sixth rank but a king far from the action faces zugzwang if moving their king allows the opponent’s pawn to advance unchecked.
Pawn races require counting precisely. Zugzwang occurs when any legal move worsens your position. In pawn endgames, zugzwang often forces a defending king to step away from a key blockading square. However, pawn races require exact calculation. If your pawn promotes in four moves and theirs in five, promoting first gives instant control. Your new queen can give check, block their pawn, or dominate the board. This is not guesswork. Calculate the exact number of moves each pawn needs to reach the eighth rank. Count how many moves it takes each king to intervene. Verify your calculation twice, then make your move. Never assume your opponent’s pawn is stopped until you verify your king can reach it in time.
Activate Your King to Convert Advantages
Your king is not a defender in the endgame-it is an attacker. Pushing your king forward to support your passed pawn is the single most important habit beginners must develop. Place your king ahead of your passed pawn whenever possible. If you have a pawn on d4 and your opponent’s king cannot stop it immediately, advance your king to c5 or e5 to clear the path.
Your king shields the pawn’s push and prevents the opponent’s king from blockading the d-file. The psychological barrier is real—players fear leaving their king exposed. In king and pawn endgames with few pieces on the board, this fear is misplaced. Your king belongs in the fight, pushing your passed pawn forward and controlling squares your opponent needs.
These three principles-opposition, zugzwang, and active king placement-form the foundation for every king and pawn ending you will face. Once you master them, you move into positions where rooks return to the board, and the complexity increases. Rook endgames demand different techniques, and the positions you encounter in tournament play require you to know specific positions that have been analyzed for centuries.
Key Rook Endgame Fundamentals
Rook endgames are where tournament results are decided. You reach move 35, both players have a rook, a few pawns, and suddenly the position becomes a knife fight. One inaccuracy and a draw becomes a loss.
One precise move and a losing position holds. The players rated 1300 and above who beat you consistently have internalized essential theoretical positions that form the foundation of almost every practical rook endgame you will play. These are not theoretical curiosities. Grandmasters and endgame specialists universally agree: mastering the Lucena and Philidor positions gives you a massive practical edge, turning potential draws into wins and saving lost positions.
The Lucena Position Wins Pawn Races
First, learn when your king and rook work together to push a passed pawn. At the same time, your opponent’s rook tries to block it. This is the Lucena position, and it appears constantly in practical play. Your pawn sits on the sixth rank, your king protects it from the side, and your opponent’s rook attacks from the back. The winning technique is building a bridge: you move your rook to the side of the board to shield your king from checks while your pawn promotes.
To visualize the Lucena “bridge” technique, place your pawn on d7, your king on d8, and your rook on a1 (or a4). Your opponent’s king is cut off on the f-file (e.g., on f7), and their defending rook sits on c2 or e2 delivering checks.
- Lift your rook to the 4th rank: Play 1. Ra4! (preparing to shield on d4).
- Step the king out: After Black plays a waiting move (like 1…Rc2), step your king out with 2. Ke7.
- Shield with the bridge: When Black delivers checks (2…Re2+ 3. Kd6 Rd2+ 4. Ke6 Re2+ 5. Kd5 Rd2+), step your king down until you interpose your rook on the 4th rank with 6. Rd4!, blocking the check and guaranteeing promotion on d8.
This is pure technique, and it wins games.
The Philidor Position Holds Defensive Endgames
The Philidor position is the ultimate defensive blueprint when your opponent has an advanced pawn. Your rook guards the third rank to keep the enemy king from advancing. Once the pawn reaches the sixth rank, your rook drops to the back rank and delivers continuous checks from behind.
The key to the Philidor position is patience. Keep your king directly in front of the enemy pawn. When defending as Black against a White pawn, keep your rook on the 6th rank (or the 3rd rank if White is defending) to cut off the enemy king.
The moment the opponent pushes their pawn to the 6th rank, drop your rook to the back rank and deliver endless checks from behind to lock down a clean draw. The difference between Lucena and Philidor is the difference between offense and defense, and mastering both transforms how you finish games.
Active King Placement Decides Rook Endgames
Active king placement in rook endgames means your king must leave the back rank and support your rook’s attack on pawns or your passed pawn’s advance. A player who leaves their king passive on the back rank while their rook does all the work will almost certainly lose against an active, well-coordinated opponent. Your king must penetrate toward the center or toward your opponent’s pawns. For instance, if you have a rook on e1 and a pawn on d4, place your king on c4 or c5. This shields the pawn’s push while keeping the e-file open for your rook and controlling critical escape squares.
Maintain Rook and King Connectivity
Rook and king connectivity means both pieces support the same plan. They cannot be separated by tactics. A passive king on h8 leaves you vulnerable to back-rank tactical tricks and causes defense fatigue.
But when your king advances to g6 or f5, it works in tandem with your seventh-rank rook—creating unstoppable mating threats and supporting your passed pawns. In practical tournament games, the player who maintains connectivity while activating their king wins the position.
Analysis of games from recent FIDE World Cup matches where one player converted a rook endgame advantage and the other failed to hold reveals a clear pattern. In nearly every decisive game, the winning player moved their king actively into the position within the first five moves of the endgame, while the losing player delayed king activation for five or more moves. This delay cost them the game.
In your next five rook endgames, move your king forward within the first three moves of the endgame phase, even if it feels uncomfortable. Your king will not die. It will win your game.
These rook endgame principles prepare you for positions where minor pieces remain on the board. When bishops or knights enter the equation, the rules shift again, and your ability to recognize when to trade pieces becomes the deciding factor in converting advantages into wins.
Minor Piece Endgames: Know When to Trade
Bishop and knight endgames punish hesitation. Unlike rook endgames where you have time to maneuver, positions with bishops or knights often demand immediate clarity: should you trade pieces now or preserve complexity? The wrong choice here costs games that looked winning at move 30. At your rating level, the critical insight is this: minor piece endgames are rarely about deep calculation. They are about recognizing three concrete patterns that appear in tournament play repeatedly.
Opposite-Colored Bishops Change Everything
Understand that opposite-colored bishop endgames have a massive drawing tendency. Even with a one-pawn advantage, converting a win is notoriously difficult because the defending bishop can permanently lock down the color complex of your pawn’s advance. When opposite-colored bishops are on the board, defending is much easier. The defender’s bishop controls the color complex that the attacker cannot influence. This is not theory-it is a hard fact that changes your entire decision-making in the middlegame.
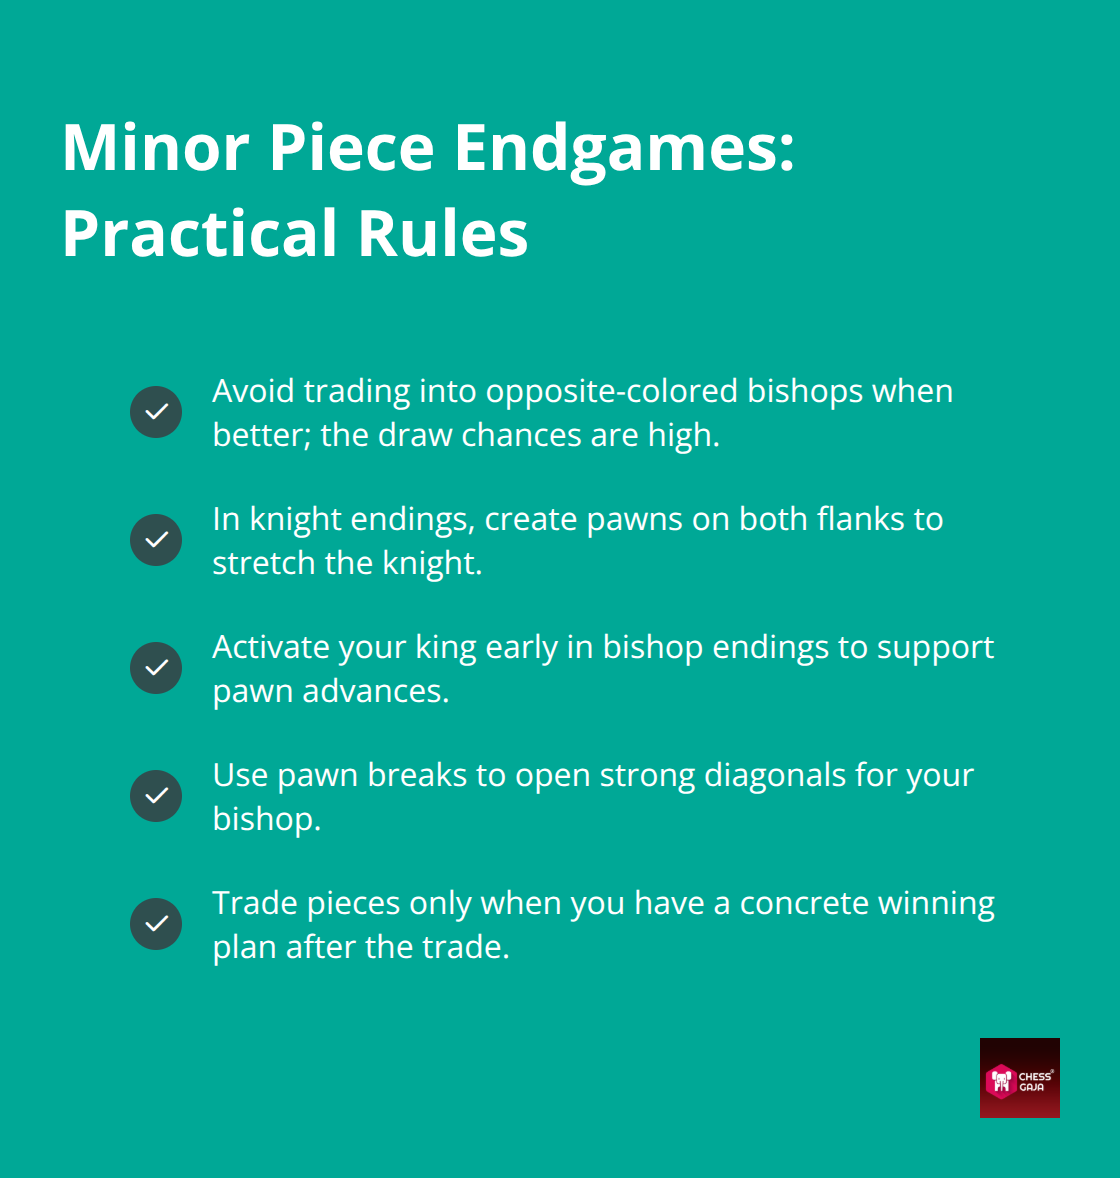
If you see opposite-colored bishops forming, stop trading pieces immediately. Keep rooks on the board or keep other minor pieces if you have them. The moment you trade down to opposite-colored bishops, your winning advantage vanishes. Conversely, if you are worse and your opponent can force you into opposite-colored bishops, encourage the trades. You will hold a position that should lose.
Knight Endgames Require Pawns on Both Flanks
A knight endgame requires your pawns to sit on both sides of the board to create winning chances. A knight moves slowly, and if all your pawns cluster on one flank, your opponent’s knight stops them all while their king hunts your remaining pieces. Therefore, if all pawns are clustered on the kingside in practical play, a knight endgame becomes almost impossible to win because the defending knight easily covers the short distance. As a result, to win a knight endgame, you need pawns on both flanks—stretching the slow-moving knight across the board until it can no longer defend both sides. Therefore, do not assume your knight advantage will carry you to victory.
Bishop Endgames Reward Active Kings and Pawn Breaks
In particular, bishop endgames reward active kings and pawn breaks far more than rook endgames. A bishop moves along diagonals, and a pawn advance that opens new diagonals for your bishop while closing them for your opponent’s bishop swings the game instantly. If you have a bishop endgame and a pawn on d5 that can advance to d6, calculate whether d6 opens winning lines for your bishop while keeping your pawn on a safe color complex. Make the pawn move if it improves your bishop’s scope and restricts the enemy king. Always verify it does not leave your pawn undefendable.
When Should You Trade Minor Pieces?
The decision to trade pieces near the endgame depends entirely on having a concrete winning plan. This is where most players fail. They trade because the position looks simpler, not because simplification helps them. Trade pieces only if you can identify the exact winning plan before you execute the move.
If you have a rook and bishop against a rook and knight, trade your minor piece (or initiate a trade of both minor pieces) only if the resulting endgame is cleanly winning. If you cannot articulate the winning plan in three simple steps, keep the piece tension. Tournament players rated 1400 and above rarely trade without a clear reason. They calculate the resulting position precisely and trade only when it serves their plan.
Convert Advantages Through Precise Calculation
Converting advantages into wins in minor piece endgames requires one non-negotiable habit: calculate pawn races and king activity before you simplify. If you have a passed pawn and your opponent has a knight, count exactly how many moves your pawn needs to promote and how many moves your opponent’s knight needs to stop it. Count how many moves your king needs to support the pawn. If your king and pawn reach promotion first, trade off pieces that slow your pawn. If your opponent’s knight reaches the pawn first, keep pieces on the board and create diversions elsewhere. The player who converts advantages in these positions thinks in concrete variations, not general principles. You must do the same.
Final Thoughts
Your endgame technique guide now covers three essential skill areas: king and pawn fundamentals, rook endgame positions, and minor piece decision-making. Spend fifteen minutes on endgame positions before you play tournament games to build this foundation. This single habit compounds over weeks and months, sharpening your calculation and forcing you to evaluate positions without relying on piece activity or tactical tricks.
Tournament games at your rating level often reach move 35 with both players tired and time running low. A player who practices endgame positions moves quickly when time runs low. In contrast, someone who avoids endgame study hesitates, burns time, and makes mistakes. The difference between converting winning positions and squandering them in the final moves comes down to preparation and confidence under pressure.
Work with a coach who understands your specific weaknesses. They will build a personalized plan tailored to your rating and goals. Book a Paid Starter Class at Chess Gaja for a professional evaluation. We will identify exactly where your endgame technique breaks down.