

Your king is either your greatest liability or your greatest asset-depending on where it stands and what phase of the game you’re in. Most players treat king safety as an afterthought, moving their king reactively instead of strategically.
At Chess Gaja, we’ve coached thousands of students through the same mistake: they learn opening principles, middlegame tactics, and endgame technique in isolation, never connecting how king safety principles shift across all three phases. This blog post shows you exactly how to protect your king when it matters most and when to activate it for the win.
Protecting Your King Before Move 10
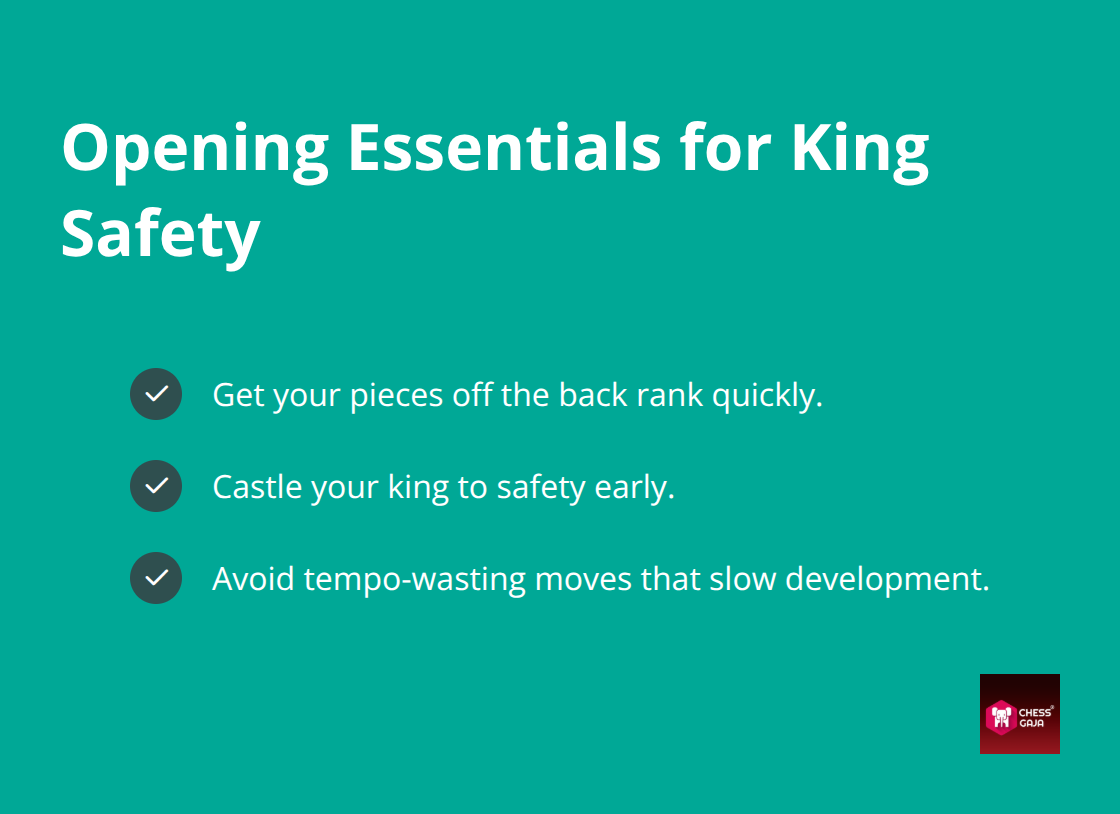
Openings rarely fail from a single bad move. Instead, they collapse when you waste tempos or leave your king stranded in the center. During the first ten moves, focus on three goals: clear the back rank, castle to safety, and avoid early tactical traps. Most beginners treat castling as optional or delay it hoping for an attack, but this approach backfires. Castling solves two problems at once: it moves your king away from the center where tactics explode, and it activates your rook on the edge of the board.
The Danger of a Centered King
Leaving your king central gives your opponent an immediate target to build an attack while you shuffle pieces. Statistics show that failing to castle by move 8 leads to significantly higher loss rates in the middlegame. Every extra tempo handed to your opponent turns directly into immediate threats.
Why Central Control Protects Your King
When you control the four central squares (e4, d4, e5, d5), your pieces gain more mobility and your king gains more escape squares if tactics arise. If you ignore the center and push pawns on the flanks, your king stays trapped in the middle longer. Early queen moves, repeated piece moves, or ignoring the center hand your opponent an immediate attack. The opening phase ends when your king reaches safety, not when you’ve played a set number of moves.
Develop Pieces Before Moving Them Again
Moving the same knight, bishop, or queen twice in the opening wastes tempo you’ll never recover. Each wasted move gives your opponent one free developing move. By move ten, your primary goals should be completed: your king castled to safety, minor pieces developed toward the center, and your rooks ready to connect. If you’re still developing while your opponent has finished, you’re playing catch-up with a weakened king.
Protect Your King’s Shelter
Pawn moves near your king-especially moves like f3, g3, or h3 before castling-create permanent weaknesses. A pawn move like f3 deprives your knight of its natural f3-square. It also weakens key diagonals, leaving permanent dark-square or light-square gaps for your opponent to exploit. Don’t push pawns in front of your king unless the position demands it for a specific tactical reason, and even then, only after your king is castled and your position is stable. Castle as soon as the path is clear. Do not delay castling just to finish developing queenside pieces.
Moving Forward Into the Middlegame
Once your king reaches safety and your pieces are developed, the middlegame begins-and with it, a new set of king safety challenges. Your opponent will shift from development to attack, testing whether your king’s shelter can withstand coordinated threats.
King Safety in the Middlegame
The middlegame is where most attacks happen, and your king’s safety depends entirely on how well your pieces work together to defend it. A centered king in the middlegame is a target, but a sheltered king with weak defenders is almost as bad. The difference between a safe position and a lost one often comes down to whether you spot an attack two moves before your opponent launches it.
Spot the Attack Before It Arrives
Most players react to threats instead of preventing them. A strong middlegame player scans the board for forcing moves: checks first, captures second, threats third. Before you move, ask yourself what your opponent’s best reply would be, and whether that reply creates threats against your king. If your opponent posts a knight on e5 and pins your f6 defender with a bishop on g5, your king shelter is under severe pressure—especially if dark or light squares around your king are already compromised.
A rook on the h-file combined with a queen on the g-file means your king’s shelter is under siege. The moment you see this pattern, you have two choices: strengthen your king’s defense or create immediate counterplay on the opposite flank that forces your opponent to abandon the attack. Most beginners choose neither and lose.
Build a Protective Shield With Your Pieces
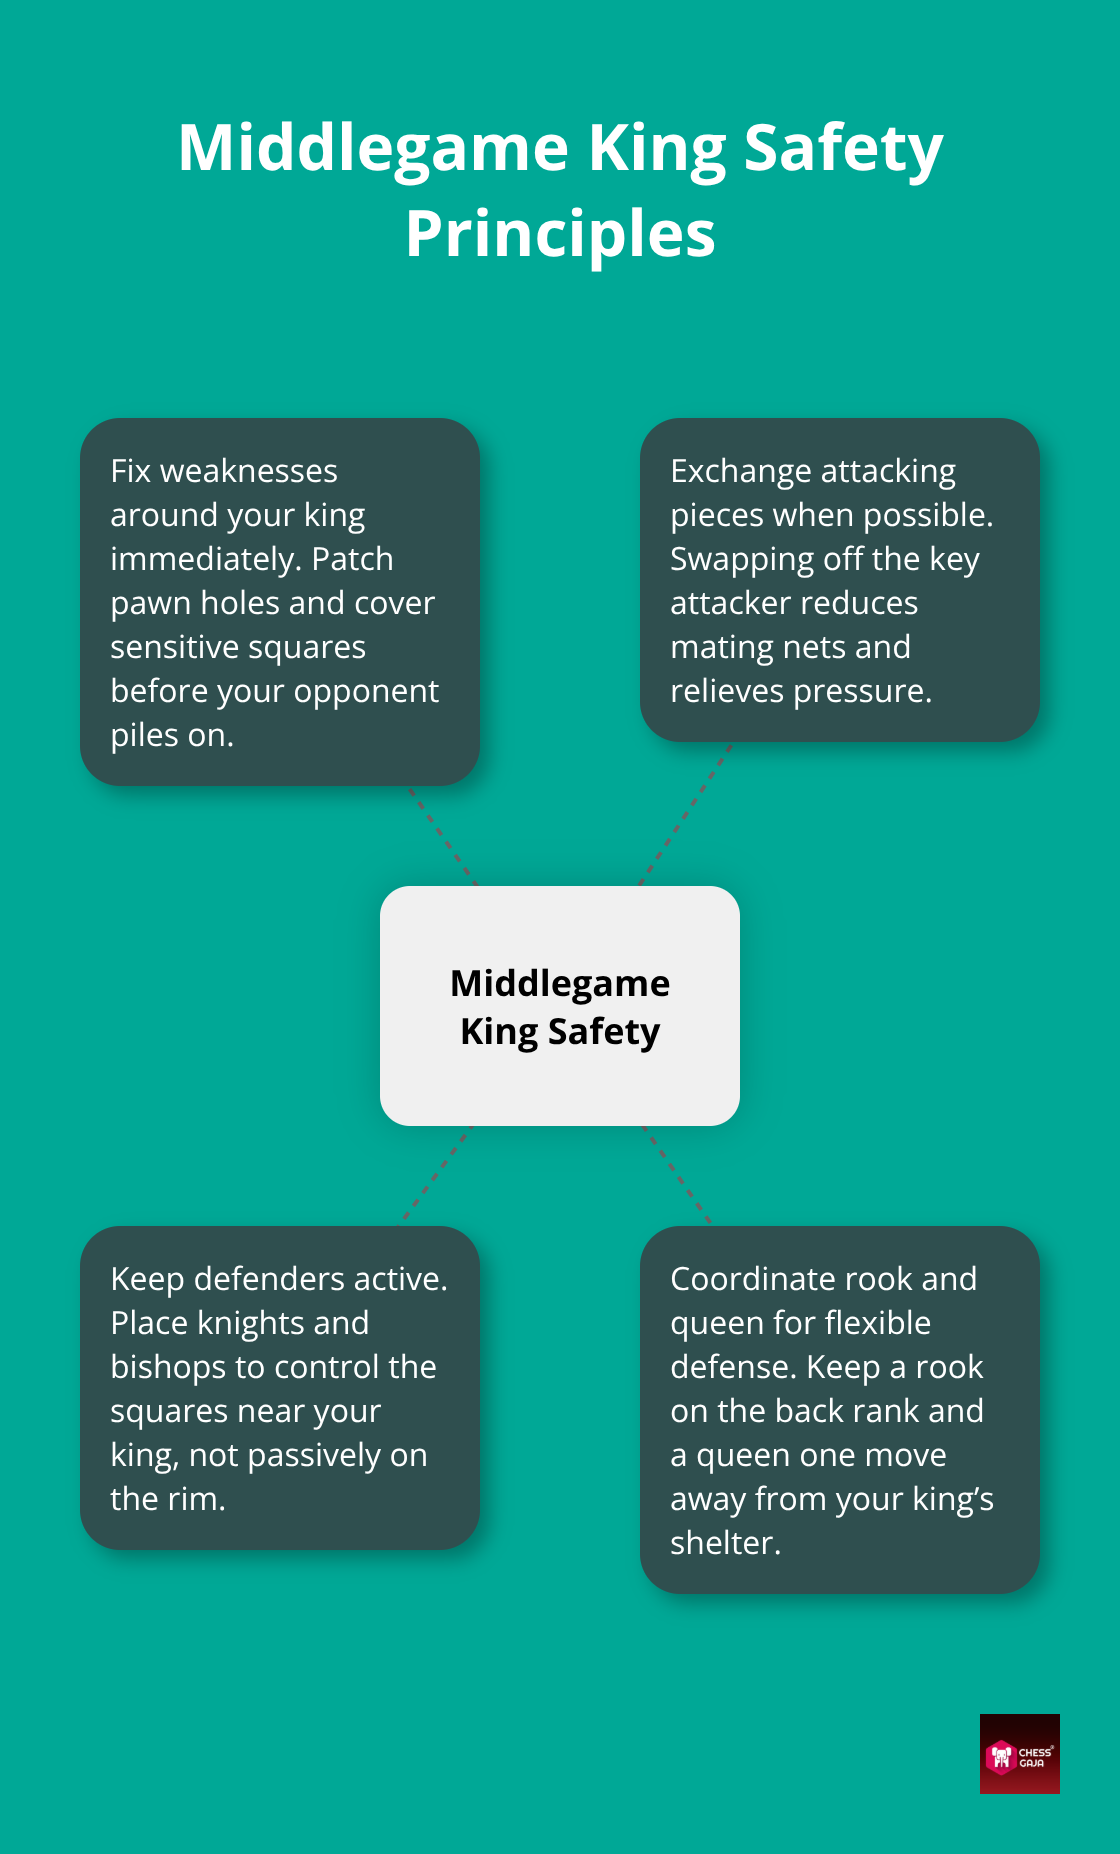
Middlegame king safety relies on three rules: patch weaknesses immediately, trade off key attackers, and keep your defending pieces active. Coordinating a rook along the back rank or controlling an open file prevents back-rank tactics while keeping your defense active.
Having a queen that can reach your king’s shelter in one move provides flexible defense. Minor pieces-knights and bishops-that control squares around your king create a wall that slows or stops your opponent’s attack.
An opponent’s bishop pinning your f6-knight strips away a crucial defender. Likewise, leaving an open e-file unblocked against an enemy rook exposes your king to discovered checks or back-rank threats. Place your rook on an open file. Ensure it stays close enough to return for defense within two moves.
Many middlegame positions are decided by whether the defending player’s rook can reach the back rank in time. Remember that a queen tucked away on a quiet square is useless-bring it to a square where it can defend and attack at the same time. This balance between offense and defense is what separates strong players from weak ones.
Know When to Trade Pieces and When to Hold Them
Trading pieces while down material during an attack usually helps your opponent. Fewer defenders leave your king exposed. Trading off a primary defender just to grab a pawn against an enemy rook, queen, and knight is a critical error. Conversely, having extra defenders allows you to trade pieces, simplifying the position and neutralizing their attack.
A knight that’s pinned and useless in your position should be traded off if possible-it’s not helping you defend anyway. The rule is simple: when defending, keep pieces on the board. Only trade if it directly blunts your opponent’s attack.
When defending, check if remaining pieces can protect your king after a trade. Avoid trading if safety is compromised. This choice determines whether you reach the endgame where your king becomes an active attacker.
King Safety in the Endgame
In the endgame, your king stops being a liability and becomes one of your most powerful pieces. Many players treat the endgame as a continuation of middlegame thinking, keeping their king tucked away in a corner while pushing pawns forward. This approach costs games. The moment heavy pieces leave the board and material thins out, your king must walk toward the action, support your passed pawns, and either stop your opponent’s pawns or help your own advance. A king that stays passive in a rook endgame with passed pawns on both sides of the board will lose to a king that actively participates.
When to Activate Your King and When to Stay Cautious
The exact moment your king shifts from defender to attacker depends on what pieces remain. With queens on the board, keep your king somewhat protected because a back-rank mate or a perpetual check can still end the game instantly. Once queens leave the board, your king can safely step out of hiding. In rook and pawn endgames, march your king toward the center immediately, as rooks require an active king to control key squares and support passed pawns.
A king on e5 in a rook and pawn endgame controls five squares and cuts off your opponent’s rook, while a king on h1 does nothing. In king and pawn endgames, mastering both the ‘square of the pawn’ rule (to calculate if a king can catch a passed pawn) and ‘key squares’ (to force promotion) determines whether a position is a guaranteed win or a draw. Falling outside the square of an opponent’s passed pawn guarantees their promotion. Stepping inside the square allows your king to catch it in time. This mathematical reality makes endgame king positioning absolute rather than a matter of personal style.
Build Passed Pawns and Support Them With Your King
The surest way to win an endgame is to create a passed pawn and push it with your king’s protection. A passed pawn—one that has no opposing pawns in front of it on its own file or adjacent files—becomes a game-winning asset, especially when your king actively supports its advance. In practical tournament endgames, creating the first passed pawn gives you a decisive advantage. Pushing it aggressively with equal material wins a vast majority of games.
Your opponent’s king will try to block your passed pawn. However, an active supporting king creates dual threats. Defensive duties quickly overload the enemy king, leaving it unable to counter both threats at once. Follow Tarrasch’s classic rule: place your rook behind your passed pawn, never in front of it. Rooks behind passed pawns support their push as files open. Placing rooks in front only blocks your own pawn and forces passive defense.
Know When to Trade Down and When to Hold On
Many endgames are decided by a single decision: whether to trade pieces that leads to a winning or drawn position. Holding a rook and four pawns against a rook and three pawns makes trading rooks decisive in the resulting king and pawn endgame. Conversely, initiating that same trade while down a pawn leaves you in a losing position. Always calculate the resulting pawn ending before trading off heavy pieces.
Strong tournament players trade pieces when holding the only passed pawns. When your opponent holds passed pawns or extra material, avoid piece trades to preserve drawing chances. Defending a difficult position with limited material requires keeping pieces on the board. Creating perpetual checks or setting up a fortress often provides your only drawing path. A rook and bishop can often set up a fortress against a lone queen. Defense succeeds by coordinating pieces tightly around the king and controlling entry squares. The moment you trade down to a rook and pawn endgame in a losing position, you’ve eliminated your last defensive resource.
Final Thoughts
King safety principles apply across all three phases because your king’s role fundamentally shifts as the game progresses. During the opening, your king is a liability that must reach safety through castling and solid development. As the game transitions into the middlegame, it turns into a target demanding active defense through piece coordination and threat recognition. By the endgame, your king transforms into a fighting piece that must advance toward passed pawns and critical squares.
Practice king safety by reviewing your own games after every loss. Start by checking if your king reached safety by move 10. Next, evaluate whether you spotted your opponent’s attack two moves before it arrived. Finally, ensure your king actively supported passed pawns during the endgame.
The fastest way to strengthen your defensive skills is to study real tournament games where strong players defend successfully under pressure.
At Chess Gaja, we have coached over 5,000 students across 40+ countries. Our curriculum is built by GM Priyadharshan Kannappan alongside our FIDE-rated coaching team. Book a Paid Starter Class for a professional skill evaluation and a customized roadmap to strengthen your king safety in every phase of the game.