

Your pawn structure determines whether your pieces have good squares or bad ones. It controls which tactics work and which don’t.
At Chess Gaja, we’ve seen countless students miss winning positions because they didn’t read their pawn structure correctly. Learning pawn structure evaluation transforms how you think about the middlegame.
Reading Your Pawn Structure
Strong pawn structures share one trait: they give your pieces better squares than your opponent’s pieces. Weak structures do the opposite. A strong pawn structure is not about having more pawns or pawns in advanced positions. It’s about control.
When your pawns sit on squares that restrict your opponent’s pieces, you gain a structural advantage. Grandmaster Priyadharshan Kannappan teaches a simple method. Ask yourself: which side controls more effective squares? This shifts your focus from abstract ideas to concrete piece placement.
What Makes a Structure Weak or Strong
A weak pawn structure creates fixed targets your opponent can attack repeatedly. The Isolated Queen Pawn (IQP) appears frequently in tournament play. An isolated pawn is a static weakness. Your opponent can easily blockade and target it.
The side with the IQP must attack early in the middlegame. If you cannot create concrete threats within 8 to 12 moves, the isolated pawn drains your piece activity. In contrast, strong structures feature pawns that support each other. Doubled pawns are weak only when they block piece movement.
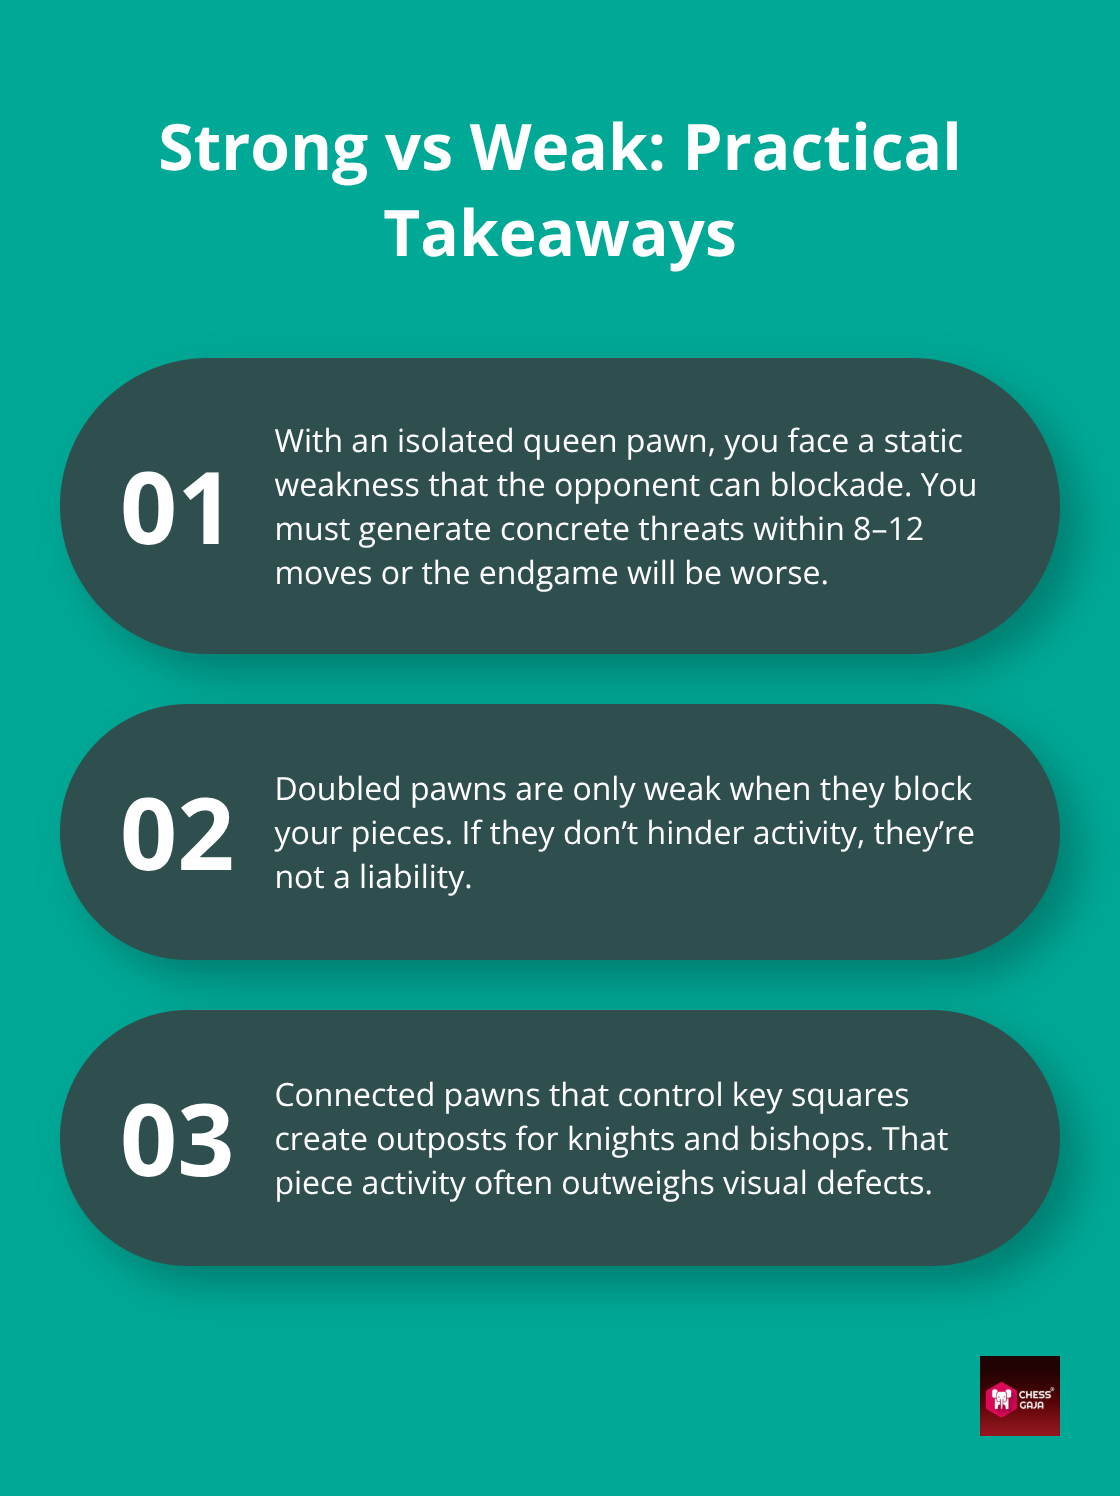
Connected pawns that control key squares give your knights and bishops superior outposts. Many players confuse visual pawn setup with actual pawn strength. Two pawns on the same file look weak. However, if they control key squares, your structure remains strong.
Pawn Chains and Piece Placement
Pawn chains force your pieces into specific squares. A pawn formation with pawns on c4, d3, and e4 (the Botvinnik setup) creates a base of operations for your pieces. Your knight belongs on d5, supported by your central pawn structure, rather than languishing on the rim. Your bishop operates on long diagonals. Backward pawns cannot safely advance without being captured. Because no friendly pawn supports them, they severely restrict the pieces stuck behind them.
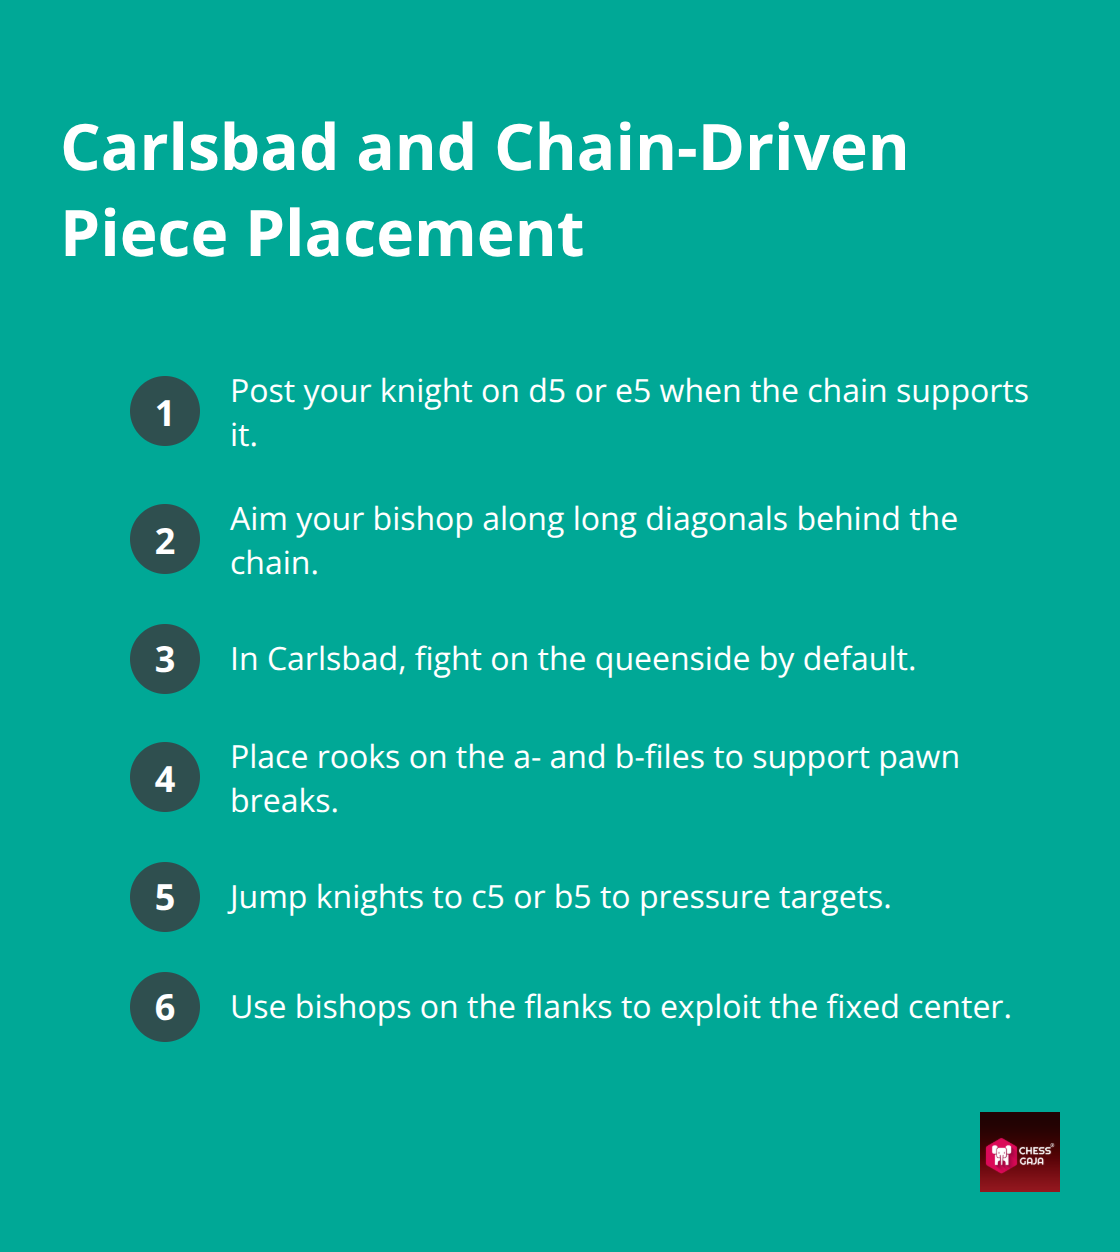
If your e-pawn cannot move forward safely, your bishop loses influence. Pawn chains also determine which files become battlegrounds. The Carlsbad structure appears frequently after the Queen’s Gambit Declined Exchange Variation. Here, White has pawns on c3, d4, and e3, while Black holds pawns on c6, d5, and e6. The center is fixed. White uses a queenside pawn minority attack (b2-b4-b5 against c6) to create weaknesses in Black’s camp.
Your pawn structure literally tells your pieces where to go.
Finding Weak Squares and Outposts
Weak squares appear where your opponent cannot defend with a pawn. In many positions, the d5 square becomes an outpost. Your knight on d5 sits there permanently and dominates the board. Black cannot remove it with a pawn. This converts a positional edge into pure piece activity.
Every pawn advance creates a weak square behind it. When White plays f4, the g4 and e4 squares weaken. Similarly, when Black plays c5, the d5 square weakens. The player who occupies that weak square first controls the middlegame.
From Structure to Tactical Opportunity
This single pattern recognition skill accelerates your middlegame play significantly because you stop calculating random moves and start placing pieces on squares your opponent cannot challenge. Once you identify weak squares in your position, you must convert that structural advantage into concrete threats. Next, learn to read your structure and spot immediate winning tactics.
Three Structures That Demand Immediate Action
The Isolated Queen Pawn: Attack or Lose
The isolated queen pawn haunts players who struggle to handle it. When your d-pawn sits alone without support, attack aggressively within 8–12 moves. Otherwise, watch your structure collapse into a losing endgame.
When you hold an isolated pawn, generate concrete threats early in the middlegame. Black wants to blockade the d-pawn, trade pieces, and reach a winning endgame.
White’s counterplay comes from superior piece activity. If you hold an isolated d-pawn, place your knights on key outposts like e5 or c5 immediately. Activate your bishop on the long diagonal and build threats against Black’s king.
Do not waste time trying to fix your pawn setup. Instead, place rooks on open files to create immediate pressure. A student from Dubai transformed her results within three months after recognizing that isolated pawns demand offensive chess.
Backward Pawns: Restriction and Compensation
Backward pawns operate differently from isolated ones. These are pawns that cannot safely advance because they would be captured by an opponent’s pawn on an adjacent file, with no friendly pawn able to support the advance. The piece sitting behind a backward pawn loses mobility and influence. When both players have backward pawns, these restrictions limit your bishops and rooks. However, they constrain your opponent equally.
Backward pawns are not always weak. They remain playable if your pieces reach strong alternative squares.Having a backward e-pawn is manageable if your pieces gain active counterplay—such as a knight occupyng d5 or a rook controlling the open c-file. Active pieces compensate for a backward pawn. Always target stronger squares than your opponent can control.
Passed Pawns: Timing Over Impulse
Passed pawns represent the opposite problem entirely. A passed pawn has no opposing pawns on its file or adjacent files. Advance it only after calculating three moves ahead to ensure your opponent cannot stop it. Many students push passed pawns reflexively and lose games because they ignore the opponent’s attacking chances.
Advancing a passed pawn one square can cause problems if your king lacks protection. Coordinate your pieces around central pawn chains and control weak squares first. This outperforms simply pushing pawns. Study how Grandmasters use piece placement and tactical timing to convert advantages into wins.
The next chapter reveals how to read these three structures in your own games and extract maximum value from every position you encounter.
How to Convert Weak Squares Into Winning Tactics
Spotting a weak square is only step one. Converting it into an advantage separates masters from casual players. A student from Singapore spotted a weak d5 square. Instead of jumping in, she spent four moves rearranging pawns. She lost her advantage entirely.
This happens constantly because players confuse two skills: recognizing structural weakness and acting on it with tempo. The moment you spot a weak square, place a piece there or create an immediate threat. In Carlsbad structures, if your opponent cannot challenge your knight on e5, move there immediately.
Reading Position Temperature Before You Move
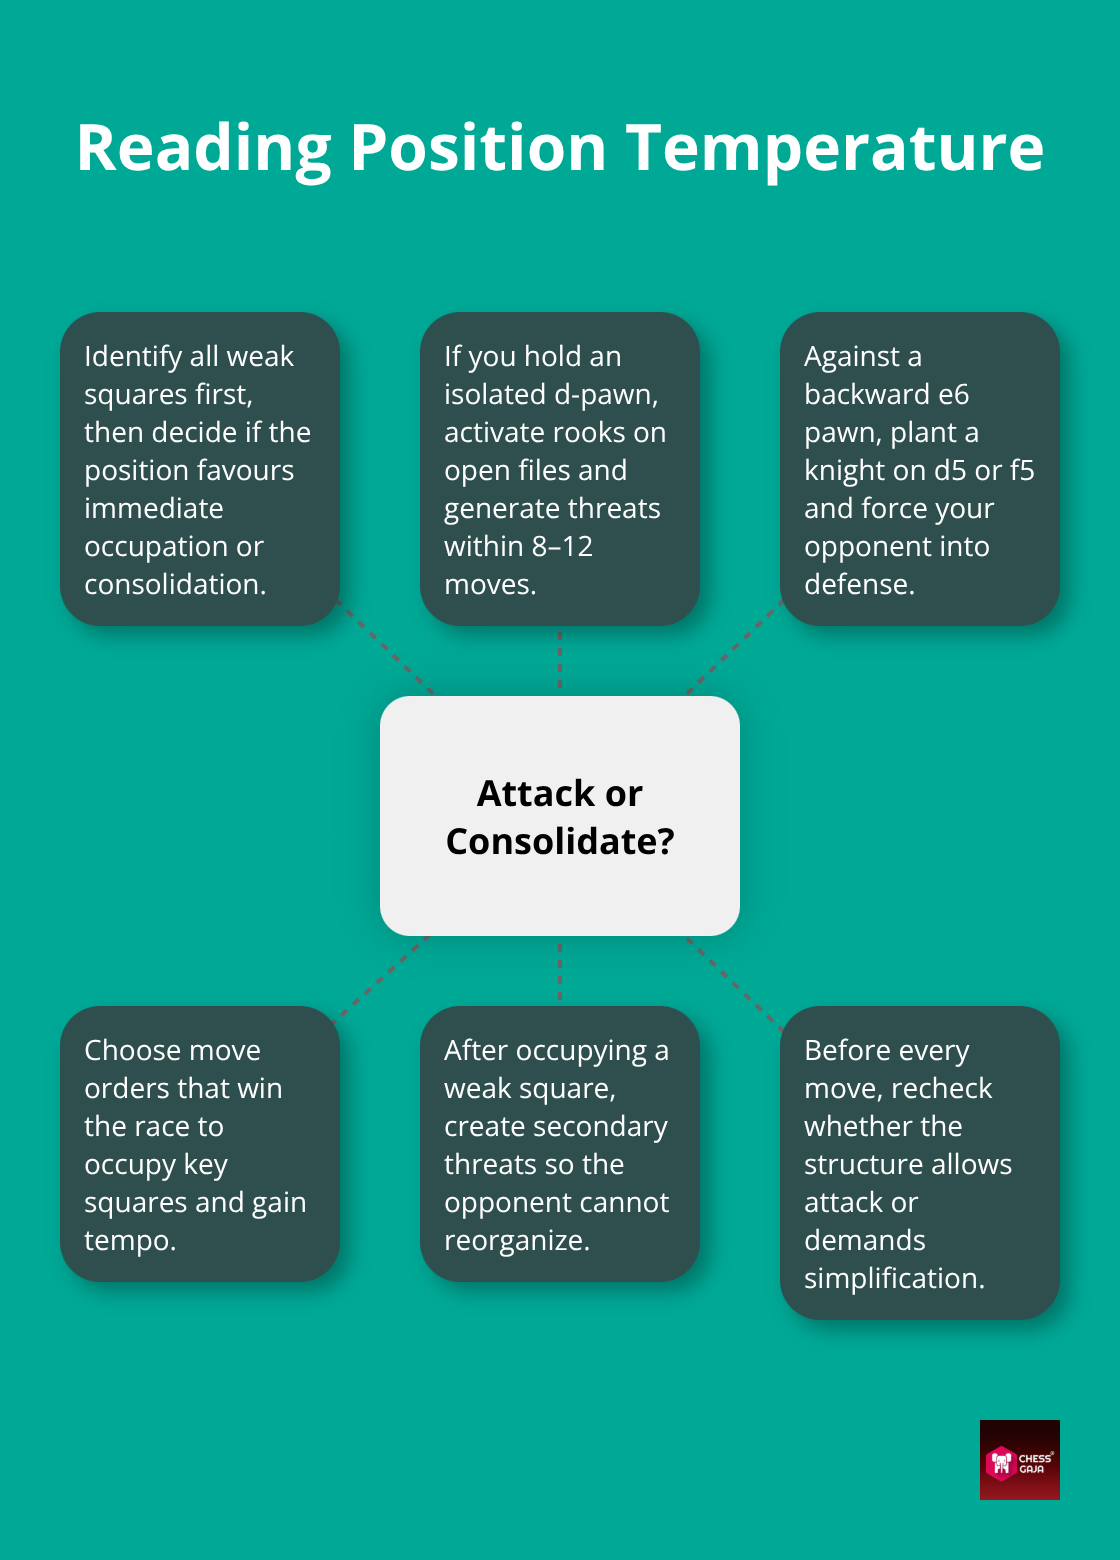
World Championship games show that strong players evaluate pawn structures in two phases. First, they identify all weak squares. Second, they assess whether the position demands offense or defense. Multiple weak squares favor the side that occupies them fastest. When both sides have fixed weaknesses, the player with superior piece coordination wins.
When Black blockades your isolated d-pawn, place rooks on open files. Generate threats within 8–12 moves instead of improving minor pieces. Weak squares alone do not win games. You need direct threats. Once your knight sits on e5 in a Carlsbad, double your rooks on open files. One student from Dubai won three straight tournaments with a simple check before every move. She asked: does my structure allow an attack, or should I trade pieces to neutralize counterplay?
When Piece Trades Strengthen Your Position
Most beginners avoid trading pieces because they fear simplification. This is backwards when your pawn structure favors endgames or when your opponent has active piece play. In backward pawn structures, trading pieces often favors the side whose pieces have better squares after the trade. If your knight occupies e5 and your opponent’s knight sits on f6, trading knights removes an active defender. This leaves your opponent’s backward pawn vulnerable.
Conversely, if your opponent has superior piece coordination, trading pieces reduces the pressure on your weak pawns.
In Hedgehog structures, Black trades pieces to neutralize White’s spatial advantage. Similarly, in Maroczy positions, Black trades pieces to ease spatial pressure and balance the board.
Base your decision to trade on pawn structure evaluation. Avoid relying on general rules about keeping pieces on the board. A student from the USA increased her rating 200 points within six months by recognizing that certain pawn structures demanded trading sequences she had previously avoided because she feared losing attacking chances that never existed anyway.
Timing Your Piece Placement for Maximum Impact
Weak squares demand immediate occupation, but sequence matters. Place your most active piece on the weak square first. Usually, choose your knight over your bishop. A knight on d5 dominates the central files and radiates influence in all directions. When opposing pawns cannot challenge it, that knight becomes a dominant permanent outpost, whereas a bishop on d5 can be blocked or challenged much more easily.
Target backward pawns quickly. Land your knight on the weak square directly in front of the pawn. Your opponent must defend with pieces rather than pawn moves. This forces them onto the defensive and gives you full control of the tempo.
Converting Structural Advantage Into Concrete Threats
Weak squares alone do not win games. Your pieces must create threats that force concessions. Once your knight sits on e5 in a Carlsbad structure, activate your rooks on open or semi-open files. Alternatively, attack along diagonals your opponent cannot defend. A knight on e5 with no supporting threats allows your opponent to equalize quickly. In contrast, a knight on e5 that coordinates with a light-squared bishop along the b1–h7 diagonal forces real concessions.
It controls key escape squares and often wins material directly. Pawn structure creates the opportunity, but tactical threats convert it into a win. Grandmasters demonstrate this consistently by following up weak-square occupation with immediate secondary attacks.
Final Thoughts
Pawn structure evaluation transforms middlegame play from guesswork into pattern recognition. Weak squares appear wherever your opponent cannot defend with a pawn. Occupying those squares first determines who controls the position.
An isolated d-pawn demands an immediate attack within 8–12 moves. Backward pawns restrict piece mobility. Passed pawns require calculated timing rather than reflexive pushes.
These three structures appear repeatedly in tournament games, and mastering them accelerates your rating improvement significantly.
Converting structural weakness into a winning advantage separates tournament players from casual ones. Place pieces on weak squares immediately. Create secondary threats that block your opponent’s defense. Let the pawn structure dictate whether you should attack or simplify.
A student from Dubai won three consecutive tournaments after learning to ask one question before every move: does my pawn structure allow me to attack, or must I trade pieces to reduce counterplay?
Study pawn patterns in your own games and analyze World Championship positions. See how Grandmasters occupy weak squares to build threats. At Chess Gaja, we help students across 40+ countries master pawn structure through GM coaching.