

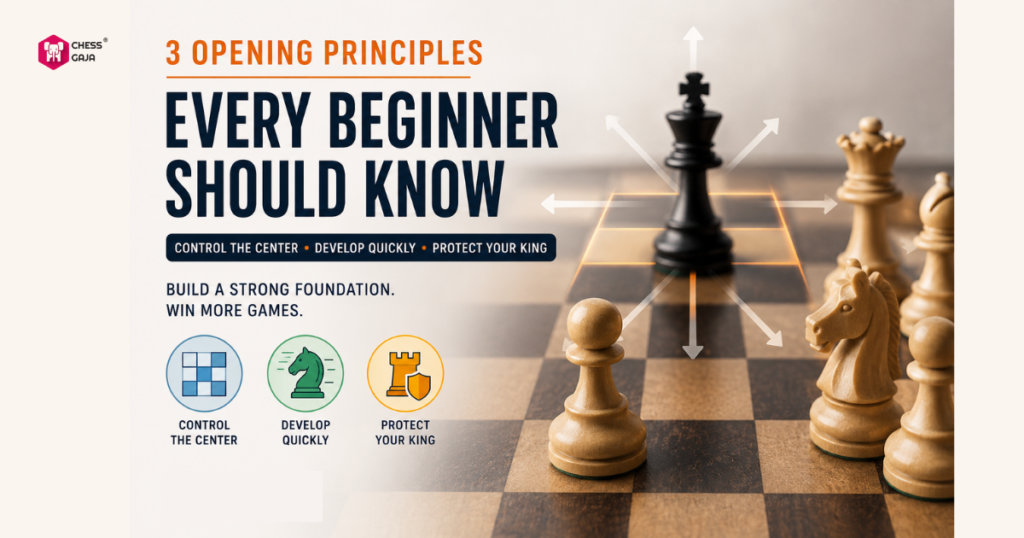
Most beginner players lose games in the opening without realizing it. They move pieces randomly, leave their king exposed, or waste time on moves that don’t help their position.
At Chess Gaja, we’ve seen this pattern thousands of times. The good news is that opening principles simplified can immediately transform your play. Three core ideas-controlling the center, developing quickly, and protecting your king-form the foundation every strong player builds on.
Control the Center
Why the Center Matters in Chess
The center of the board-the four squares d4, e4, d5, and e5-controls more of the board than any other area. A central piece influences up to eight squares around it. On the edge, a piece influences only three. This is pure geometry. Players who occupy the center early gain valuable space and restrict their opponent’s pieces. They also create more tactical opportunities. Standard chess statistics consistently show that players who establish strong central control early win far more frequently.
This matters because beginners often ignore the center entirely, moving pawns on the flanks or developing pieces to the edges where they have minimal influence.
How to Occupy Central Squares Effectively
The most effective way to occupy central squares is not to crowd them with every piece you own. Instead, place your knights on c3 and f3 for White (c6 and f6 for Black), your bishop on c4 or e2 for White (c5 or e7 for Black), and control the center with your central pawns.
This gives you four pieces aimed at the center without overstuffing it. A knight on c3 controls key central squares like d5 and e4 while preparing to jump into active play. A bishop on c4 or e2 controls central diagonals and stays active. Your pawns form the backbone of your central presence and protect your pieces from being attacked cheaply.
Common Mistakes Beginners Make When Playing the Center
Beginners commit three major errors when handling the center. First, they move the same central pawn twice in the first ten moves—say, pushing e4 to e5, then e6. This wastes time and weakens your pawn structure. Second, they leave the center undefended after an attack. If your opponent plays ...Nxe4, avoid recapturing with your queen early. Instead, recapture with a minor piece (like a knight) or a pawn to maintain balanced development.
This keeps your queen safe and maintains smooth development. Third, they play too passively, developing pieces to the back rank or the sides instead of toward the center. A knight on a3 does almost nothing; a knight on c3 controls key central squares and prepares to jump into the game.
Beginners often fear losing their central pawns, so they play defensively and allow stronger opponents to seize space. The opposite approach works better: fight for the center actively, accept that some central exchanges will happen, and use those exchanges to develop faster than your opponent. Once you control the center, your pieces coordinate naturally, and your opponent’s pieces become cramped and passive. This central dominance creates the space and time you need to develop your remaining pieces safely-which brings us to the next principle that separates strong players from beginners.
Develop Your Pieces Quickly
The Hierarchy of Piece Development
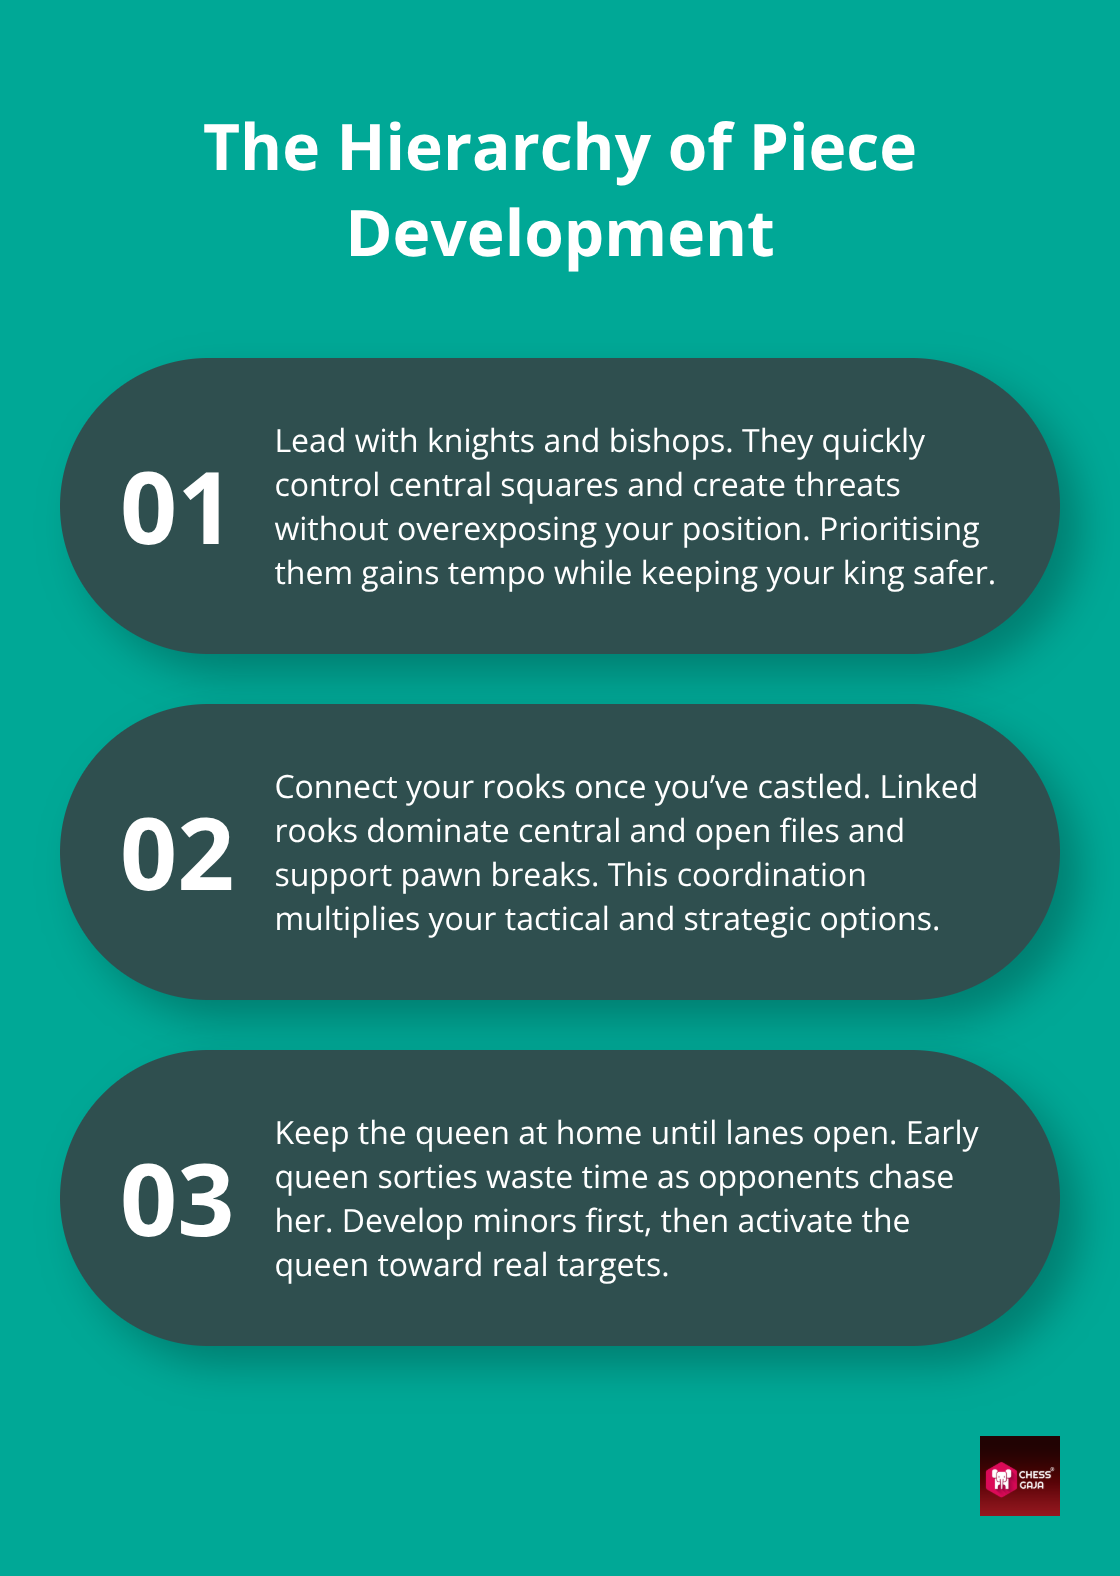
Once you control the center, the clock starts ticking. Your opponent develops their pieces too, and if you waste time moving the same piece twice or bringing out your queen early, you fall behind in tempo. We teach students a strict hierarchy: knights and bishops first, rooks connected afterward, queen stays home. This order reflects how pieces contribute to the opening.
A knight on c3 controls key central squares like d5 and e4 while preparing to jump into active central play. A bishop on c4 or e2 controls diagonals toward the enemy king and stays active without needing additional moves. These pieces accomplish real work immediately.
Why Rooks and Queens Wait
Rooks need open files to be useful, and in the opening, pawns close those files. Moving rooks before they have targets wastes time. The queen is even worse early-moving her out before minor pieces are developed invites your opponent to attack her, forcing you to move her again and losing precious tempo. The pattern is unmistakable: development order determines whether you gain or lose time.
The Cost of Early Queen Moves
Moving your queen early is the single worst habit beginners develop. A queen brought out prematurely to squares like h5 or f3 looks aggressive. However, it accomplishes little and gives your opponent targets to gain tempo on. They attack your queen with a pawn or minor piece. You are forced to move her again. Suddenly, you have wasted two moves while your opponent develops three pieces. Within twelve moves, they control the board while your king stays in danger. Instead, develop your knights to c3 and f3, place your bishops on active squares like c4 or e2, and castle around move 8 to connect your rooks. This sequence takes roughly 10 to 12 moves and gives you a position where all your pieces coordinate.
Connected Rooks and the Completed Opening
After castling, your rook lands on f1 (or d1 if queenside castling) and can soon relocate to e1 or d1, controlling the central open files where the game is decided. Connecting your rooks allows them to protect each other and dominate critical open lines. Your queen then enters through the center or toward an open file, where it has real targets and real purpose. This simple structure (developed minors, castled king, connected rooks, queen waiting for an open line) separates beginners who survive the opening from those who collapse into the middlegame already lost.
Moving Forward: From Opening to Middle Game
Once your pieces occupy these positions, your opening work is complete. You have established central control, developed your minor pieces efficiently, protected your king, and connected your rooks. The middlegame now begins-and your king’s safety becomes even more critical. Weak pawns around your king invite attacks that can end the game in seconds.
King Safety and Castling
Your king is your most important piece, yet beginners expose it constantly in the opening. A king in the center of the board during the first twelve moves faces attack. This is not a theoretical risk-it is a practical disaster. Data across amateur and intermediate games consistently shows that the vast majority of early losses involve a king left uncastled past move 12. The pattern is clear. Early Castling keeps your king safe, while delaying it invites fatal attacks. Castling is not optional. It is mandatory.
Kingside Castling Is Your Default Choice
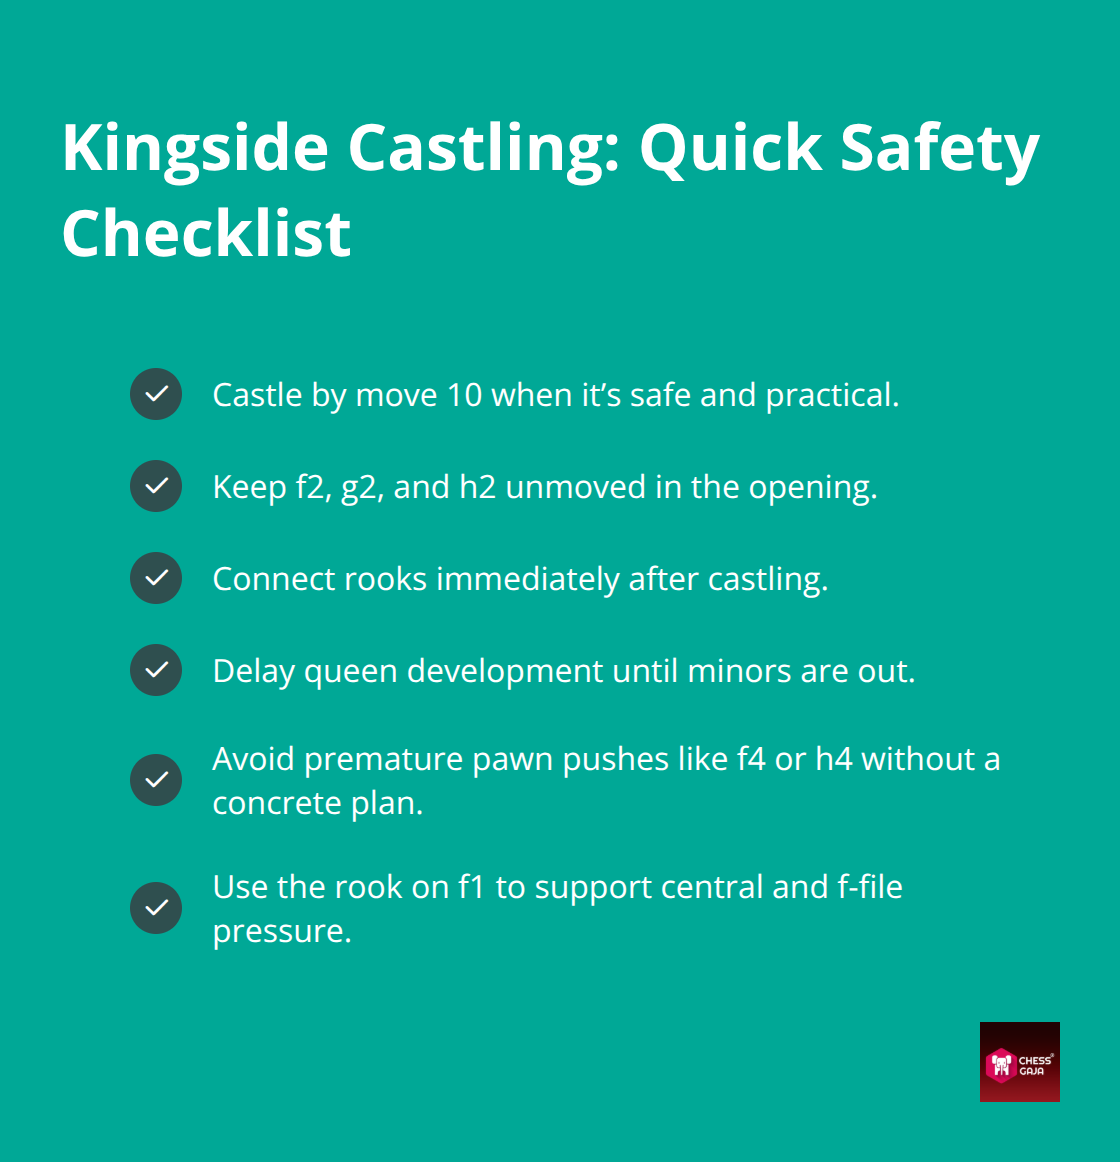
Kingside castling (moving your king to g1/g8 and your rook to f1/f8) is the default choice in most chess games at all levels. You castle kingside to instantly bring your king to safety while developing your f-rook, which can then easily be centralized to open files. This happens in most openings because your pieces naturally develop toward the center and kingside. Your knight lands on f3, your bishop on e2 or c4, and your pawns on e4 and d4 create a solid center. With this setup, castling kingside takes one move and immediately removes your king from danger while connecting your rooks on the first rank. After kingside castling, your king hides behind three pawns (f2, g2, h2 for White / f7, g7, h7 for Black), and your rook on f1/f8 enters the game. This is the safest and most efficient king placement in the opening.
Queenside Castling Requires Preparation and Caution
Queenside castling (moving your king to c1/c8 and your rook to d1/d8) is far less common and requires extra care. When castling queenside (White: King to c1, Rook to d1; Black: King to c8, Rook to d8), your king lands on c1/c8, leaving the a-pawn (a2/a7) undefended until you play a prophylactic move like Kb1 (Kb8 for Black) to secure your position. You choose queenside castling primarily when you want to launch an aggressive pawn storm on the kingside or when your kingside pawn structure is compromised. If you castle queenside, you must have a concrete reason. Castling queenside without a clear plan invites attacks from your opponent’s rooks and minor pieces along the c-file and d-file. Most beginners should stick to kingside castling until they understand pawn structures well enough to judge when queenside castling is safe.
Weak Pawns Around Your King Invite Disaster
Once you castle, weak pawns around your king become permanent targets. A weak square is one that can no longer be defended by a pawn. When White pushes the f-pawn early (playing f4), it permanently gives up pawn control over the e3 and g3 squares. For Black, pushing f5 weakens e6 and g6. Opponent pieces can use these outposts to attack your king directly. For instance, playing an early f4 weakens the e3 and g3 squares and opens the dangerous a7–g1 diagonal (or e1–h4 diagonal) toward White’s king. For Black, playing f5 weakens e6 and g6 and opens the a2–g8 diagonal (or h5–e8 diagonal). An opponent can exploit this by anchoring a knight or bishop on these outposts—where no pawn can ever kick the piece away—forcing your king into uncomfortable defense while giving up crucial initiative.
The rule is simple: after castling, touch your kingside pawns only if you have a concrete attacking plan that justifies the weakening. Most beginners should never push f4 or h4 in the opening. Your pawns on f2, g2, and h2 are a fortress. Keep them in place.
How Weak Squares Attract Your Opponent’s Pieces
Weak squares around your king also invite your opponent’s major pieces. If you push f4 and weaken e3, your opponent can stack rooks on the open e-file and infiltrate deep into your camp down to e2 or e1, placing maximum pressure on your king and forcing material losses. The longer the game continues, the more your opponent exploits these weak squares. You cannot regain pawn moves once they are made, so every pawn move around your king must count. The safest approach is to castle early (by move 10), keep your kingside pawns on their starting squares, and let your rooks and queen handle the attack from the center and queenside where they belong.
Final Thoughts
The three principles you’ve learned-controlling the center, developing pieces quickly, and protecting your king-apply to every opening you will ever play. Whether you face the Ruy Lopez, the Sicilian Defense, or an unusual move from an opponent, these fundamentals remain constant. A knight on c3 proves useful in all positions, a castled king stays safer than an exposed one, and a weak pawn around your king invites attack regardless of which opening you chose.
These principles build your foundation for the middlegame, as they embody essential middlegame principles by solving the opening’s core job: getting your pieces to useful squares safely and quickly. Once your minor pieces occupy active squares, your king finds safety through castling, and your rooks connect on the first rank, you have completed the opening. Players who skip opening principles often enter the middlegame already lost. Their king sits exposed, their pieces lack coordination, and their opponent controls the board.
At Chess Gaja, we teach opening principles explained simply to 5,000+ students across 40+ countries through a curriculum led by Grandmaster Priyadharshan Kannappan and FIDE-rated coaches. Our students apply these ideas in monthly academy tournaments, personalized study plans, and one-on-one coaching sessions tailored to their rating and goals. Book a Paid Starter Class with Chess Gaja today for a skill evaluation that shows you exactly where your opening play stands and how to improve it.