
You’ve probably noticed that rook endgames show up constantly in your tournament games. Most players treat them as an afterthought, which is exactly why they lose points they shouldn’t.
At Chess Gaja, we’ve seen this pattern repeat across thousands of students. Learning rook endgame transforms how you finish games and climb your rating.
Why Rook Endgames Decide Your Results
Rook Endgames Appear in Almost Every Tournament Game
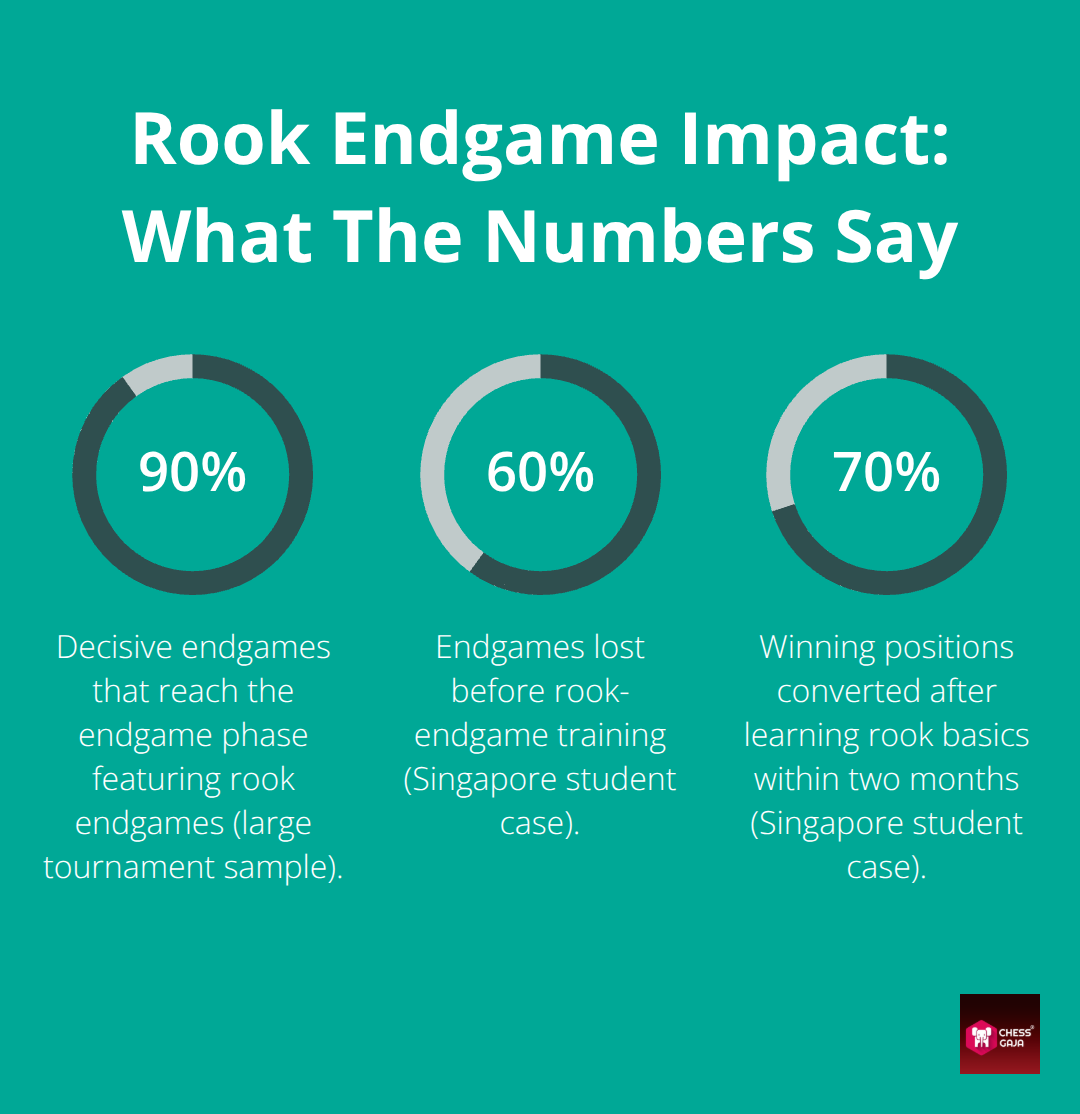
Rook endgames appear in nearly half of all endgame positions—far more than queen, minor piece, or pure pawn endgames combined. This statistic matters. Most players spend their preparation time on openings and middlegames, treating rook endgames as something to figure out later. That approach costs rating points every single tournament.
A student in Dubai recently drew a completely winning rook endgame against a lower-rated opponent. She had the right pieces but couldn’t activate them. After three weeks of targeted rook endgame training, she faced a similar position. This time, she converted the win smoothly and gained 40 rating points. The difference was not natural talent-it was learning one concrete principle about king activity and pawn structure.
The Foundation for Every Advanced Endgame
Rook endgames build the foundation for advanced endgame mastery. They teach core principles that transfer directly to queen endgames, minor piece endgames, and complex positions. When you understand how to activate your king in a rook endgame, you apply that same principle when your queen comes off the board. When you learn to create a passed pawn and support it with your rook, you’re learning the mechanism that wins most endgames at every level.
A student in Singapore who learned rook basics went from losing most of her endgames to converting the vast majority of winning positions within two months. She didn’t become a different player-she learned how positions actually work. Your rating climbs directly from converting endgames you were already reaching.
Why Your Next Tournament Depends on This
Are you a 1200-rated player drawing games you should win? Or a 1600-rated player whose endgame technique fails in critical moments? Mastering rook endgame is your fastest shortcut to rating growth.
The investment is small (five core positions and three activation principles), and the return is immediate. Your next tournament positions—whether scholastic, rapid, or club championships—demand proper rook handling. You must know what to do when queens leave the board.
Most players at your level make identical mistakes in these positions. They activate their pieces too slowly, they push pawns without rook support, or they miss the moment to create a passed pawn. These aren’t complex errors-they’re gaps in fundamental knowledge that you can close in weeks, not months.
What Actually Wins Rook Endgames
Your king sleeps in the corner while your opponent’s king marches toward your pawns. Your rook sits passively on the back rank. You have material equality, but you’re losing. This scenario repeats in tournaments across the world. Most players simply misunderstand what actually matters in rook endgames. King activity and rook placement decide games-they are concrete levers that determine the outcome within five to ten moves.
King Activity and Rook Placement Decide Games
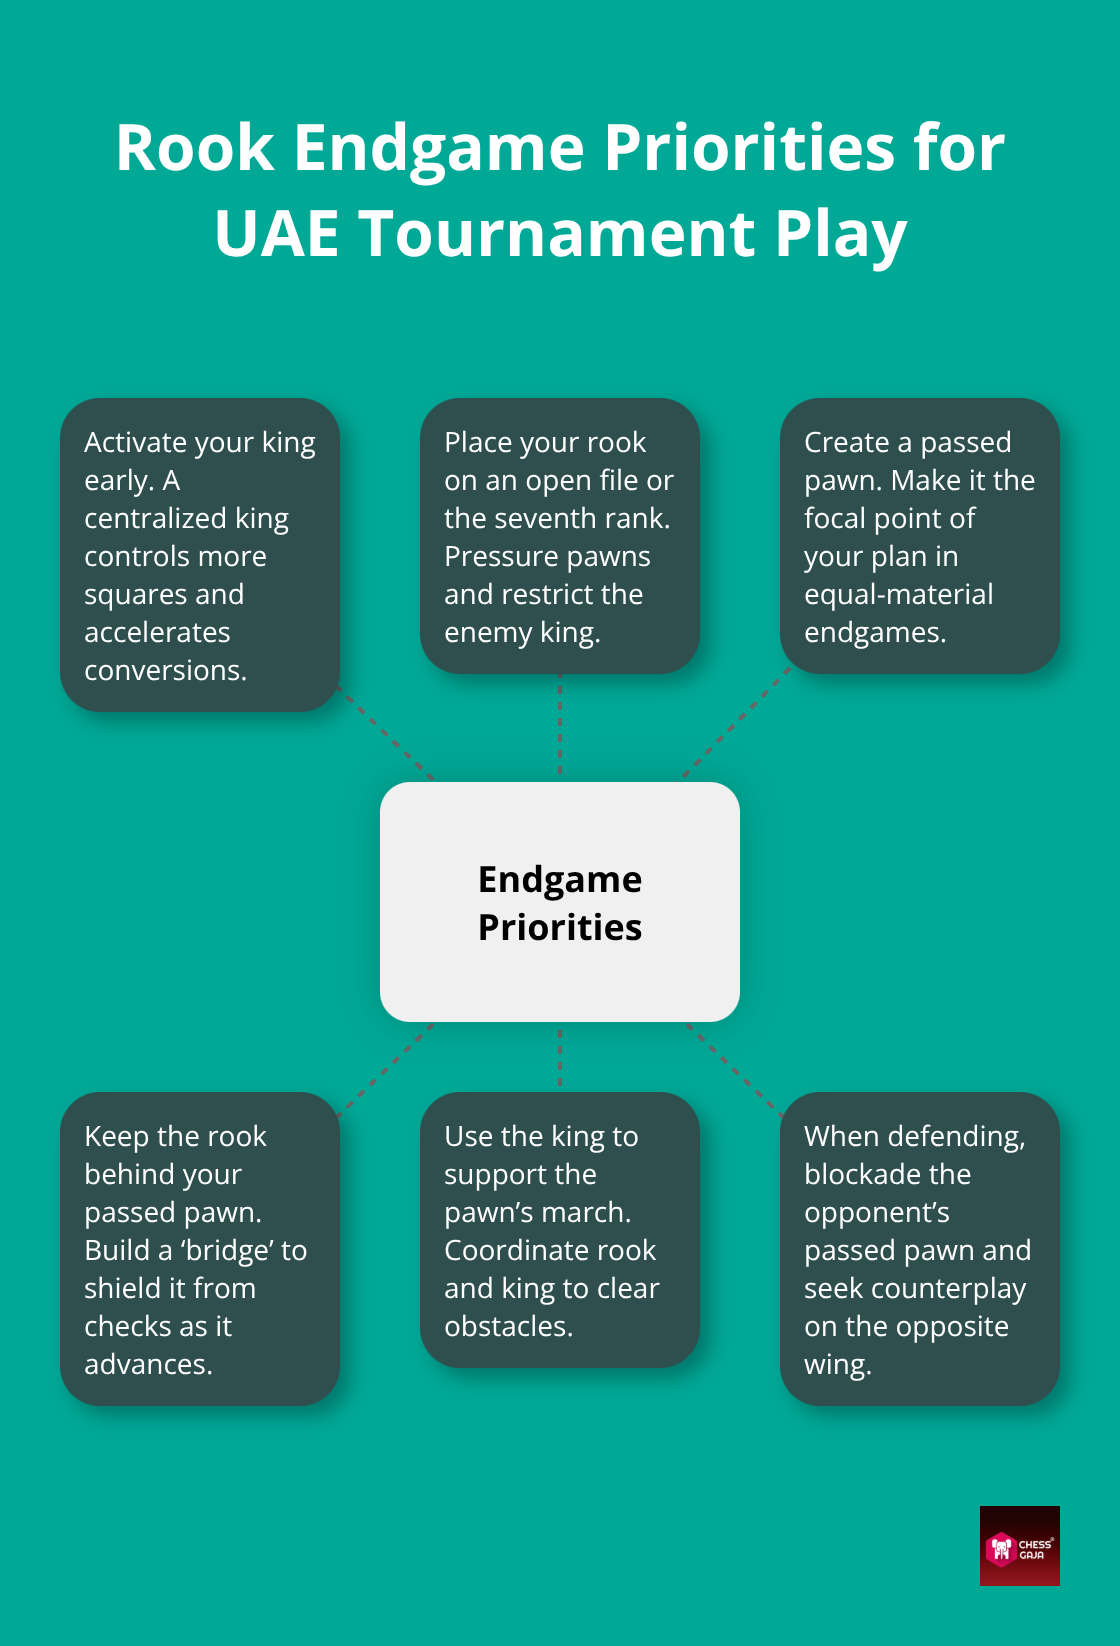
The difference between a drawn position and a winning one often comes down to whose king reaches the center first and whose rook controls the most important file. In practical tournament play, the player who activates their king by moving it toward the center and places their rook on an open file or the seventh rank wins when material is equal.
A student in Abu Dhabi faced a rook endgame where both sides had a rook and five pawns. She kept her king near her own pawns while her opponent’s king advanced. Within eight moves, her opponent’s king created so much pressure that she lost a pawn, then another, and the game collapsed. Three weeks later, facing an identical structure, she moved her king toward the center on move one, placed her rook on the open c-file on move two, and forced her opponent into a defensive squeeze. Same position type, completely different outcome.
The mechanics are straightforward: a centralized king controls more squares and restricts your opponent’s options. A rook on an open file or the seventh rank attacks pawns and prevents your opponent’s king from finding safety.
Pawn Structure Determines Your Plan
Pawn structure separates winning plans from losing ones in rook endgames. If you have a passed pawn (a pawn that has no opposing pawns ahead of it on its file or on adjacent files), your entire strategy revolves around supporting that pawn with your rook and king. If your opponent has a passed pawn and you do not, your job is to blockade it or create counterplay elsewhere.
A student in Singapore played a position where both players had equal material, but her opponent's pawns were split across three separate groups while hers were connected on the kingside. She created a passed pawn by pushing her connected pawns together, supported it with her rook, and converted the win in 15 moves. Her opponent had more space but lacked pawn structure. The passed pawn became unstoppable. Control the files where pawns can advance. If you can push a pawn forward without your opponent creating immediate counterplay, you have found your winning plan. Positions with pawns on opposite flanks can be tricky, but the player with the more active king and rook typically creates practical winning chances.
Defense Stops Losses and Converts Draws
Most players focus entirely on attacking, ignoring the fact that defensive technique stops losses and converts draws into half-points. In the Philidor Position, place your rook on the 6th rank (or 3rd rank if playing Black) to cut off the enemy king from advancing. The moment the opponent advances their pawn to the 6th rank (or 3rd rank if you are White), immediately drop your rook to your baseline rank (8th rank if you are Black, 1st rank if White).From there, deliver relentless checking from behind, as the enemy king no longer has that rank to shelter behind. Your own king should block the pawn while your active rook prevents their king from finding shelter.
A student in New York faced a position where her opponent was trying to advance a passed pawn with the rook behind it. Instead of panicking, she executed the Philidor setup by placing her rook on the sixth rank to cut off the enemy king and centralizing her own king. Once the pawn stepped onto the sixth rank, she dropped her rook to the back rank to deliver continuous checks from behind, holding the draw effortlessly.
The key defensive goal is stopping your opponent’s rook from getting behind their passed pawn. Instead, place your own rook behind it or cut off their king. If you allow their rook behind their pawn, it gains maximum mobility and becomes nearly unstoppable. Keep your rook active, minimize meaningless checks, and look for counterplay on the opposite side of the board. Three defensive principles matter most: rook placement, king positioning, and counterplay. Mastering them transforms lost positions into saves or even wins.
Practical Positions You’ll Face in Tournament Play
The rook endgame that arrives in your tournament game looks nothing like a textbook position. You have a rook, four pawns, and your opponent has a rook and three pawns. Both kings are still on their home sides, and there are no passed pawns yet. No fortress. Just two players trying to figure out who converts first. This is the reality of tournament endgame insights in rook endgames. One small mistake can cost you the game, while one precise move wins it within ten moves. Most players lose these positions because they lack a concrete plan, not because the position is theoretically lost.
King Activity Decides the First Ten Moves
A student in Dubai faced this exact scenario in a scholastic tournament last year. She had a rook on d1, her opponent’s rook on h5, and material was equal. Instead of moving her king immediately toward the center, she spent four moves shuffling her rook on the d-file. Her opponent moved the king to e5, then d4, and within eight moves created enough pressure that she lost a pawn. The tournament continued, she drew the next game, and finished half a point out of the prize. That half point came from violating a fundamental rule: activate your king and establish active rook placement before your opponent seizes the initiative.
The student reviewed the game later and realized her king never left the back rank while her rook remained purely passive. In her next tournament three months later, she faced a similar position and centralized her king to e4 immediately. With her king dominating the center and restricting her opponent, she forced a favorable trade of rooks within ten moves and converted the winning King and Pawn endgame easily. The difference was not complex calculation—it was prioritizing king activity. King activity in rook endgames is not optional. It is the first move of your plan.
Converting Winning Positions Through Passed Pawns
Converting a winning rook endgame demands two actions: create a passed pawn, then support it with your king and rook. A student in New York reached a typical position. She had a rook on b4, king on d4, and pawns on b5, d5, and e5 against an opponent with a rook on h1, king on f8, and pawns on a7, h7, and h6. She pushed her pawn to b6, then b7 with her rook on b4 supporting the b-pawn from behind along the file. When her opponent tried to block the promotion square on b8, she marched her king forward to control key entry squares and clear the path for queen promotion. The pawn promoted in 12 moves. She did not calculate 25 moves ahead—she followed one rule: push the passed pawn, keep the rook behind it, and use the king to clear obstacles.
A student in Abu Dhabi made the opposite mistake. She had a passed pawn on c5 but placed her rook on c1 in front of it, rather than behind it. Her opponent’s rook attacked from c8, and the pawn became blocked. She spent the next 20 moves trying to reposition, her opponent created counterplay on the kingside, and the game ended in a draw. The difference between a win and a draw was rook placement. In the Lucena position, your pawn is on the 7th rank with your king on the 8th (queening) rank in front of it. You place your rook on the 4th rank to build a ‘bridge.’ First, step your king out to the 6th rank and down to the 5th rank to clear the promotion path. Your rook waiting on the 4th rank then blocks checking attacks, completing the bridge and securing promotion.
Three Mistakes That Repeat at Every Rating Level
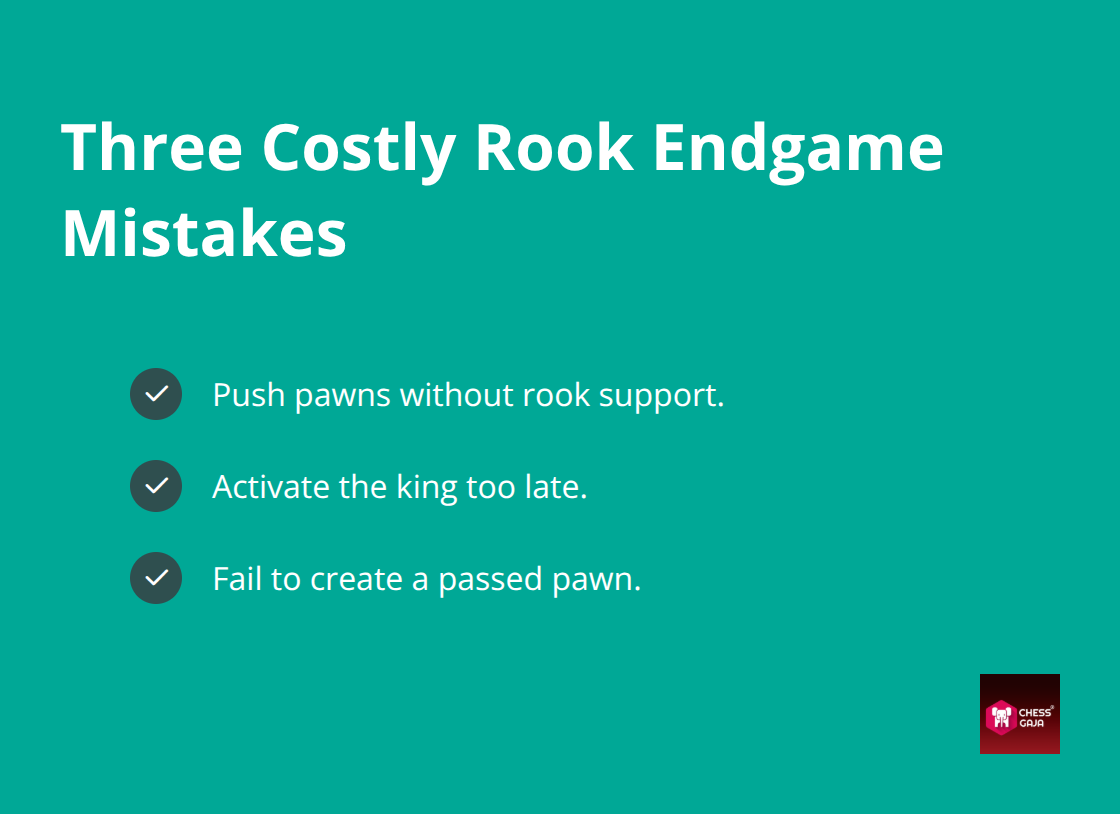
Most losses in rook endgames come from three concrete mistakes that repeat across every rating level. First, players push pawns without rook support. A student in Singapore pushed her f5 pawn without her rook on the f-file or nearby, and her opponent’s rook captured it immediately.
Second, players activate their king too late. Once their opponent’s king reaches the center, the position collapses. Third, players fail to create a passed pawn when they have the chance. They keep their pawns scattered, their opponent consolidates, and the position becomes a slow loss.
A student in Texas had queenside pawns on a3, b4, and c5 against enemy central pawns on d4, e5, and h6. She needed to push her queenside pawns aggressively to create a passed pawn and force her opponent to defend. Instead, she wasted critical tempos on passive kingside moves. This gave her opponent time to centralize, push d4–d5 and e5–e6, and win the game. The winning plan was to push the queenside pawns immediately to create a passed pawn, forcing the opponent to defend rather than run their central pawns.
These three mistakes-unsupported pawn pushes, delayed king activation, and failure to create passed pawns-are not rare. They appear in losses among players at multiple rating levels. They are also not permanent. A player who learns the correct priority (activate king, create passed pawn, support with rook) converts endgames within weeks. The investment is small. The return is immediate.
Final Thoughts
The rook endgame strategies you’ve learned in this post will transform how you finish games in your next tournament. Three principles solve most endgames: activate your king, create a passed pawn, and support it with your rook. These simple rules cover most positions in scholastic events, rapid tournaments, or club championships. A student in Dubai applied these principles and gained 40 rating points in three weeks. Meanwhile, a student in Singapore moved from losing most of her endgames to converting the vast majority of winning positions within two months.
Practice these positions against a computer or training partner for 15 minutes daily over the next two weeks. Practice positions where you have a passed pawn and support it from behind. Then, swap sides and practice blockading your opponent’s passed pawn. The patterns will become automatic, and you’ll recognize the winning move in your tournament games without hesitation.
At Chess Gaja, we’ve built a curriculum around these exact principles, tested across thousands of students in 40+ countries. In your first Paid Starter Class, a FIDE-rated coach will evaluate your endgame technique. They will identify specific rating gaps and create a personalized study plan tailored to your goals. Book your evaluation today and start playing stronger endgames in your next tournament.